Do you have a question about the Lorell 59605 and is the answer not in the manual?
Visual guide covering initial desk assembly from step 1 to step 5.
Visual guide covering later desk assembly stages from step 6 to step 12.
Attaching the side leg frames to the top panel using specified hardware.
Connecting the leg frames with the adjustable cross bar set.
Instruction to assemble one side leg assembly using six screws.
Guidance on aligning legs with the top panel and tightening screws.
Moving the cross bar to the center position and tightening screw 'G'.
Connecting frame components K/L using a rubber hammer.
Assembling the frame structure using K/L components.
Fastening frame components with screws 'C'.
Assembling the second side leg using six screws.
Aligning the second leg and tightening screws.
Adjusting the cross bar to the center and tightening screw 'G'.
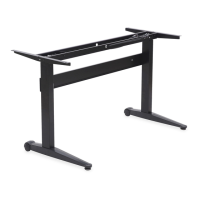
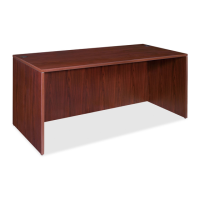
Illustration of the fully assembled desk.
Information for immediate help with assembly or product questions via phone.
Instructions on preparing parts and workspace before starting assembly.
General warnings and recommendations for a safe and successful assembly.
| Color | Black |
|---|---|
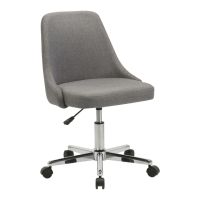
| Chair Type | Task Chair |
| Product Type | Office Chair |
| Weight Capacity | 250 lbs |
| Adjustable Height | Yes |
| Swivel | Yes |
| Armrests | Yes |
| Wheels | Yes |
| Tilt Mechanism | Yes |