13
USA
HECKING FUNCTIONING
• The instructions necessary for use are enclosed with the appliance.
• Check the appliances for gas leaks.
• Examine the flame of the pilot burner; it must lap the thermocouple and be blue, otherwise examine the nozzle of
the pilot burner.
• Check the lighting and flame of the main burner.
• We urge the user to follow the instructions when using the appliance.
MAINTENANCE
With prolonged use of the appliance, it is essential to carry out regular maintenance for the safe functioning of the
appliance; we therefore recommend drawing up a contract for after sales service.
Maintenance must only be done by specialized personnel, observing the norms in force and our indications.
SPARE PARTS
It is possible to substitute parts such as the valve, the piezoelectric lighter or gas pipes very simply. To substitute the
parts, proceed as follows:
•
U
Valve
U
: after removing the front panel, unscrew the screwed fittings of the gas connections, remove the fitting and
take out the thermostat bulb, then substitute the faulty parts, installing the new ones in sequence.
• To substitute the
U
thermocouple
U
, unscrew the pilot burner fitting, likewise the valve fitting and substitute the
element.
•
U
The spark plug
U
must be unscrewed and substituted.
Attention!
Before lighting the appliance, it must be washed with water and washing-up liquid, rinsed thoroughly and filled with
water up to the level indicated by the mark on the back of the water tub.
U
UU
UDO NOT START UP THE APPLIANCE WITH THE WATER TUB EMPTY.
WATER CONNECTION AND DRAINAGE
It is advisable to connect the appliance to the hot water pipe (max.60°C) to reduce heating time; it is also recommended
to install a cut-off cock upstream from the appliance.
The drain piping must be connected to a suitable drain and be compliant with the norms.
The piping must be connected in such a way as to avoid contractions or siphons. Drainage of the water is free, therefore
it is essential that the drain is lower than the outlet of the piping.
INSTRUCTIONS FOR USE
Attention! The appliance must only be used under surveillance.
LIGHTING AND ADJUSTING THE BURNER
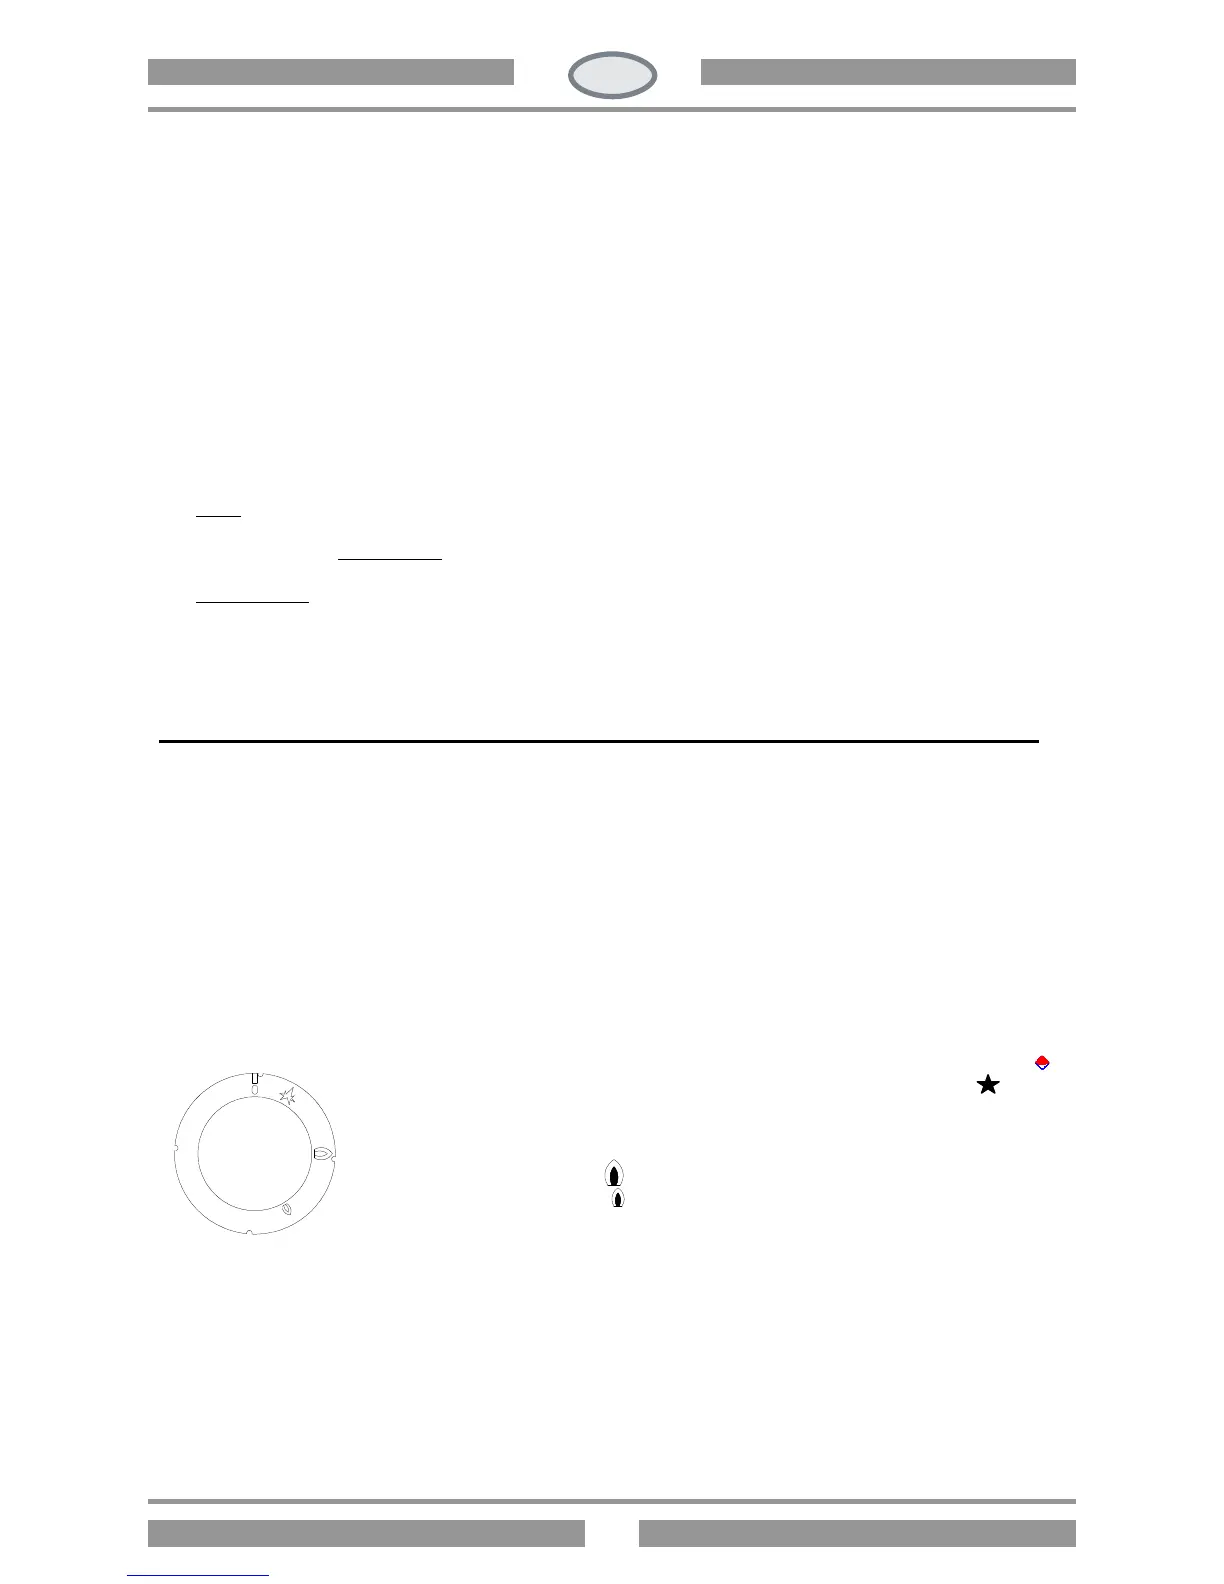
On the front panel, above each knob, the burner it corresponds to is indicated by the index
Use a lighter to light the gas: turn the knob to the left, from the “0” position to the sign
(see figure), hold it down and light the gas.
Keep the knob pressed a few second and then let it go, this lights the pilot.
If the flame goes out you have to repeat the procedure.
By turning the knob round to the position the burner is at maximum
By turning the knob round to the position the burner is at minimum.
To switch off, move the knob back into position " 0".
TURNING OFF THE APPLIANCE
Push and turn the knob into position “0”. This command blocks the gas supply to both the main burner and the pilot
burner. To relight the appliance, it is necessary to turn the knob again into position * and press the button.
EMPTYING THE TUB
Turn the drainage tap from the “off” position to “on”.
NB: pay attention to the distance between the appliance and the corners of the support.
 Loading...
