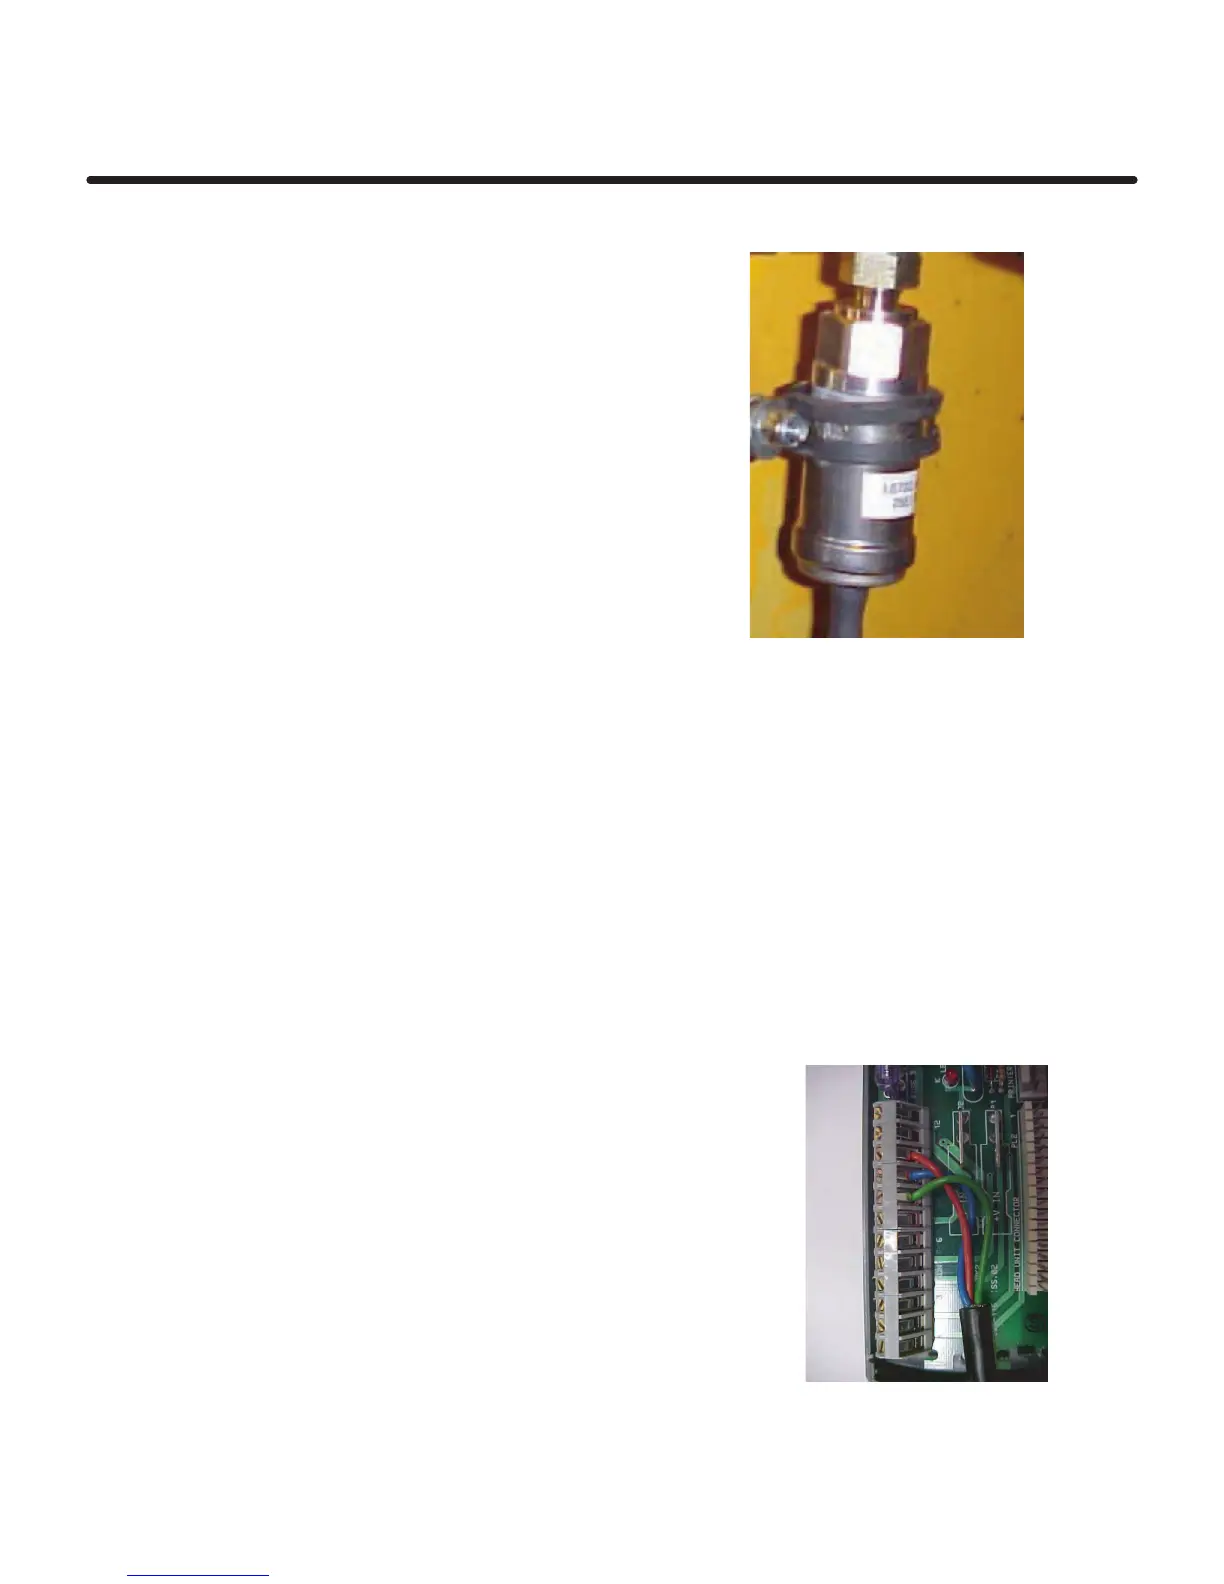
LOAD SENSOR
Page 9
Mounting the Load Sensor
1. Connect the hydraulic hose to the tee
fitting and route the hose towards the
sensor mounting location. Connect to
the load sensor and mount the sensor
in a well protected area, one that can
also be accessed for servicing.
NOTE:Mount the pressure sensor in a well
protected area, in an upside down
position as shown. This helps prevent
air bubbles from hitting the load
sensor diaphragm.
Bleeding the Load Sensor
This can be done whenever convenient during the installation procedure.
Lift the boom so that it is a few inches off the floor. Have an assistant loosen
the hydraulic fitting to allow any air to escape. You may have to bleed the
sensor more than once. It is recommended that the machine is worked for
5 to 10 minutes and then the bleeding procedure be repeated.
Load Sensor Connection
2. Connect the extension cable to the weatherpack connector on the sensor lead and
route back to the Junction box. Cable tie wires securely to existing
hydraulic lines or hoses.
Avoid coiling excess cable. Leave a small amount of slack at the sensor for movement.
If the sensor cable is long enough to reach the J-Box then make a short pig tail with
the extension cable rather than cutting the sensor cable.
3. Connect the wires according to the label
on the Junction box lid.
Color Function Terminal #
Red +V 10
Blue oV 9
Green Signal 8
NOTE: There is no provision for strain relief on these connections. Its recommended that
sensor cables are cable tied back very near the junction box.
12
11
10
9
8
7
6
5
4
3
2
1

 Loading...