Head Unit
Page 14
Head Unit
Confirm with the machine operator on where to mount the head unit in the cab.
The head unit has a 3 foot gray cable with a 18 pin IDC connector, ready for
connection into the Junction Box.
Mounting the Head Unit
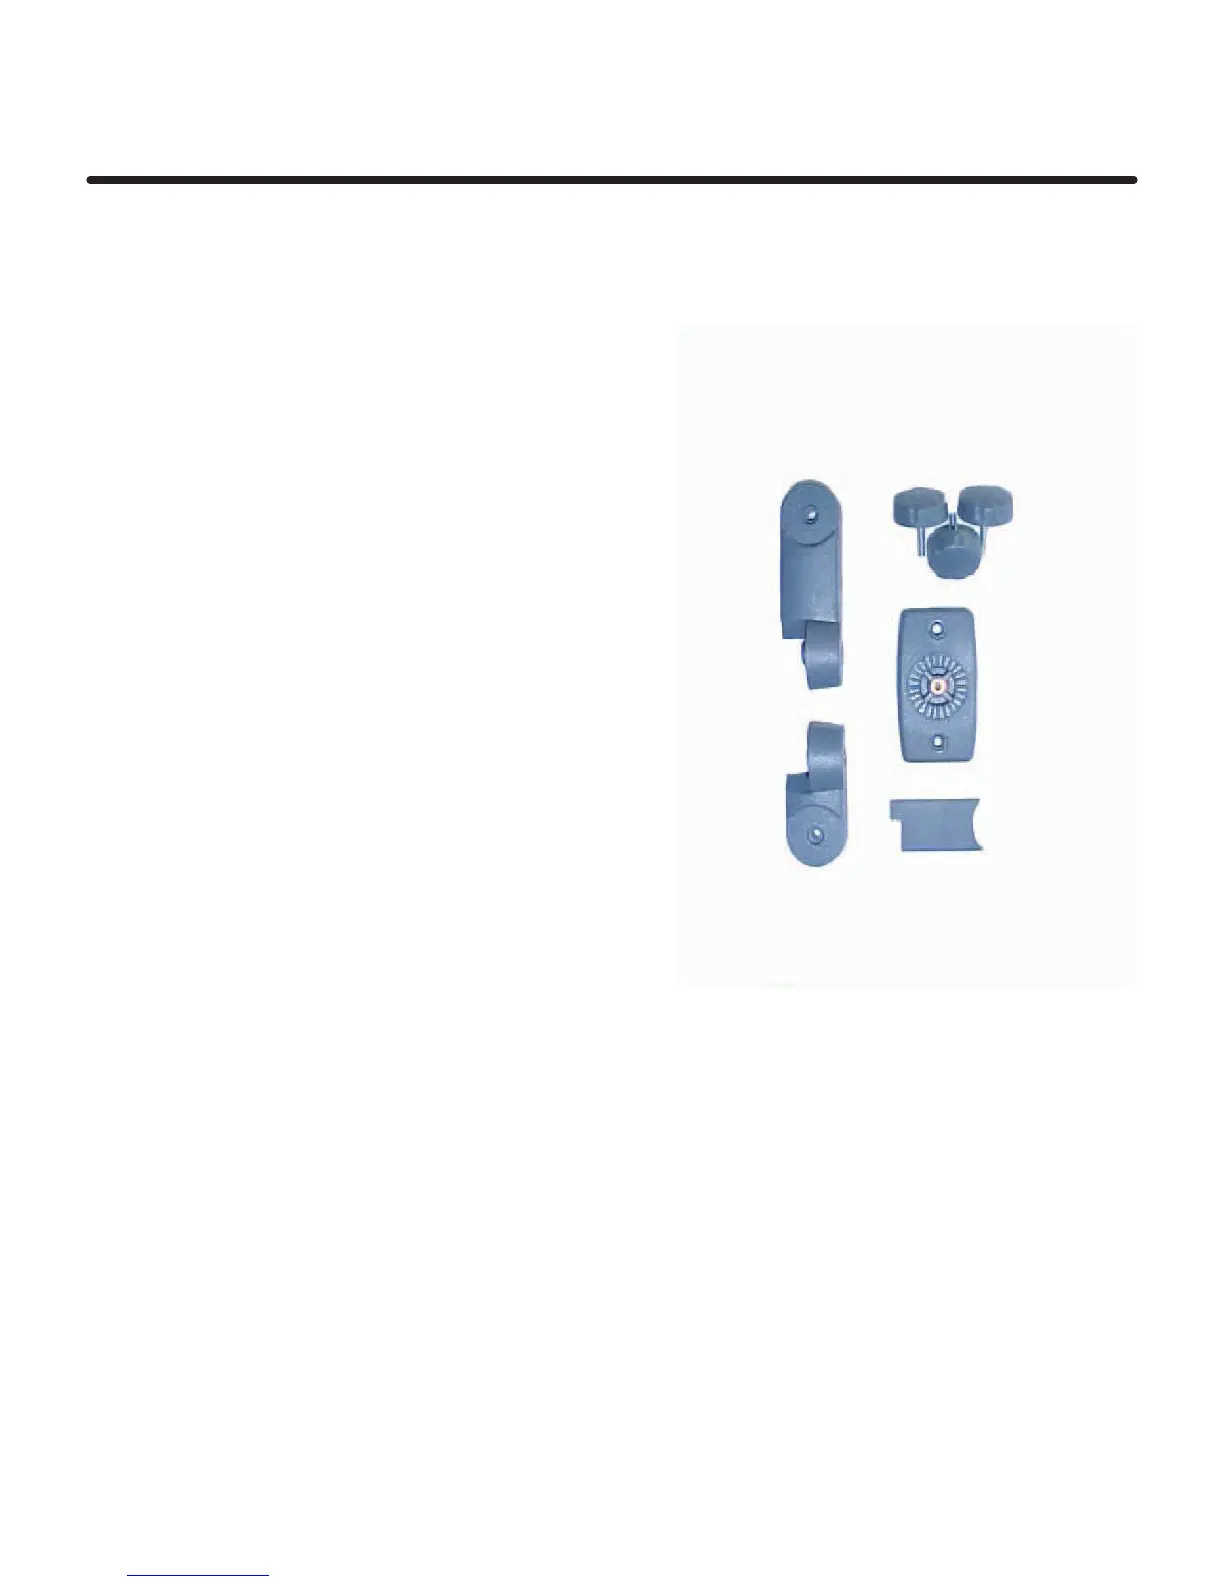
The head unit is supplied with a seperate
mounting kit including the following parts.
1 Long Bracket
1 Short Bracket
3 Clamping Knobs
1 Cover Plate
1 Mounting Plate
2 Self Tapping Screws
1. Snap the cover plate into the recess of the
long bracket.
2. The bracket kit is designed to offer maximum
flexibility in positioning the head unit, from the
right or left side of the cab, the dashboard or
from an overhead position.
Assemble the two brackets, and mounting
plate with clamping knobs, and attach to
the head unit.
As you will notice, you can index each
pivot point on the mounting bracket to
angle the head unit in relation to the
mounting plate.
3. After establishing the orientation of the
bracket, attach the mounting plate to the
cab with the self tapping screws provided.
If you are installing the mounting plate to plastic like the dashboard or other cab
moulding, its recommended you use machine screws with washers or plate the
back for added strength.
Never Drill into a ROPS frame. Do not attempt to adjust the
mounting bracket without
first loosening the clamp
knobs. You will only succeed
in damaging the bracket.

 Loading...