9
Direct/Step Mount (No Bracket)
When using the direct mount installation shown below, you MUST turn on the Flip
Left/Right feature. Refer to your Operation manual for more information.
Direct Step Mount Supplies (not included)
3/32 Drill bit (Direct/Step mount pilot holes)
Marine grade above- or below-
waterline sealant
To use Direct Mount:
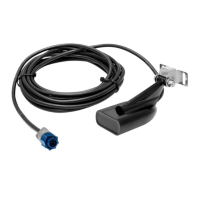
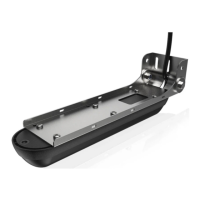
Make sure the boat’s step is the same length or longer than the 1.
StructureScan transducer.
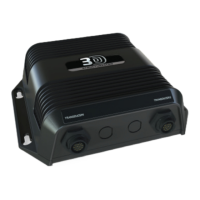
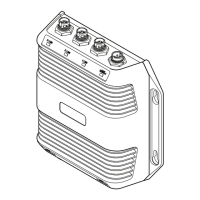
After selecting a mounting location, route the transducer cable to 2.
the location where the LSS-1 will be installed.
Hold the transducer 3.
in the desired
position and then use
a pencil to mark pilot
holes through the
mounting holes on
the transducer.
Drill the pilot holes. 4.
Apply a high-grade 5.
above- or below-
waterline sealant to
the pilot holes.
Align the transducer 6.
mounting holes over
the pilot holes and
mount the transducer
to the step using self-tapping metal screws (not supplied). Do NOT
overtighten the screws; otherwise you could strip out the berglass
pilot holes or crack the mounting holes on the StructureScan
transducer.
Connect the transducer cable to the LSS-1 and then turn on the Flip 7.
Left/Right feature in your display unit.
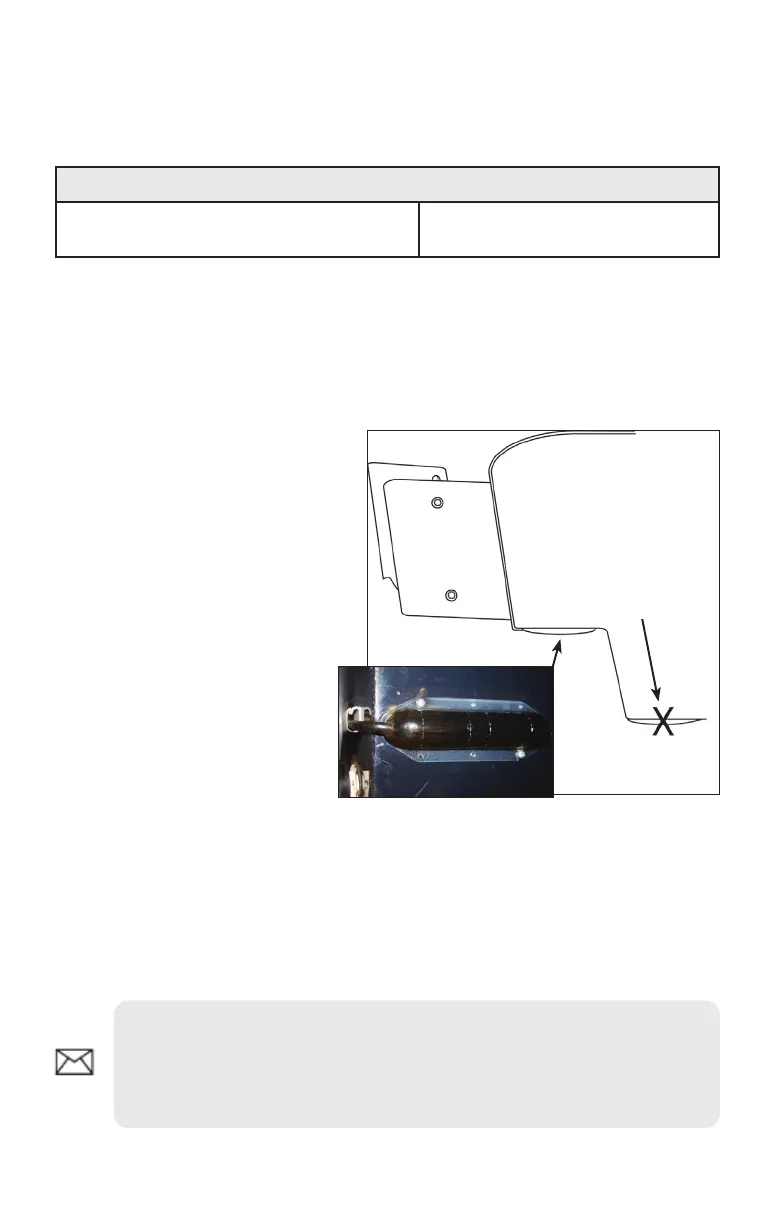
View underneath the step
Do not install
under boat hull!
NOTE: When using a Direct Step Mount, you must turn on the Flip
Left/Right feature in your display unit to ensure what is shown on the
left/right side on your display, corresponds with what is on the left/right
side of your boat.