Ethernet IP Quick Start
S100
1
LSIS S100 Ethernet Setup Guide
Rev C_1-5-2018
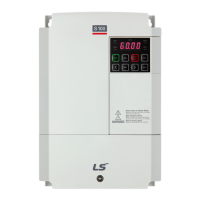
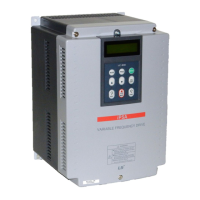
Figure 1. S100 Hardware Setup
1 Hardware
1. With no power applied to the drive, remove the I/O cover.
2. Remove the keypad.
3. Attach the Ethernet/IP option module.
4. Attach the keypad onto the Ethernet/IP option module.
5. Protocol select: Set dip switch 1 to UP for Modbus/TCP or DOWN for Ethernet/IP.
2 Parameters to Change
To setup communications and allow control of the drive and motor via a PLC there are only 4 steps needed for the
drive. Either the 7 segment keypad can be used or the LCD (external) keypad can be used. The LCD keypad is
easier.
Note: If using the 7 segment keypad the LEFT and RIGHT arrows move from group to group. The UP and DOWN arrows move through the
parameters in each group.
Note: The LCD keypad arrows work the same as the 7 segment, but you must press the MODE button to get into the parameter groups.
1. Enter the network address and speed information
a. IP Address: CM10, CM11, CM12, and CM13
b. Subnet Mask: CM14, CM15, CM16, and CM17
c. Gateway: CM18, CM19, CM20, and CM21 (if necessary)
d. Speed: CM22. 1=100Mbps or 2=10Mbps
2. Enter the Input and Output Assembly information
a. CIP Input Instance: CM29 (Defines the Input Assembly Instance)
b. CIP Output Instance: CM49 (Defines the Output Assembly Instance)
See page 4 for the PLC parameters related to these
3. Enter the command source
a. Run Command Source: DRV06 (in LCD keypad), drv (in 7 segment keypad)
b.
Speed Command Source: DRV07 (in LCD keypad), frq (in 7segment keypad)
Ethernet IP/ Modbus TCP Port