English - 12
4.2.2.6 Installation steps
1. Please adjust resolution on DIP switch at first
<Remark> Please refer to Chapter 8 DIP Switch Setting for the relevant descriptions on DIP
switch.
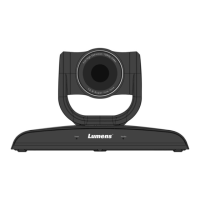
2. Fix the metal plate A on the machine base with 4 M3 screws
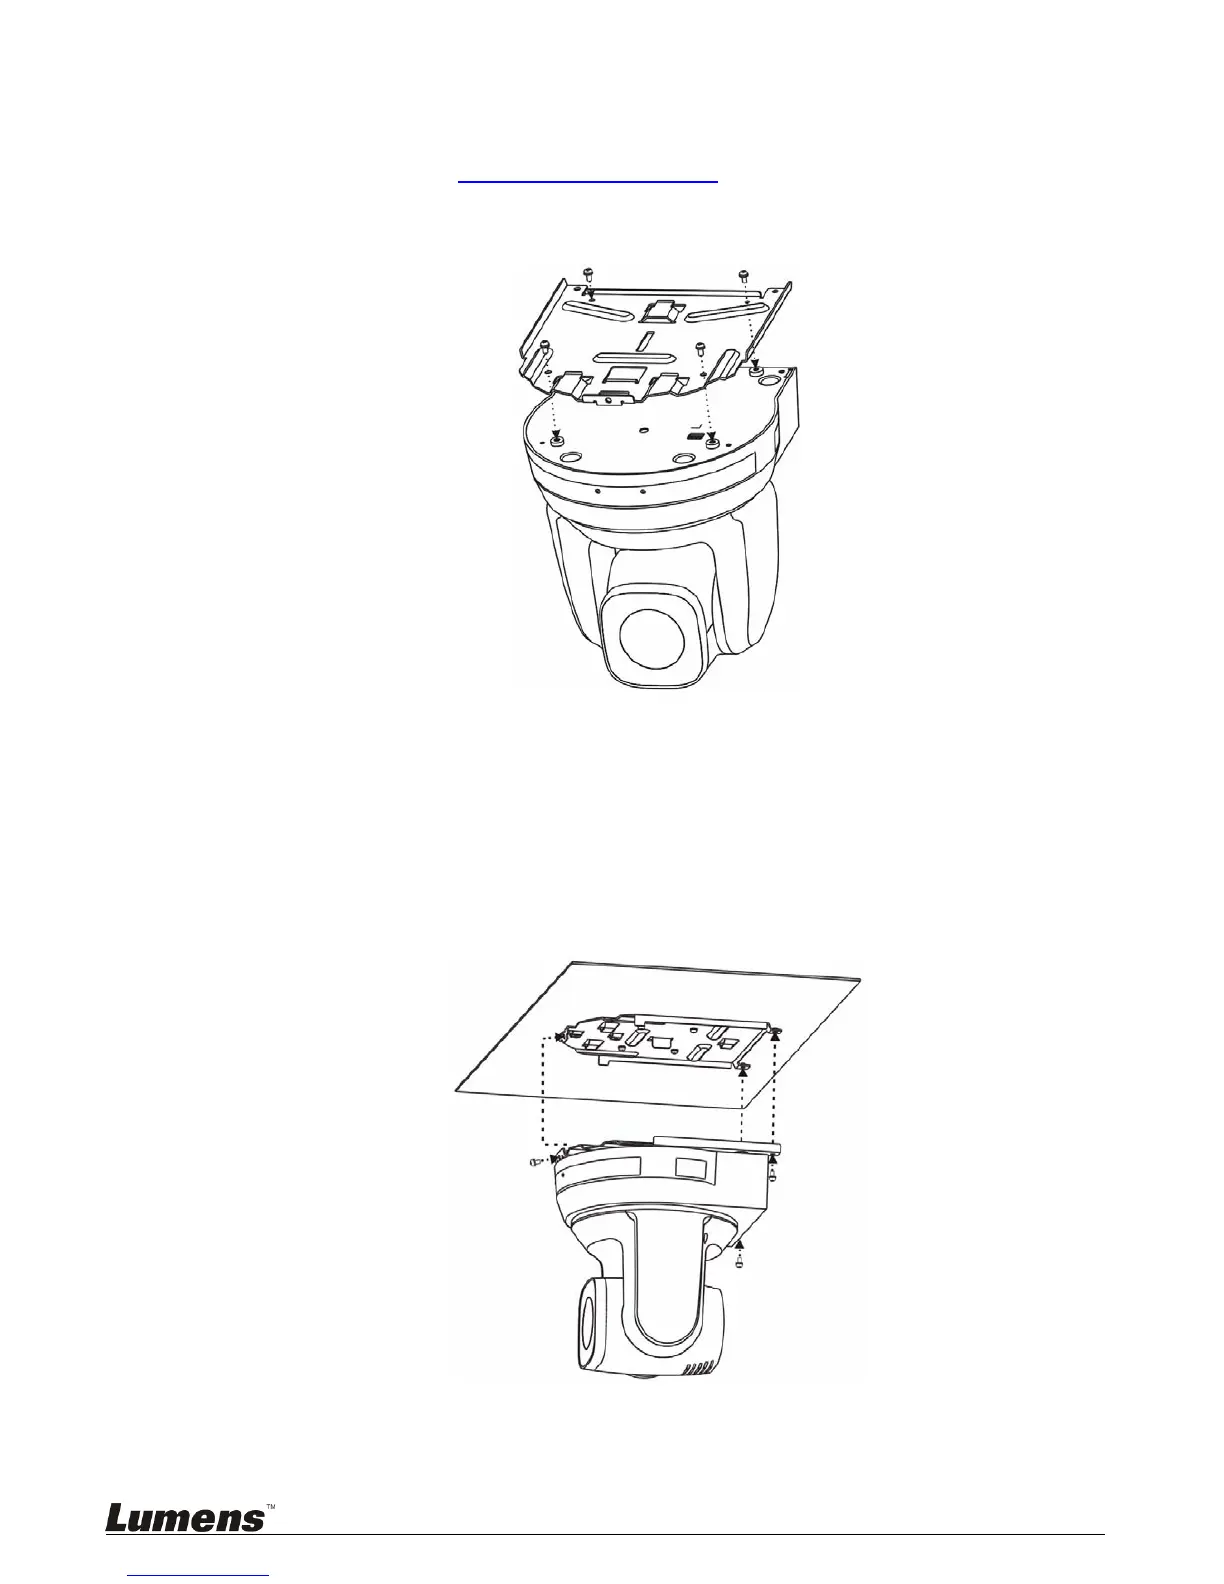
3. Lock the metal plate B on ceiling mounted hanger
※Caution:
(1) Please use the hanger that has obtained UL security approval
(2) Please reserve the hole for the connecting wires of the camera
4. Combine the metal plate A and the metal plate B
(1) Push the metal plate A up to the ceiling and then to the right to latch the metal plate B
(2) Fix with 3 M3 screws
 Loading...