Copyright © 2015-19 Clive Dyson Version 4.5 17
Set front dial to F and rear dial to SS. (Manual exposure mode.)
Change if you don’t like the standard direction.
F or SS on front dial in P, A and S exposure modes.
Not used, as DIAL OP not allocated to a button.
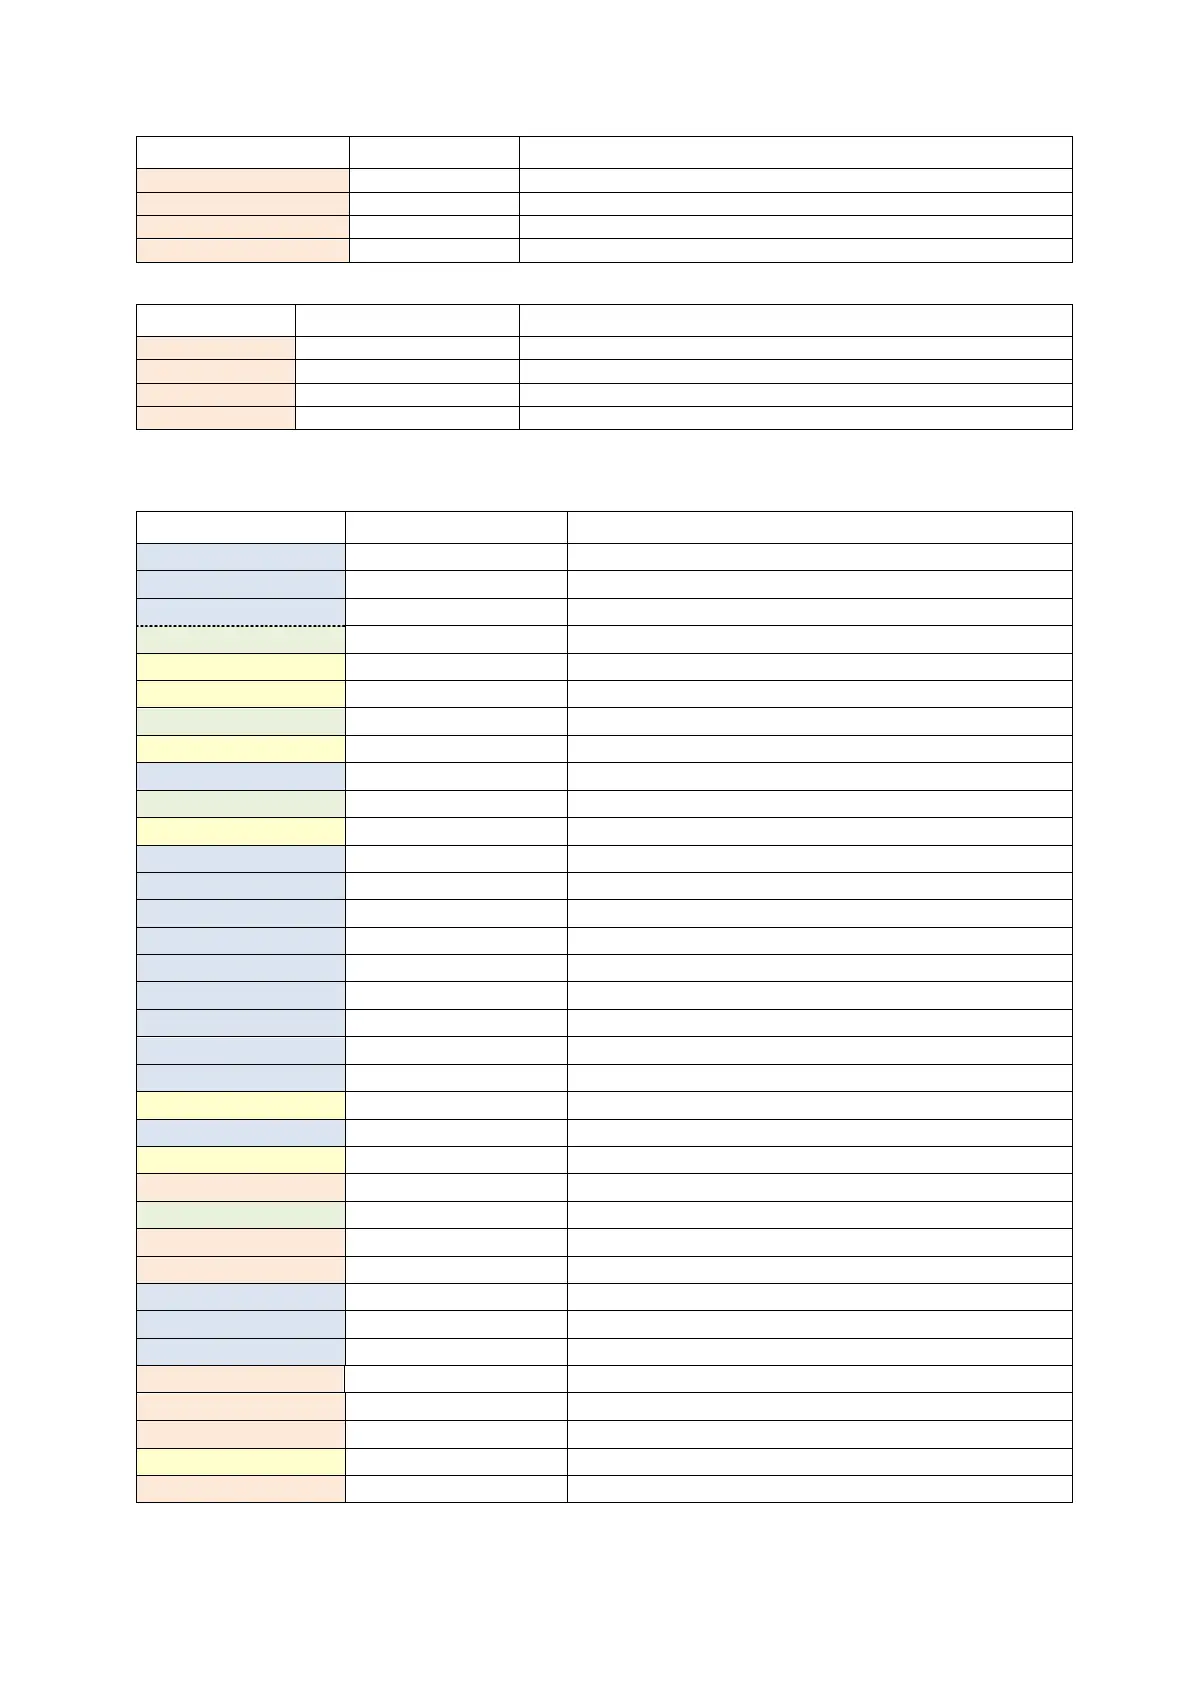
Table 6: The Dial Set sub-menu – recommended settings in BOLD
Enables or disables the touch screen.
Enables or disables to tabs to the right of the touch screen.
AF point or AF and AE points can be set by touching the screen.
Enables touch on screen to move AF point whilst using the viewfinder.
Table 7: The Touch Settings sub-menu – recommended settings in BOLD
The REC (still photography) menu
Six plus custom to choose from. Use STD and post process.
Settings for image effects (filters).
Set to 4:3 and post process.
L: 4592x3448, M: 3232x2424, S: 2272x1704 pixels. (JPEG only)
FINE and STD are JPEG. Can save both JPEG and RAW.
Standard or fast AF mode.
Multiple / Centre-w / Spot:
See Metering modes on page 9.
SH uses JPEG S picture size. M and L refresh the display.
See Drive Mode dial description.
Bracket or not / how many shots – EV step / order of exposures.
10s x3 takes 3 shots after a 10 second delay.
Program time-lapse photography and stop motion animation.
Allows adjustment of highlights and shadows
Adjusts to cope with extreme high / lowlights in the image.
Varies JPEG compression and sharpening depending on the image.
Night scenes composed from a burst of photos. JPEG only.
Enable and control automated HDR (iA mode?)
Enable and control HDR. (JPEG only)
Enables multiple exposures onto one image.
Only active in Panorama mode – can access settings from tab.
On: Disables the mechanical shutter.
Delay shutter firing after shutter button pressed.
Removes red eye in camera. I do this in post.
Upper ISO limit in ISO AUTO and iISO. (access via ISO button).
User can select ISO in 1/3EV or 1EV steps.
Applies more noise reduction at slow shutter speeds.
Corrects lens vignetting (shading in corners).
Attempts to correct for diffraction at small apertures.
Crops pixels from centre of image. (JPEG only)
Uses central pixels and interpolates to upscale. Use ETC.
Smaller / larger colour space.
PANNING only compensates for vertical movement.
Neither are covered in this manual.
Table 8: The REC menu – recommended defaults in BOLD
 Loading...