EasyManuals Logo

LuxaFlex PowerView User Manual

LuxaFlex PowerView
24 pages
To Next Page IconTo Next Page
To Previous Page IconTo Previous Page
Page #4 background imageLoading...
Page #4 background image
4
PAIRING REMOTES
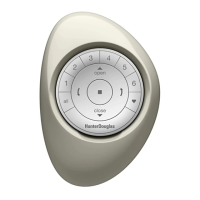
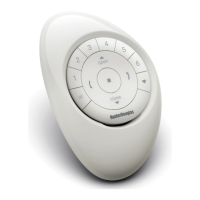
The Scene Controller (as shown on the top right of this page),
will be explained in the chapter Additional Actions’ on page 15
of this guide.
STEP 3 PAIRING REMOTES
If you only have one remote, please proceed to Step 4.
By pairing PowerView™ remotes you make all your remotes
part of the same PowerView™ Network. This is important for
seamless installation of the PowerView™ system.
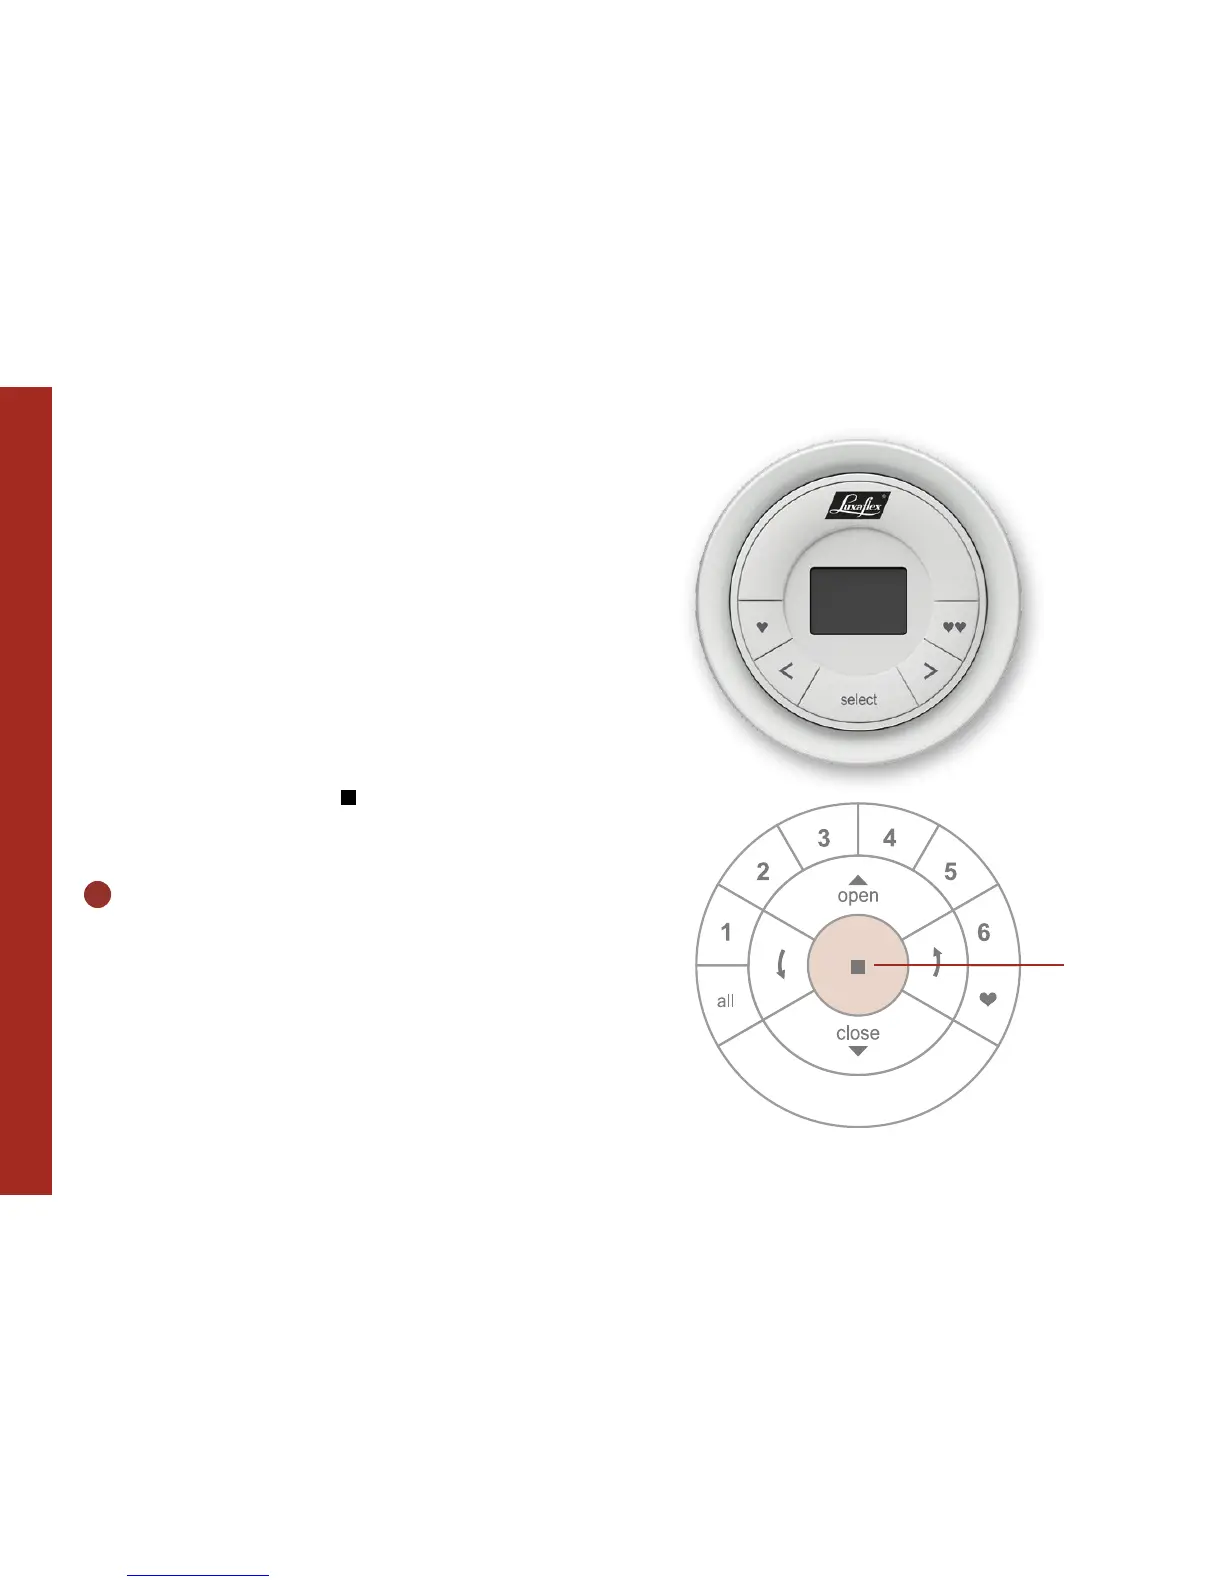
For this instruction you use the STOP button on your
Remote.
3.1
TAKE TWO REMOTES, NAME
THEM ‘REMOTE 1, ‘REMOTE 2 AND
FOLLOW THE INSTRUCTIONS
BELOW
Repeat these steps if you have more than two remotes.
Scene
Controller
Stop

Other manuals for LuxaFlex PowerView

Questions and Answers:

Question and Answer IconNeed help?

Do you have a question about the LuxaFlex PowerView and is the answer not in the manual?

LuxaFlex PowerView Specifications

General IconGeneral
App ControlYes, via PowerView App
Automation SystemPowerView Automation
WarrantyLimited Lifetime Warranty
Control SystemPowerView
Power SourceBattery
Voice ControlYes, via Amazon Alexa, Google Assistant, Apple HomeKit
Control OptionsApp, Voice, Remote
Style OptionsRoller, Roman, Honeycomb, Pleated
CustomizationFabric
Product TypeAutomated Window Shades
MaterialVarious fabrics and materials available

Related product manuals