Do you have a question about the Luxul XAP-1440 and is the answer not in the manual?
Instructions for assembling the mount and securing the access point to a pole or wall.
Details on connecting the access point using PoE and the included injector.
Configuring the IP address for the access point and client devices.
Methods for connecting to the access point via Ethernet or wireless.
Steps to access the AP's web configuration using default credentials.
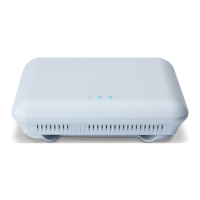
Explanation of the status lights on the access point and PoE injector.
Procedure for restoring the access point to factory default settings.
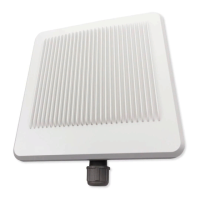
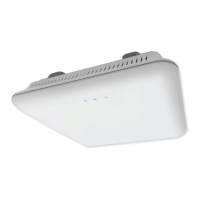
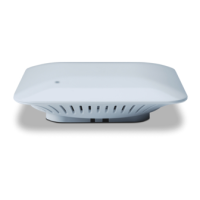
The Luxul XAP-1440 is an AC1200 Dual-Band Outdoor Wireless Access Point designed for robust and efficient outdoor wireless network deployments. This quick install guide provides essential information for its physical installation, setup, configuration, and operation.
The XAP-1440 serves as a wireless access point, extending network connectivity wirelessly in outdoor environments. It operates on dual bands (AC1200), supporting both 2.4 GHz and 5 GHz frequencies for enhanced performance and reduced interference. Its primary function is to provide reliable wireless access to devices within its coverage area. The device is compatible with Luxul Wireless Controllers, which facilitates fast and easy configuration and deployment of wireless networks, especially in setups involving multiple access points. When used with a controller, users are advised to refer to the controller's Quick Install Guide for specific setup instructions. The XAP-1440 is not a router and requires connection to a network with a router to provide internet access.
| Brand | Luxul |
|---|---|
| Model | XAP-1440 |
| Category | Wireless Access Point |
| Language | English |