2
1. Item Checklist
T
hank you for purchasing the LVI SmartGuider autoguiding camera!
Upon receipt, please check that your package is complete and contains the
following items:
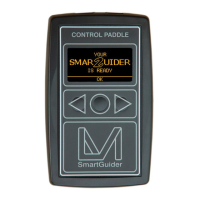
1. Control hand paddle (“Control Paddle”).
2. SmartGuider camera head
3. One power supply cable
4. One 8-pin RJ cable (Control paddle to camera head)
5. One 6-pin RJ cable (Control paddle to mount’s ST-4 port)
6. User’s manual
2. Quick Start Guide
Thanks to its ease of use, you can hook up your SmartGuider and be ready
within minutes. Once your imaging rig has been set up, polar aligned and
carefully balanced, here are the main steps to follow:
1. Make all the necessary connections:
a. Attach the camera to the guide scope, carefully locking the setscrews.
b. Connect the Control Paddle to both the camera head and the mount’s
ST-4 port using the appropriate RJ cables.
c. Connect the Control Paddle to a 12V DC power supply.
2. Turn the LVI SmartGuider on
3. Search for a suitable guide star
4. Focus with the SmartEye parfocal eyepiece (*)
5. Calibrate the mount (*)
6. Set the camera’s advanced options (*)
7. Start autoguiding.
(*) The steps marked with a star, such as focusing and calibration, could not
always be necessary. Please consult Section 4 (“Tips and Tricks”) for details.