Remove the protective ap from the remote control
batteries. During rst startup, the appliance starts in
comfort mode. When changing at batteries and a long pe-
riod has elapsed (more than 2 minutes), the appliance starts
in the previous operating mode.
The rst step is to adjust the time on your remote control.
This adjustment can be made from any mode and at any
time.
Press and hold the OK button for 5 seconds until the time
appears. Release it then press the OK button again.
The hour gure ashes. Use the «+ or -» buttons to adjust
then press OK to accept.
The minute gure ashes. Use the «+ or -» buttons to ad-
just then press OK to accept.
The day of the week ashes. Use the «+ or -» buttons to
adjust then press OK to accept.
The date ashes. Use the «+ or -» buttons to adjust then
press OK to accept.
The month ashes. Use the «+ or -» buttons to adjust then
press OK to accept.
The year ashes. Use the «+ or -» buttons to adjust then
press OK to accept.
You will now be returned to the previous mode after accepti
ng the nal setting. The time, date and year are now set on
your remote control. They will be used in Auto and Vacation
modes.
Note: Setting the time is not necessary if your remote
control is paired with the Touch E3 program controller (sold
separately), as the time is automatically synchronized.
To view the adjusted time, press and hold the OK button for
5 seconds until the time appears. It will remain displayed for
10 seconds before returning to the previous mode.
Important: You can always cancel the last setting by pres-
sing the return button . Also note that if the screen’s
background light is not turned on, simply press any button
to activate it.
To establish communications between the transmitter
(Remote Control) and the receiver (Thermostat) follow the
instructions below. This operati on is also known as pairing.
The radiator must be turned on.
On the thermostat:
Press and hold button «B» on the thermostat for 5 seconds.
Indicator light «A» ashes orange slowly. This is the signal
to release button «B» as the radiator is now in pairing
mode.
On the remote control:
1. Press and hold the OK butt on on the remote control for
10 seconds until the installer menu appears «bL no», the
symbol
appears.
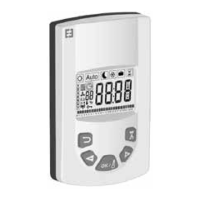
TRANSMITTER (REMOTE CONTROL)
2. Press the « + » button once, «rF INI» appears on the
screen. You are now at the pairing menu.
3. Press the «OK» button once, «INI» and the symbol
start ashing on the screen. Your radiator is
currently pairing. When the screen returns to the
previous mode, your rst radiator has been suc-
cessfully paired
4. You can pair another radiator by repeating the pre-
vious steps (On the thermostat and on the remote
control).
Note: You can access the installer menu from any
mode.
Important: If you have a Touch E3 program controller
(sold separately) installed in your system, always pair
the remote control rst then the radiator in accor-
dance with the operating modes described above and
in the Touch E3 instruction manual.
The Timer program
and vacation function will
then be handle by Touch E3 program controller and
the symbols will disappear from the Remote control
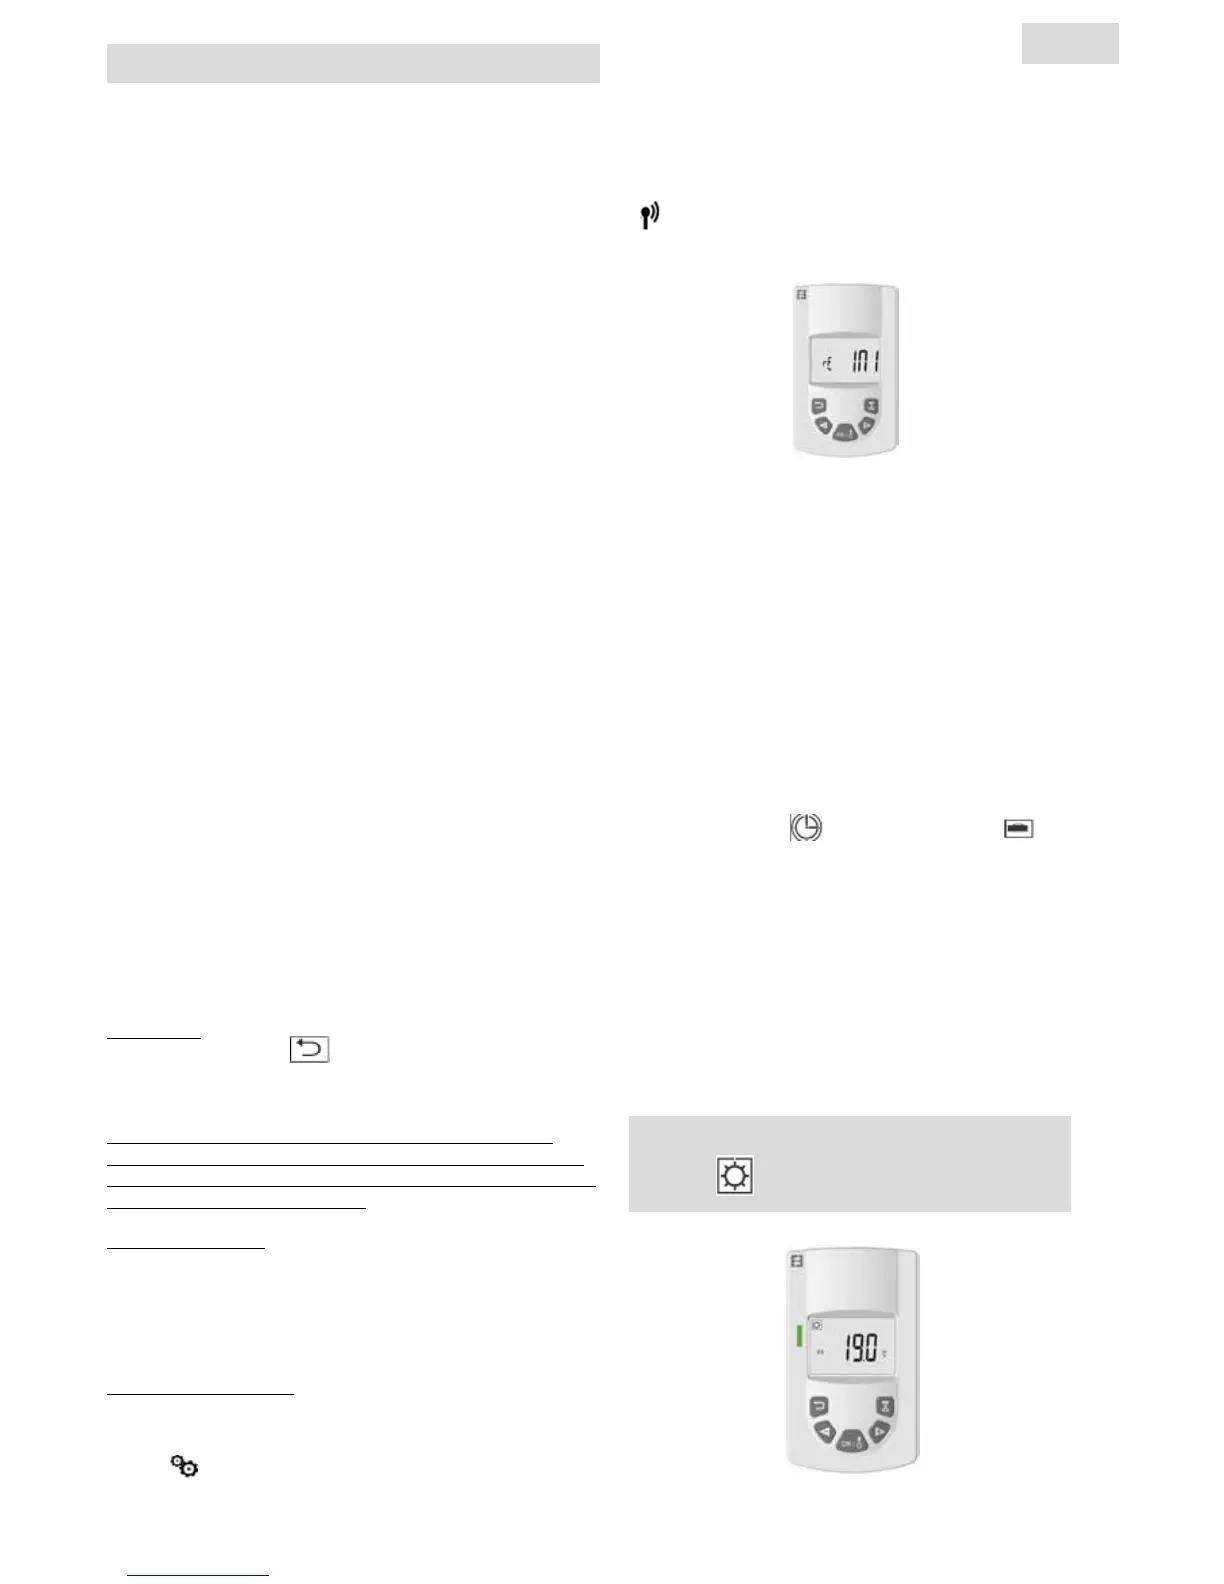
COMFORT TEMPERATURE OPERATING
MODE
DESCRIPTION OF
TRANSMITTER
MODES (REMOTE CONTROL)
5
EN