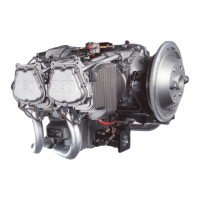
(25) Before the oil sump is installed, safety wire the nuts that will be inside the oil sump
shown in Figure 91.
Figure 91
Safety Wire Nuts in Crankcase Oil Sump
24. Crankshaft Oil Seal Installation
NOTICE: If a solid-ring oil seal (Figure 48) is not already installed on the crankshaft a solid-ring
oil seal or split oil seal (Figure 47) can be installed after the crankcase is assembled.
A. Install the solid-ring oil seal in the crankcase as follows:
(1) Install a solid-ring oil seal on the crankshaft per “Solid-Ring Oil Seal Installation“.
(2) Use solvent and wipe excess grease from the crankshaft flange.
CAUTION DO NOT APPLY MEK SOLVENT TO THE CRANKSHAFT OIL
SEAL SINCE MEK CAN CAUSE THE SEAL TO DETERIORATE. BE
SURE THAT ALL TRACES OF CLEANING SOLVENT, OIL AND
SEALANT ARE REMOVED PRIOR TO INSTALLATION OF A NEW
CRANKSHAFT OIL SEAL.
(3) Use ethyl alcohol and disposable wipes to clean the outer surface of the seal and the
crankcase seal bore recess. Make sure nothing comes in contact with the cleaned surfaces.
CAUTION USE A BRUSH AND BUTYL RUBBER GLOVES WHEN APPLYING
SEALANT AND INSTALLING THE OIL SEAL (FIGURES 92 AND 93).
NOTICE: In the next step, do not get sealant on the crankshaft. If any sealant gets on the
crankshaft, use acetone to remove all traces of sealant.
If Pliobond
®
#20 or Pliobond
®
#25 is substituted for Dow Corning
®
737 Neutral
Cure Sealant, refer to the manufacturer’s instructions for application details and
cure time.
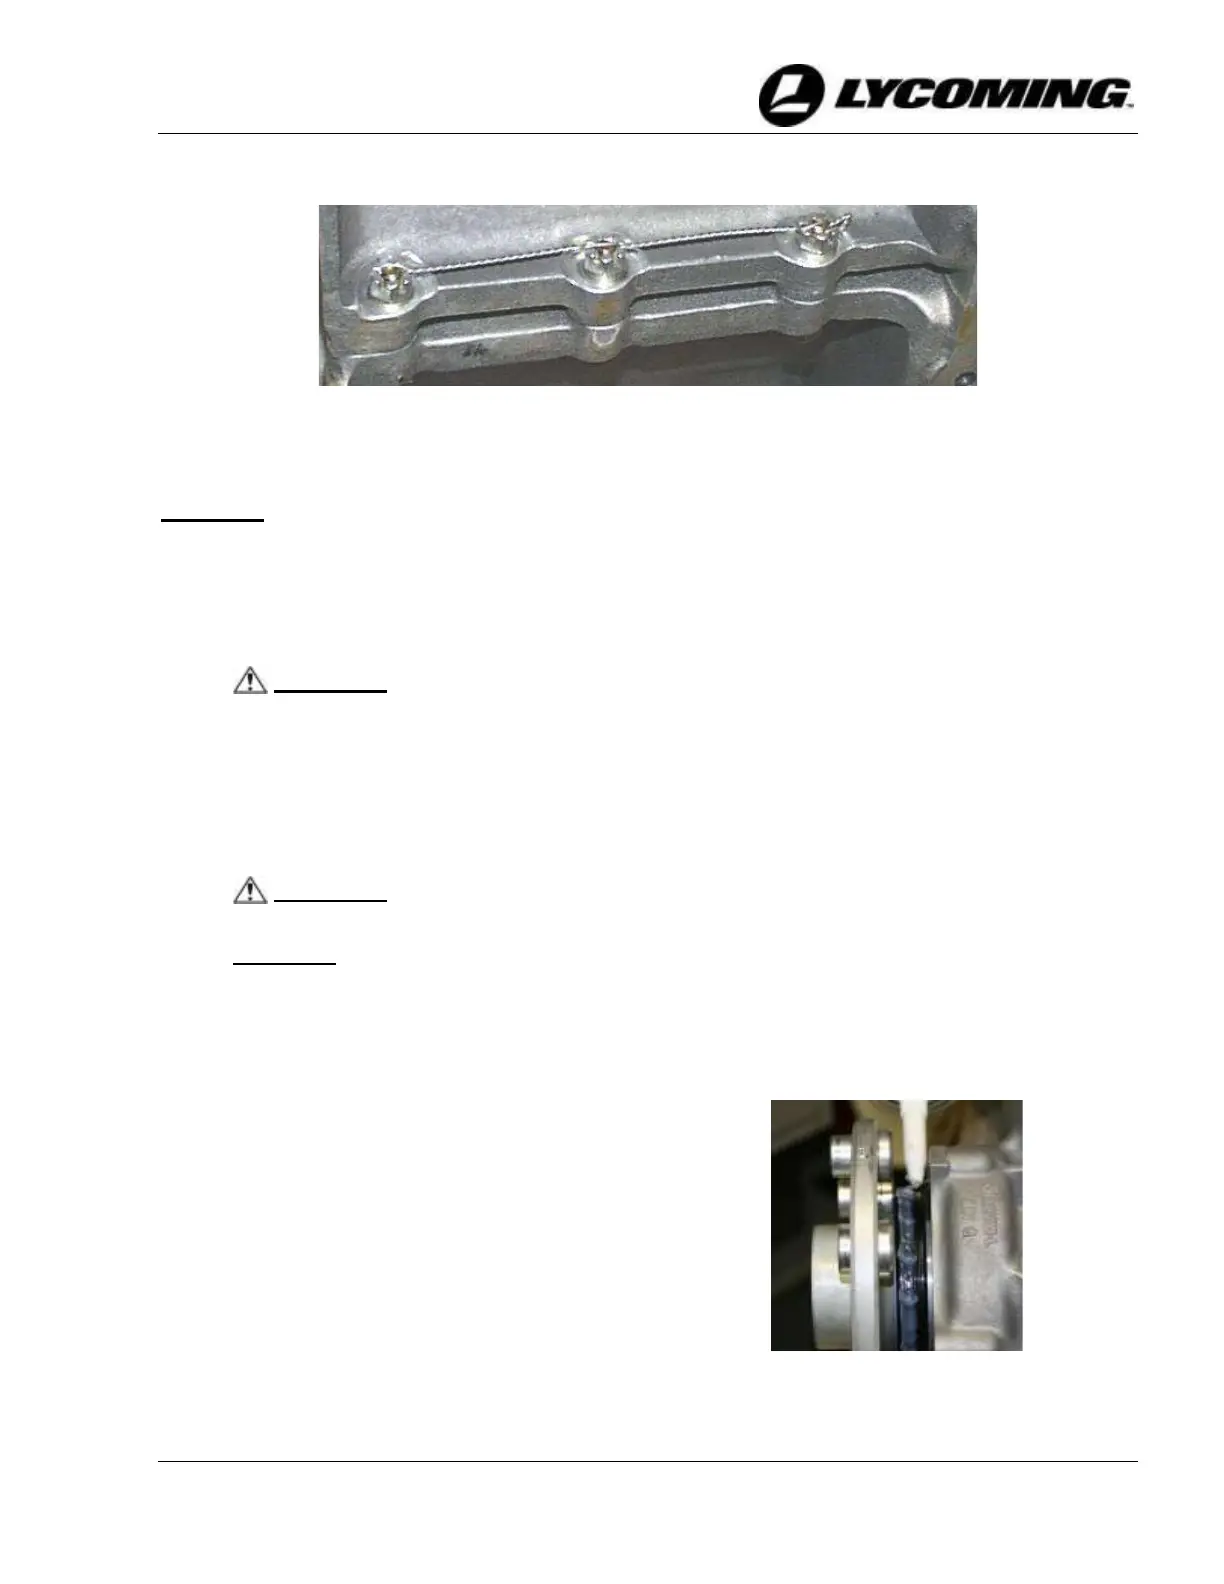
(4) Apply a liberal coating of Dow
Corning
®
737 Neutral Cure Sealant to
the outside diameter of the oil seal
(Figure 92) to allow the excess
sealant to squeeze out between the
crankcase and the oil seal when the
oil seal is installed.
(5) Press the solid-ring oil seal firmly
against the seat in the crankcase bore.
Apply pressure all around the seal
until it is firmly seated in the bore.
 Loading...