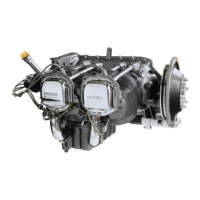
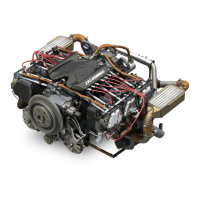
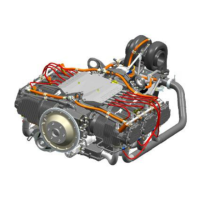
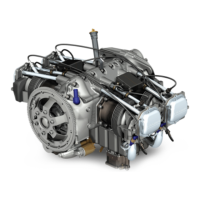
15. Cylinder Installation
NOTICE: Use a cylinder kit when installing a new cylinder. If a new cylinder #3 is installed it will
be necessary to install the fitting for the manifold pressure line that connects to the EIS
modules. Refer to Appendix A for fitting installation instructions.
If all cylinders are to be installed, install them by their firing order 1 - 3 - 2 - 4.
CAUTION INSTALL THE CYLINDER BASE OIL SEAL RING (FIGURE 23) AROUND
THE CYLINDER BASE. DO NOT USE ANY ADDITIONAL SEALANT OR
GASKET MATERIAL WHICH COULD DETERIORATE WHICH COULD
CAUSE A REDUCED TORQUE ON THE CYLINDER BASE STUDS.
NOTICE: Do not re-install the cylinder base oil seal ring which had been removed during cylinder
removal (and re-used as a support for connecting rods). Use a new cylinder base oil seal
ring.
A. Install a new cylinder base oil ring around the cylinder base for each engine cylinder.
B. Apply a light coat of engine oil mixture to the cylinder base oil seal ring.
C. Lubricate the inside diameter of the cylinder barrel with engine oil mixture (15% pre-
lubricant (STP or equivalent) and 85% SAE No. 50 mineral base aviation grade lubricating
oil) to the depth of the piston rings, approximately 2 in. (5 cm).
D. Apply one or a combination of any of the following lubricants to the outer three threads
(Figure 25) on all of the crankcase thru-studs and cylinder hold-down studs (Figure 26):
E. If not already done, install both rocker shafts in the cylinder head (Figure 24).
F. Use the Piston Ring Compressor (ST-485) to install the cylinders (Figure 27) as follows:
(1) Assemble the piston ring compressor (ST-485) over the top piston rings and install the
correct cylinder over the piston on the corresponding connecting rod, pushing the piston
ring compressor ahead with the cylinder barrel (Figure 28).
 Loading...