NOTE: Because improper connections may potentially make very
loud noises, it’s a good idea to have all monitor levels set low or
muted while hooking up audio equipment -- you may even choose
to turn your computer off before making the connections.
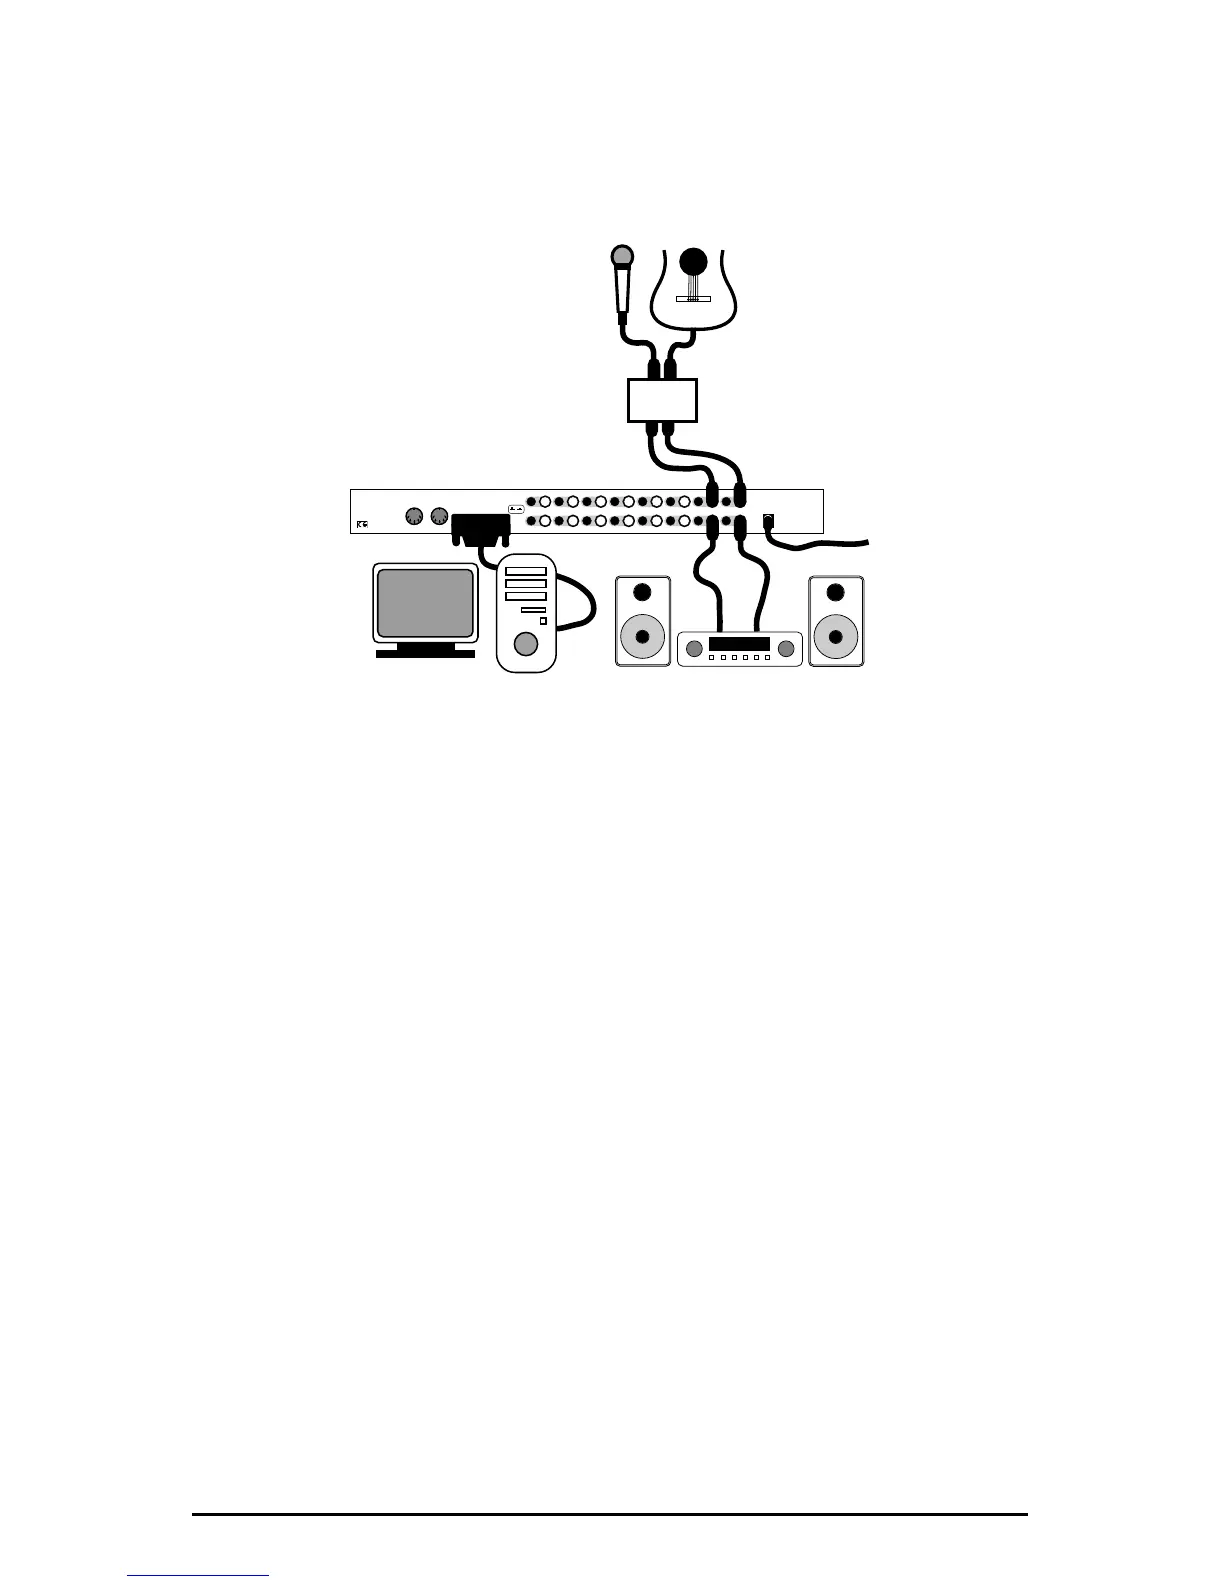
1. Plug the guitar into the channel-1 Line input of the pre-amp. Plug the
microphone into the channel-2 Mic input.
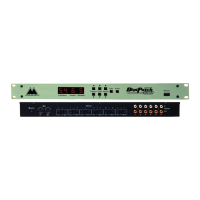
2. Plug the outputs 1 & 2 of the pre-amp into the Delta 1010’s analog inputs 1 &
2. Both are balanced outputs and inputs (respectively), so use a high quality
TRS cable. Most balanced lines run at +4dB line level, so let’s set our +4/-10
switches to +4dB on inputs 1 & 2. The +4 setting requires the +4/-10 button
to be pressed and locked to the "out" position.
3. Plug the hardware outputs 1 & 2 of the Delta 1010 to a sound system or power
amp with speakers. If your sound system is a consumer type, set the +4/-10
switches on outputs 1 & 2 to the –10 setting. The –10 setting requires the +4/-
10 button to be pressed and locked to the "in" position.
4. Turn on your equipment in this suggested order: pre-amp, computer, then
sound system.
We’re now physically set up to monitor, record, and play back audio. The next
steps involve configuring the Delta Control Panel software and the music
software into which you will be recording. We’ll start with the Delta Control
Panel’s "Hardware Settings" page, then the "Patchbay/Router" page, and finally
the "Monitor Mixer" page. We’re not using S/PDIF in this example so we’ll
ignore the S/PDIF page.
 Loading...