Any problem, please feel free to contact us.
3
Install CPU & Fan
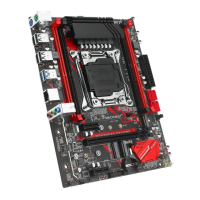
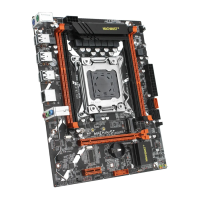
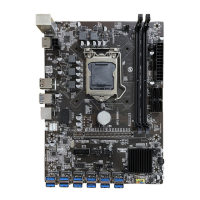
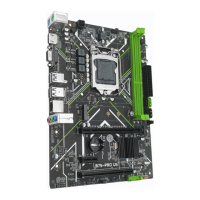
Please install the CPU into the CPU socket (LGA 2011‐3) as shown below.
Important
• Make sure that the motherboard supports the CPU.
• Always unplug the power cord from the power outlet before installing or removing the
CPU to prevent hardware damage.
• Please retain the CPU protective cap after installing the processor.
• Do not turn on the computer if the CPU cooler is not installed, otherwise overheating and
damage to the CPU may occur.
• Confirm that the CPU heatsink has formed a tight seal with the CPU before booting your
system.
• Apply an even layer of thermal paste (or thermal tape) between the CPU and the heatsink
to enhance heat dissipation.
• Whenever the CPU is not installed, always protect the CPU socket pins by covering the
socket with a plastic cap.
• Locate the pin one of the CPU socket and the CPU. Once the C PU is positioned into its
socket, place one finger down on the middle of the CPU, lowering the locking lever and
latching it into the fully locked position.
• Do not force the CPU into the CPU socket before the CPU sock et locking lever is lifted up,
or damage to the CPU and C PU socket may occur.
• Connect the CPU heatsink's 4pin fan power connector to the 4pin CPU fan header on the
motherboard.
• Please be sure to plug in the 8‐PIN power supply to power the CPU.

 Loading...