Doc. code 1080100090 Version: 2015_03_03 5
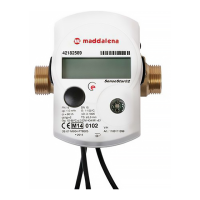
5.2 Mounting the temperature sensors 6 mm of the MSH-AStar
5.2.1 Direct-mounting the temperature sensors of the MSH-AStar
Important notes
- Close the shut-off valves and make sure that no hot water can escape upon removal of the blind plug or
the old temperature sensor!
- Prepare both temperature sensors: Push the O-ring into the middle groove.
- Insert the temperature sensors into the measuring point of EAT and ball valve or T-piece and tighten using
the coupling nuts.
- Reopen all ball valves and check installation points for leakage.
- Protect the installation points (meter and temperature sensors) against manipulation by securing with the
seals and sealing wires.
6 Start of Operation
- Slowly open the shut-off valves.
- Check that there are no leaks.
Check the following points:
- Are all shut-off valves open?
- Is the meter of the right size?
- Is the heating (heating/cooling) system clear (dirt filters not clogged)?
- Are the temperature sensors and the flow sensor sealed (against manipulation)?
- Is a flow volume displayed?
- Is a plausible temperature difference displayed?
When the meter is functioning properly, attach the seals to the temperature sensors and the flow sensor
(required to protect against manipulation).