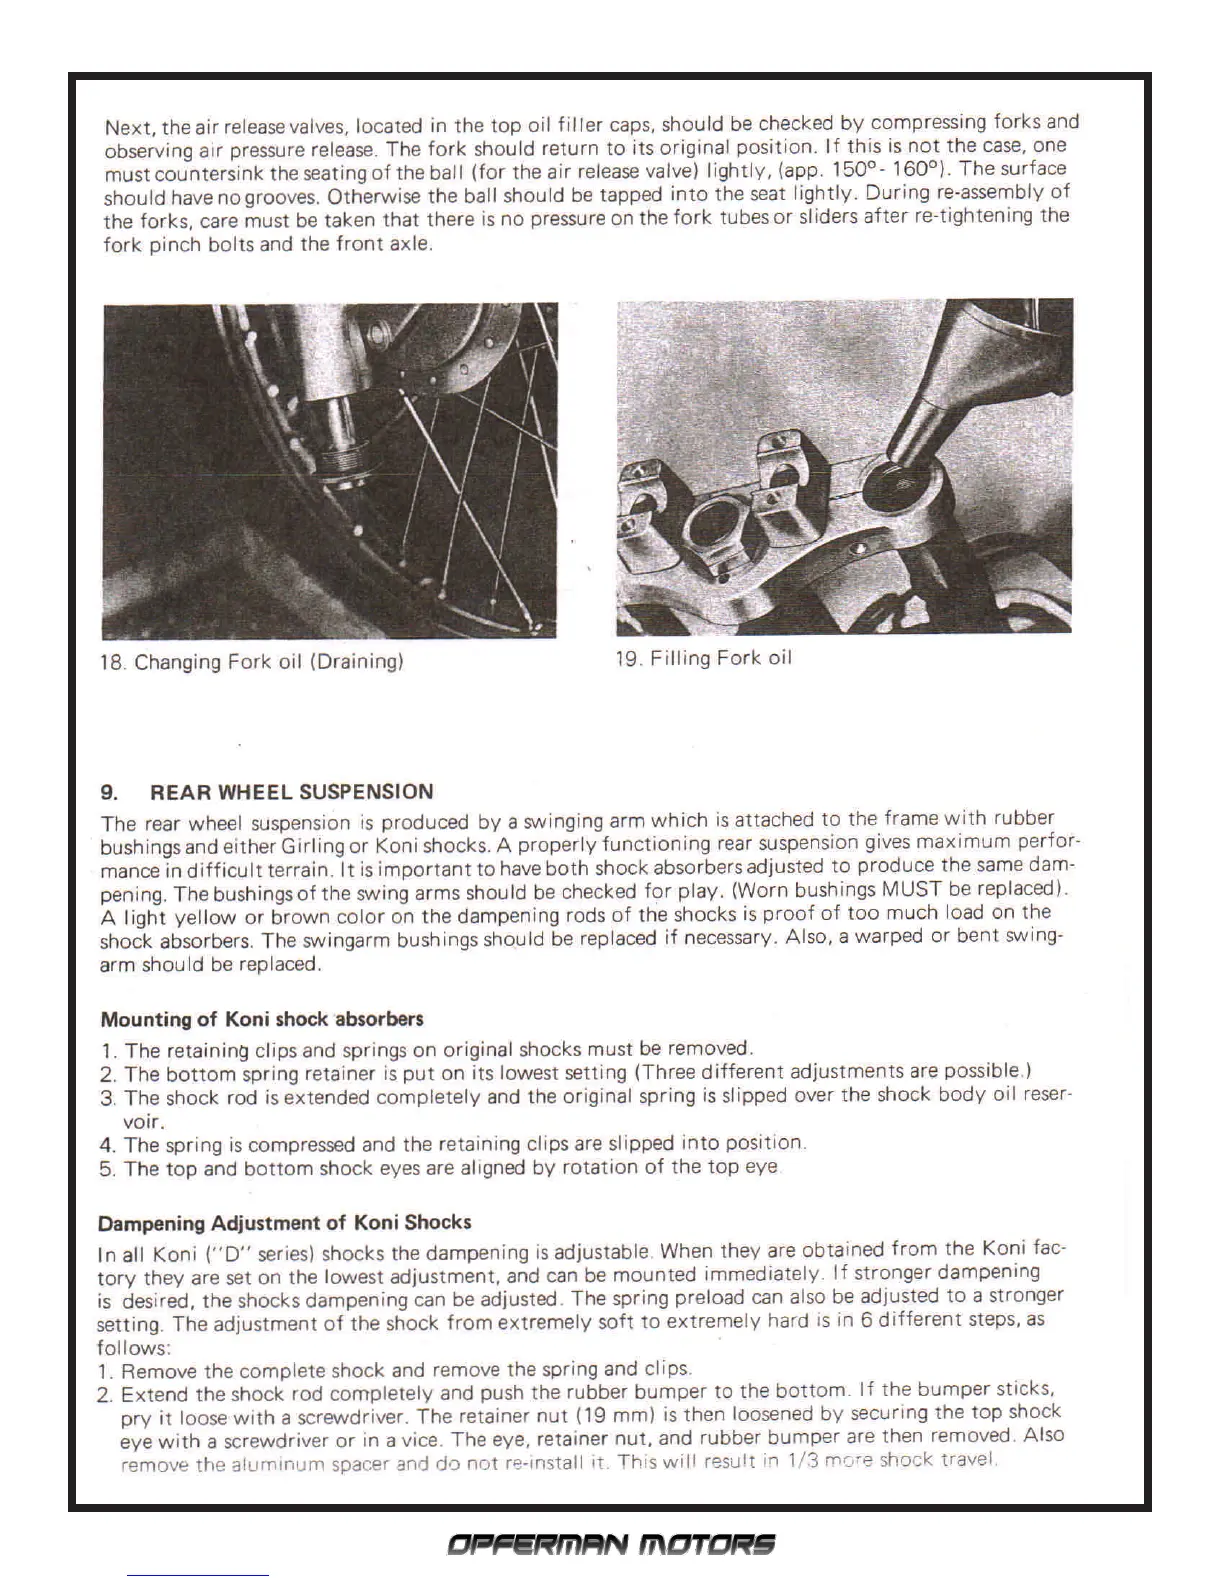
Next, the air release valves, located in the top oil filler caps, should be checked by compressing forks and
observing air pressure release. The fork should return to its original position. If this is not the case, one
must countersink the seating of the ball (for the air release valve) lightly, (app. 150°- 160°). The surface
should have no grooves. Otherwise the ball should be tapped into the seat lightly. During re-assembly of
the forks, care must be taken that there is no pressure on the fork tubes or sliders after re-tightening the
fork pinch bolts and the front axle.
18. Changing Fork oil (Draining)
19. Filling Fork oil
-
9. REAR WHEEL SUSPENSION
The rear wheel suspension is produced by a swinging arm which is attached to the frame with rubber
bushings and either Girling or Koni shocks. A properly functioning rear suspension gives maximum perfor-
mance in difficult terrain. It is important to have both shock absorbers adjusted to produce the same dam-
pening. The bushings of the swing arms should be checked for play. (Worn bushings MUST be replaced).
A I ight yellow or brown color on the dampening rods of the shocks is proof of too much load on the
shock absorbers. The swingarm bushings should be replaced if necessary. Also, a warped or bent swing-
arm should be replaced.
Mounting of Koni shock absorbers
1. The retainin9 clips and springs on original shocks must be removed.
2. The bottom spring retainer is put on its lowest setting (Three different adjustments are possible.)
3. The shock rod is extended completely and the original spring is slipped over the shock body oil reser-
voir.
4. The spring is compressed and the retaining clips are slipped into position.
5. The top and bottom shock eyes are al igned by rotation of the top eye
Dampening Adjustment of Koni Shocks
In all Koni ("0" series) shocks the dampening is adjustable. When they are obtained from the Koni fac-
tory they are set on the lowest adjustment, and can be mounted immediately. I f stronger dampening
is desired, the shocks dampening can be adjusted. The spring preload can also be adjusted to a stronger
setting. The adjustment of the shock from extremely soft to extremely hard is in 6 different steps, as
follows:
1. Remove the complete shock and remove the spring and clips.
2. Extend the shock rod
completely and push the rubber bumper to the bottom. If the bumper sticks,
pry it loose with a screwdriver. The retainer nut (19 mm) is then loosened by securing the top shock
eye with a screwdriver or in a vice. The eye, retainer nut, and rubber bumper are then removed. Also
remove the alurnlnum spacer and do not rB-lnstall it. This will result in 1/.3
me",?
shock travel.