Do you have a question about the Makita FD06 and is the answer not in the manual?
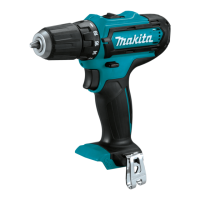
The Makita Cordless Driver Drill, models FD05 and FD06, is a versatile power tool designed for drilling and fastening applications. This manual provides comprehensive instructions for its safe and effective use, maintenance, and a list of optional accessories.
The Cordless Driver Drill is equipped with a switch trigger for operation, allowing for variable speed control based on pressure applied. It features an electric brake that stops the tool quickly upon release of the switch trigger. A front lamp illuminates the work area, remaining lit while the switch trigger is pulled and for approximately 10 seconds after release.
The tool incorporates a reversing switch lever to change the direction of rotation, enabling both clockwise and counterclockwise operation. This lever also serves as a lock when in the neutral position, preventing unintentional starting.
A key feature is the adjustable fastening torque, which can be set in 19 steps using an adjusting ring. This allows for precise control over the fastening force, preventing overtightening or damage to materials. The clutch mechanism engages at torque levels from 1 to 18, with the maximum torque achieved at the marking.
The drill also offers a two-speed mechanical gear selection: "1" for low speed and high torque, suitable for heavy-duty operations, and "2" for high speed and low torque, ideal for light-duty tasks. The speed change lever should be fully engaged in the desired position before operation to prevent damage.
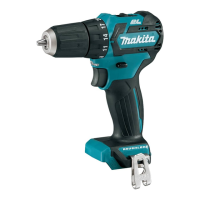
For battery management, the tool is equipped with a battery protection system that automatically cuts off power to the motor under conditions of overload or low battery voltage, extending battery life. Battery cartridges with a "B" at the end of their model number feature indicator lamps and a check button to display the remaining battery capacity.
The tool can also be used as a hand screwdriver by setting the reversing switch to neutral and the adjusting ring to the marking. This mode is useful for checking screwdriving but not for tasks requiring excessive force.
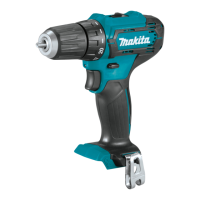
The FD05 and FD06 models share several core specifications but differ in overall length and net weight.
Drilling Capacities:
Fastening Capacities:
No Load Speed (RPM):
Overall Length:
Rated Voltage: D.C. 10.8 V - 12 V max
Standard Battery Cartridge: BL1016, BL1021B, BL1041B
Net Weight (with battery cartridge, according to EPTA-Procedure 01/2003):
Installing/Removing Battery Cartridge: Always switch off the tool. Hold the tool and battery cartridge firmly. Align the tongue on the cartridge with the groove in the housing and slide it in until it locks with a click. A red indicator on the button's upper side means it's not fully locked. To remove, slide the button and pull the cartridge out.
Installing/Removing Driver/Drill Bit (FD05): Turn the sleeve counterclockwise to open the chuck jaws. Insert the bit as far as it goes, then turn the sleeve clockwise to tighten. Reverse to remove.
Installing/Removing Driver/Socket Bit (FD06): Pull the sleeve in the direction of the arrow, insert the bit fully, and release the sleeve to secure. Pull the sleeve and bit out to remove. Ensure the bit is firmly secured before use. Only use driver/socket bits shown in the figure (12 mm (15/32") or 9 mm (3/8")).
Installing Driver Bit Holder (Optional Accessory): Fit the holder into the protrusion at the tool foot (right or left side) and secure with a screw. It can store 45 mm (1-3/4") driver bits.
Installing Hook: The hook can be installed on either side of the tool by inserting it into a groove and securing it with a screw. It's convenient for temporarily hanging the tool.
Screwdriving Operation: Adjust the adjusting ring to the proper torque level. Ensure the driver bit is inserted straight into the screw head. Apply pressure, start slowly, and gradually increase speed. Release the switch trigger when the clutch cuts in. For wood screws, pre-drill a pilot hole 2/3 the screw's diameter to ease driving and prevent splitting.
Drilling Operation: Turn the adjusting ring to the marking.
General Maintenance: Always ensure the tool is switched off and the battery cartridge is removed before any inspection or maintenance. Do not use gasoline, benzine, thinner, alcohol, or similar substances, as they can cause discoloration, deformation, or cracks. For product safety and reliability, repairs and adjustments should be performed by Makita Authorized or Factory Service Centers using genuine Makita replacement parts.
Battery Life Tips:
Battery Protection System: The system automatically cuts off power to the motor to extend battery life under conditions of overload or low battery voltage. If the tool stops due to overload, release the switch trigger, stop the application, and restart. If it doesn't restart, the battery is overheated and needs to cool down. If it stops due to low battery voltage, remove and recharge the battery.
Indicating Remaining Battery Capacity: For battery cartridges with "B" at the end of the model number, press the check button to illuminate indicator lamps for a few seconds, showing the remaining capacity (75-100%, 50-75%, 25-50%, or 0-25%). Note that the indication may vary slightly depending on use conditions and ambient temperature.