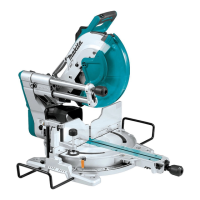
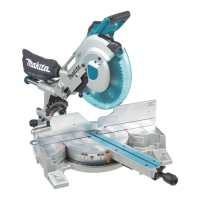
30 ENGLISH
If the pointer does not indicate the 45° position, align
it with 45° position by turning the adjusting bolt on the
opposite side of the bevel angle scale.
1
2
► 1. Left 45° adjusting bolt 2. Right 45° adjusting bolt
Adjusting the sub fences
Adjust the sub fences on the sub bases if they are not
aligned with guide fences.
1. Loosen the bolts securing the sub fences using
the hex wrench.
2. Place a straight rigid bar, such as a square steel
member, at against the guide fences.
3. While the bar is at against the guide fences,
place the sub fences so that the face of the sub fence
becomes at against the bar. After that, tighten the
bolts.
3
4
2
4
1
► 1. Bolt 2. Sub fence 3. Guide fence 4. Rigid bar
Adjusting the laser line position
For model LS1219L only
WARNING: The tool must be plugged in while
adjusting the laser line. Take extra care not to
switch on the tool during adjustment. Accidental
start up of the tool may result in serious personal
injury.
CAUTION: Never look directly into the laser
beam. Direct eye exposure to the beam could cause
serious damage to your eyes.
NOTICE: Check the position of laser line regu-
larly for accuracy.
NOTICE: Beware that impacts to the tool. It may
cause the laser line to be misaligned or may cause
damage to the laser, shortening its life.
NOTICE: Have the tool repaired by a Makita
authorized service center for any failure on the
laser unit.
The movable range of laser line is decided by the range
adjustment screws on both sides. Perform following
procedures to alter the laser line position.
1. Unplug the tool.
2. Draw a cutting line on the workpiece and place it
on the turn base. At this time, do not secure the work-
piece with a vise or similar securing device.
3. Lower the handle and align the cutting line with
the saw blade.
4. Return the handle to the original position and
secure the workpiece with the vertical vise so that the
workpiece does not move from the position you have
determined.
5. Plug in the tool and turn on the laser switch.
6. Loosen the adjusting screw. To move the laser line
away from the blade, turn the range adjustment screws
counterclockwise. To move the laser line close to the
blade, turn the range adjustment screw clockwise.
 Loading...