Fig. 13
[3] DISASSEMBLY/ASSEMBLY
[3] -4. Front grip
DISASSEMBLING
1. Insert a slotted screwdriver into the gap between Front
handle and Switch lever B, and push Switch lever B
toward the direction designated with black arrow.
One of Boss of Switch lever B is removed from the hole
of Front handle.
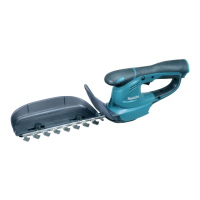
(1) Remove Front grip section without disassembling Under cover as drawn in Fig. 13.
Boss of Switch lever B M5x25 Pan head screw
Front grip
Switch lever B
Front grip
Compression
spring 5
Repair
P 8/ 13
Fig. 14
ASSEMBLING
(1) Assemble Front grip as drawn in Fig. 14.
(2) Assemble Protector to Front grip. Refer to Fig. 4.
Compression
spring 5
1. While hooking the claw of Switch lever B
to Front grip, assemble Front grip to
Switch lever B.
2. Push Switch lever B toward Front grip,
and fit the bosses of Switch lever B to
the holes of Front grip.
Claw
Boss of Switch lever B
Front grip
Switch lever B
Front grip
Boss of Switch lever B Hole of Front grip
Switch lever B
Boss of Switch lever B
Switch lever
Slotted screwdriver
2. Remove the other boss of Switch lever B
in the same step.
3. Remove M5x25 Pan head screws on the both
side of Housing set.
<Note in Disassemble>
Pay attention not to lose Compression spring 5
when disassembling Front grip.
 Loading...