6
CAUTION:
• Since excessive cutting may cause overload of the
motor or difficulty in controlling the tool, the depth
of cut should not be more than 20 mm at a pass
when cutting grooves. When you wish to cut
grooves more than 20 mm deep, make several
passes with progressively deeper bit settings.
• Do not lower the knob too low. The bit will protrude
dangerously.
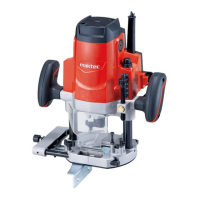
Stopper block
1
2
3
4
5
013293
As the rotary stopper has three adjusting hex bolts, you
can easily obtain three different depths of cut without
readjusting the stopper pole. To adjust the hex bolts,
loosen the hex nuts on them and turn the hex bolts.
After obtaining the desired position, tighten the hex nuts
to secure the hex bolts.
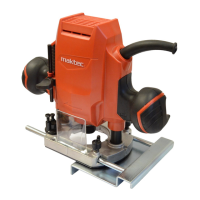
Switch action
1
013294
CAUTION:
• Before plugging in the tool, always check to see
that the tool is switched off.
• Make sure that the shaft lock is released before
the switch is turned on.
To start the tool, move the switch lever to the I position.
To stop the tool, move the switch lever to the O position.
CAUTION:
• Hold the tool firmly when turning off the tool, to
overcome the reaction.
ASSEMBLY
CAUTION:
• Always be sure that the tool is switched off and
unplugged before carrying out any work on the
tool.
Installing or removing the bit
1
2
013295
CAUTION:
• Install the bit securely. Always use only the wrench
provided with the tool. A loose or overtightened bit
can be dangerous.
• Do not tighten the collet nut without inserting a bit
or install small shank bits without using a collet
sleeve. Either can lead to breakage of the collet
cone.
Insert the bit all the way into the collet cone. Press the
shaft lock to keep the shaft stationary and use the
wrench to tighten the collet nut securely. When using
router bits with smaller shank diameter, first insert the
appropriate collet sleeve into the collet cone, then install
the bit as described above.
To remove the bit, follow the installation procedure in
reverse.
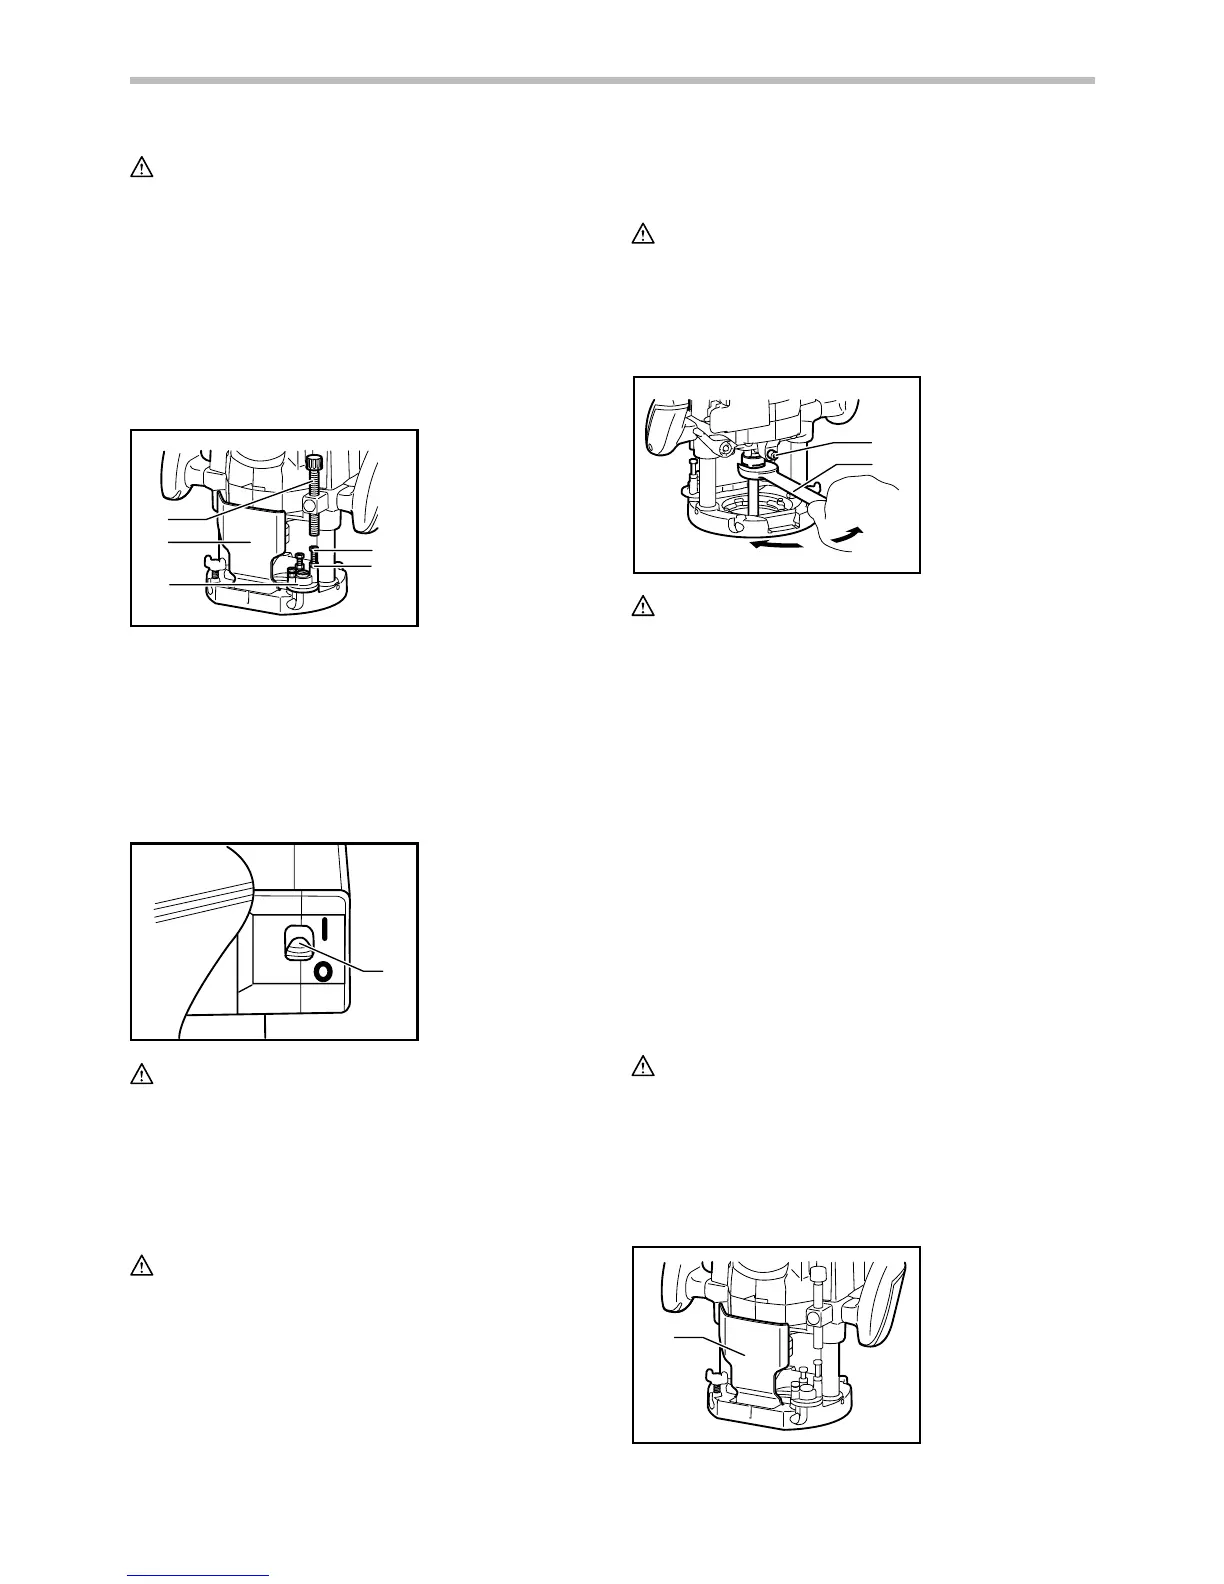
OPERATION
CAUTION:
• Before operation, always make sure that the tool
body automatically rises to the upper limit and the
bit does not protrude from the tool base when the
lock lever is loosened.
• Before operation, always make sure that the chip
deflector is installed properly.
1
013296
1. Chip deflector
1. Shaft lock
2. Wrench
1. Switch lever
1. Stopper pole
2. Chip deflector
3. Stopper
4. Adjusting hex
bolt
5. Hex nut
 Loading...