Remove the front and rear lens caps. The
front lens cap can be removed by
pressing in the tabs on the right and left
with your fingers and pulling the cap
towards you. The rear lens cap can be
removed by rotating it counterclockwise.
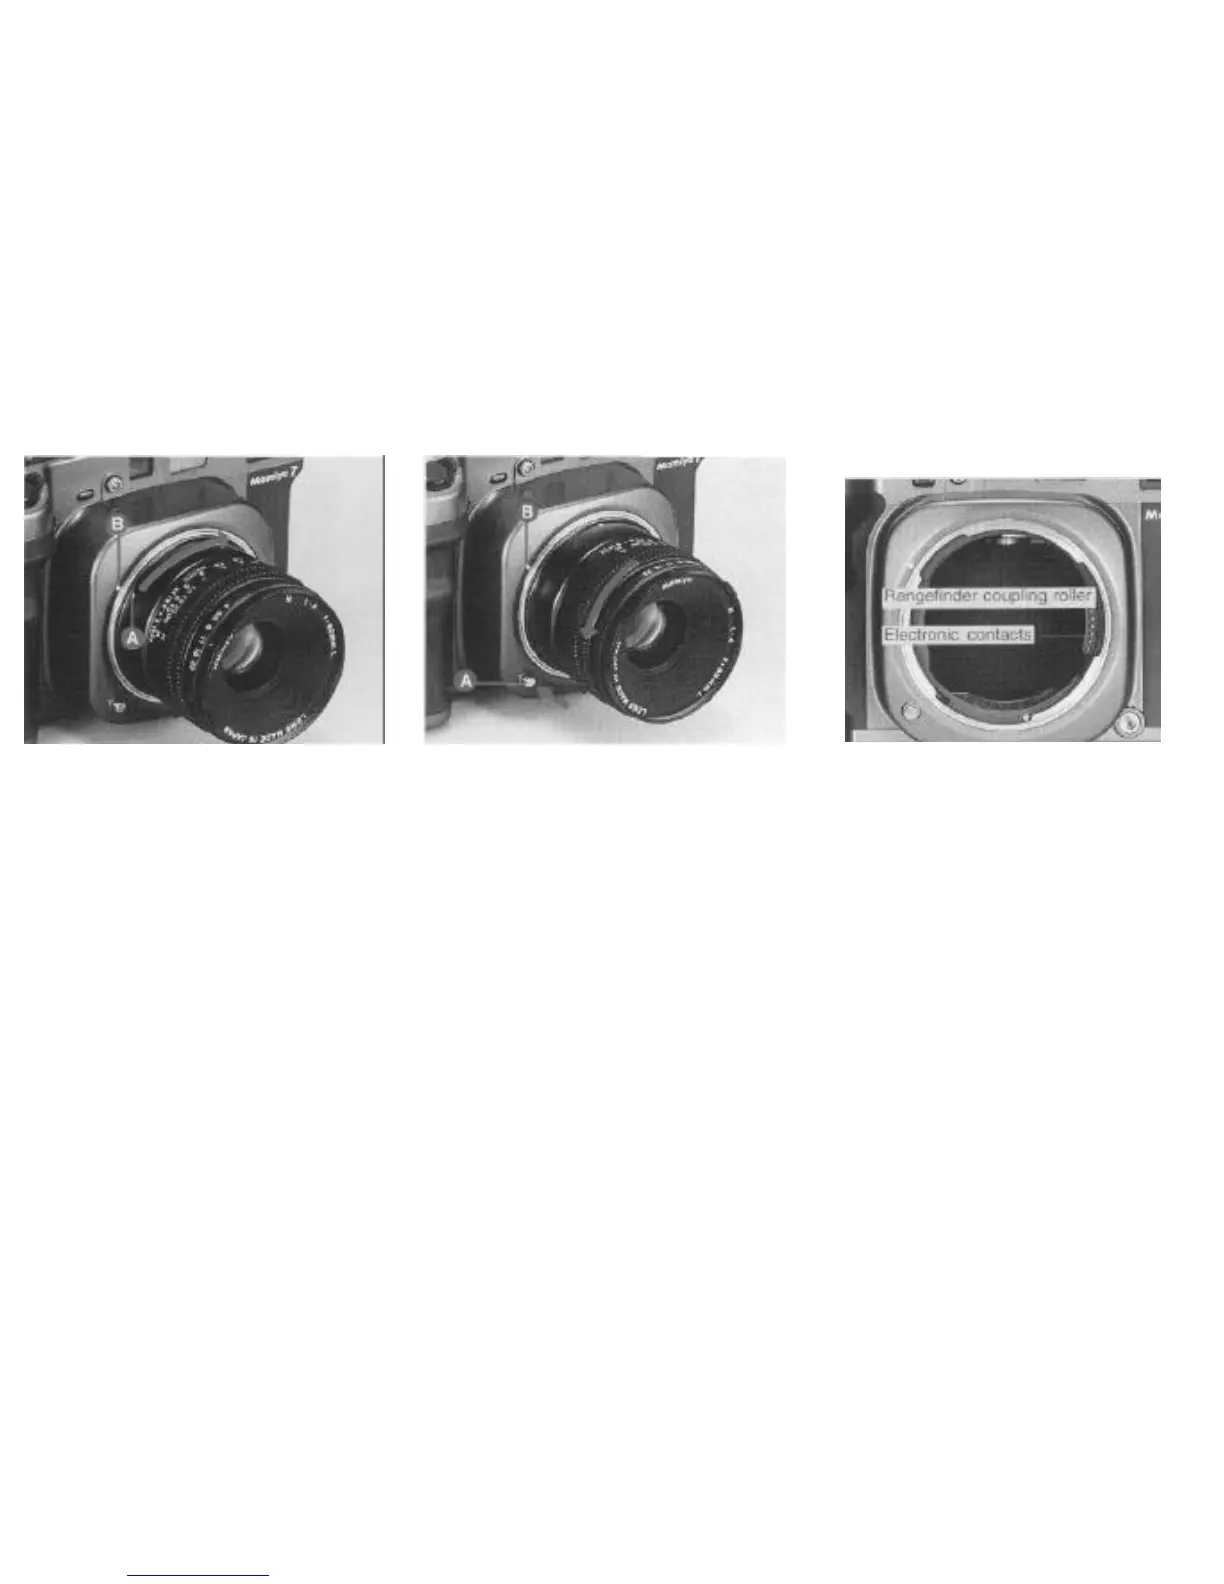
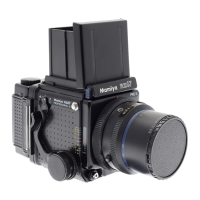
Align Lens Alignment Dot “A” with the
Camera Alignment Dot “B”. Insert the lens
into the camera body. Then turn the lens
in the direction of the arrow (clockwise)
until it clicks and locks into place.
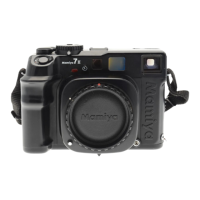
Same method as removing the camera
body cap. While pressing in the lens
release button “A”,
rotate the lens in the
direction of the arrow until the lens
alignment dot is lined up with the white
alignment dot “B”on the camera body.
Changing lens
* When the lens has been removed and
film remains in the camera body, avoid
exposure to direct sunlight as film fogging
may result.
* Put the front and rear lens cap on the
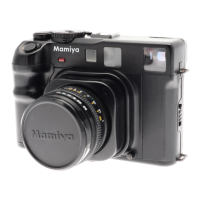
1) As the rangefinder coupling roller
is precisely adjusted, be sure not to
touch with your hand or move it with
finger.
2) Gold plated electronic contacts
are located inside the bayonet
mount and at the rear of each lens.
If oil , dirt, or other foreign matter
collects on the contacts, poor
electronic information transfer may
result. When soiled, use a clean