Introduction
The finder displays a laterally correct unreversed image and is ideal for action photography.
The eyepiece features adjustable diopter corrections from +5 to -5.
Two metering modes are available, aperture priority auto exposure (A E) and manual metering.
Four colored LEDs, orange to indicate AE Mode, green to indicate a correct exposure, and
two red LEDs to indicate an over or under exposure are displayed on the left side of t h e
finder’s eyepiece.
The finder is very useful for quick and accurate focusing.
Precautions
The FK402 A E F i n d e r is designed for 645 PRO camera and cannot be fitted to t h e M645 Super
camera.
Make sure that the finder is firmly fixed to the camera body.
There are 15 electrical cont act pins on the front and lower part of the AE finder. Should dirt or
grease adhere to these pins, electronic coupling may be impaired and result in a malfunction of
the Finder's AE metering. If the contacts need cleaning, remove the finder f r o m t h e
c a m e r a b o d y and use a soft, clean cloth to gently and thoroughly clean them.
The battery in the camera body is used for the metering circuits of the A E finder. Be sure to
check the camera’s battery to assure proper operation of the A E finder.
Be sure to adjust the finder’s Diopter Adjustment Ring for your eyesight before focusing.
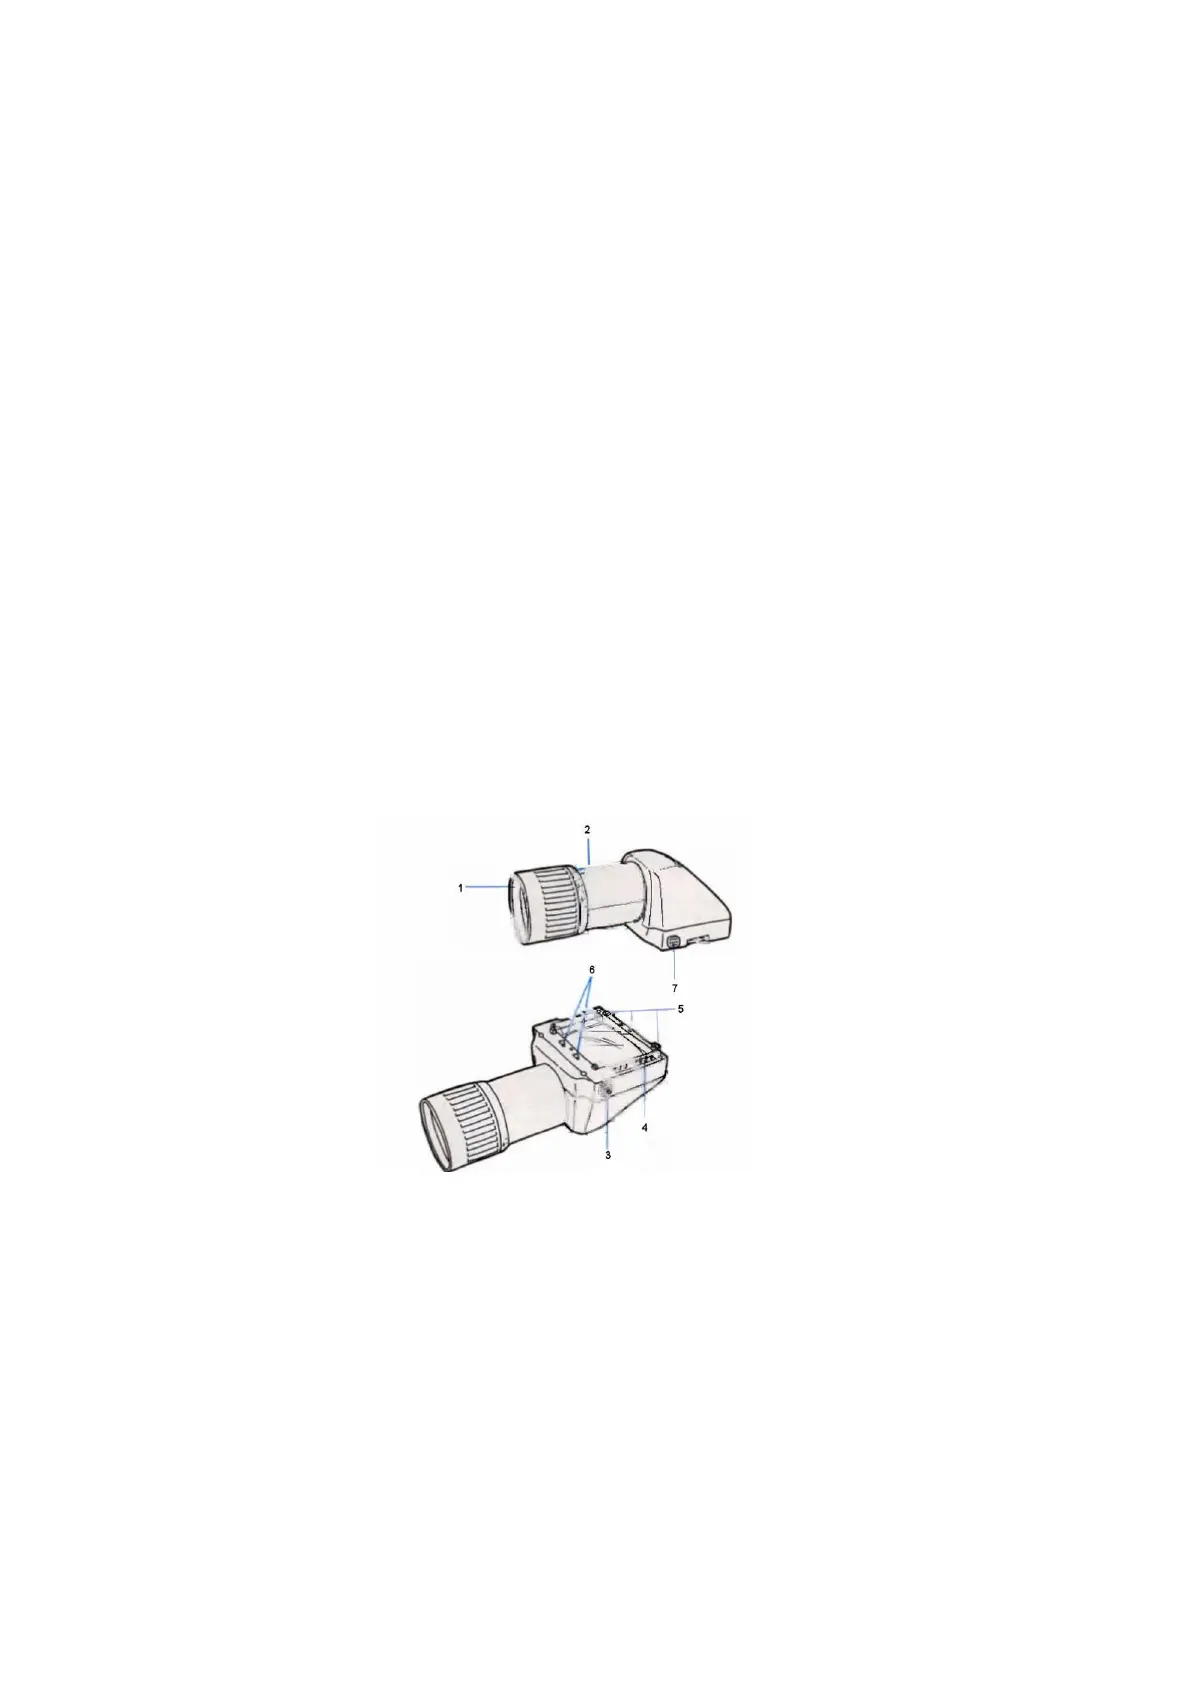
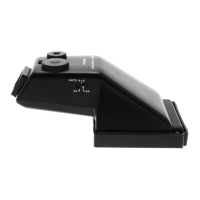
Names of Parts
1) Rubber Eyecup 2) Diopter Adjustment Ring
3) Electrical Contact Pins 4) Lock Release Button
5) Attaching Latches 6) Attaching Pins
7) Lock Button