INTERCOM - A speaker with its switch set in the INTERCOM
position will hear all intercom communications
(including the chime, if used), but will not hear the
audio sources (FM, AM, AUX, and TAPE).
RADIO-INT A speaker with its switch set in the RADIO-INT
position will hear the audio sources (FM, AM, AUX,
and TAPE) as well as all intercom communications
(including the chime, if used).
OFF A speaker with its switch set in the OFF position will
not hear anything.
MONITOR A speaker with its switch set in the MONITOR
position will not hear anything, but the speaker will be
used as a microphone. Any sounds that this
microphone picks up will be added to the selected
source and heard from any speaker that is in the
RADIO-INT position. The MONITOR position can be
used to listen to (monitor) a baby's or elderly person's
room.
NOTE: The sounds from the MONITORED room will
be added to the selected source--means that if you
are listening to the FM radio in the Living room and
the baby starts crying in the MONITORED baby's
room, the baby's crying will be combined with the FM
radio and you will hear both at the same time.
To listen only to the MONITORED room, simply turn
the MC350A off.
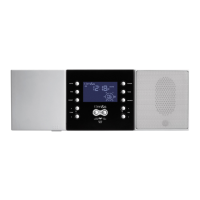
Your MC350A may be equipped with either a 3-note or an 8-note Door Chime.
This optional chime rings through the Master speaker or any room speaker
and mutes the radio when the doorbell button is pressed.
IMPORTANT: At least one speaker (Master or Room Speaker) must be in the
RADIO-INT or INT position for the Door Chime to function. The volume of the
chime is controlled at each speaker with the speaker volume knob.
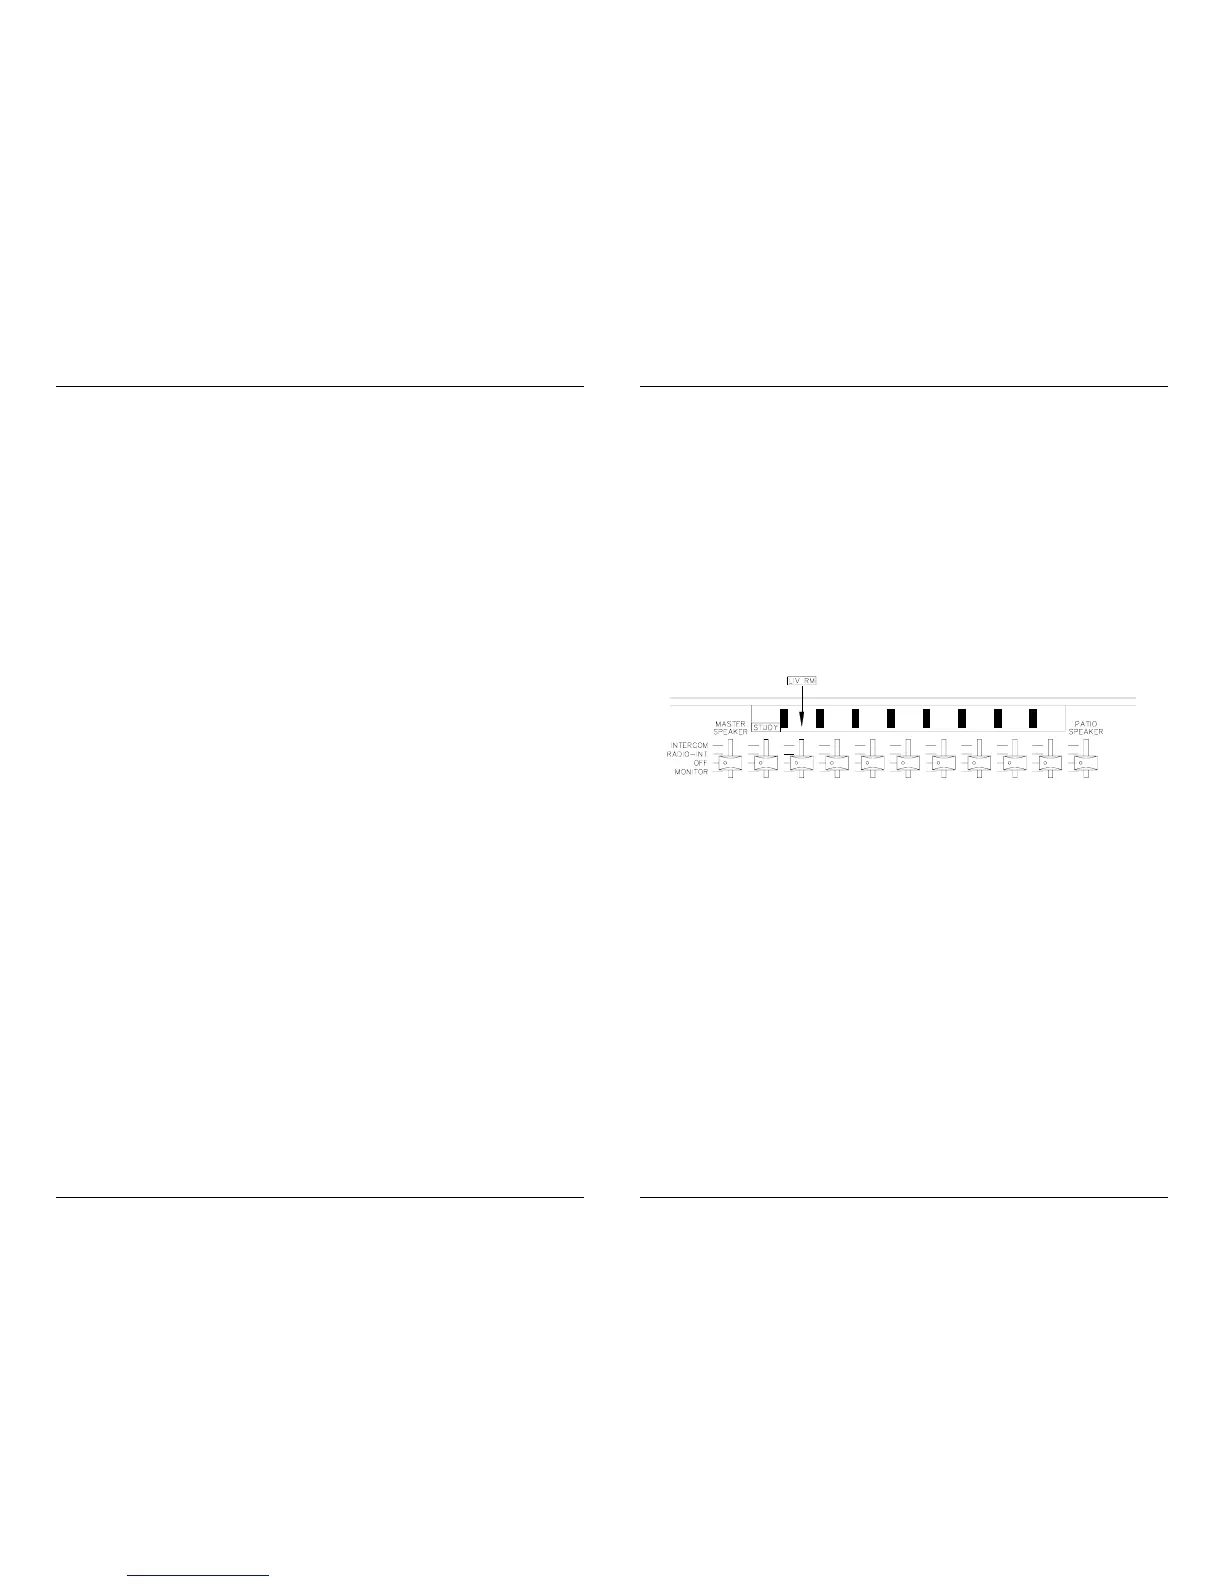
You can customize your MC350A by using the optional Room Switch label
and Room Stickers. Install the large label over the 1 through 9 Room
Speaker area (the top of the label should be even with the edge of the
faceplate and the ridges of the label should be centered between the room
switches. After turning the radio on, switch one Room Speaker to RADIO-
INT at a time to determine the location it controls. Place the sticker which
best describes this location on the label above the corresponding switch
(the sticker should be located between the ridges of the label with the
bottom of the sticker even with the bottom of the label).