14 Operator’s Manual
Cordless Tiller/Cultivator Operation (Continued)
GENERAL OPERATION
1. Check the tiller/cultivator, its battery as well as accessories for damage before each
use. Do not use tiller/cultivator if it is damaged or shows wear.
2. Double check that the tines are properly fastened.
3. Always hold the tiller/cultivator by its handles. Keep the handles dry to ensure safe
support.
4. During transportation of the tiller/cultivator, the operator must control the handles with
two hands.
5. Ensure that the air vents are always unobstructed and clear. Clean them if necessary
with a soft brush. Blocked air vents may lead to overheating and damage the product.
6. Switch the tiller/cultivator off immediately and wait for moving parts to stop if you are
interrupted while working by other people entering the working area. Always let the
tiller/cultivator come to a complete stop before taking your eyes off the machine.
7. Do not overwork yourself. Take regular breaks to ensure you can concentrate on the
work and have full control over the tiller/cultivator.
In some countries regulations dene
at what time of the day and on what
special days products are allowed to
be used and what restrictions apply!
Ask your local agencies for all detailed
information and observe regulations!
23
ensures that all the ground is tilled without missing any spots.
Fig.3
7. Pay special attention when changing direction. Apply light pressure onto the
handle so that the tines are lifted to make a turn. Turn the product around
guided by the wheels. Gradually release pressure and move the tines back to
the ground.
WARNING! Stop the motor, if the product strikes a foreign
object! Switch the product off, disconnect it from the power
supply and let it cool down. Inspect the product thoroughly for
damage! Have any damage repaired before restarting!
Extensive vibration of the product during operation is an
indication of damage! Stop the motor. The product should be
promptly inspected and repaired!
After use
1. Switch the product off, disconnect it from the power supply and let it cool
down.
2. Check, clean and store the product as described below.
22
Tilling
1. Make sure that the working area is clear of stones, sticks, wire or other
objects that could damage the product or its engine.
2. Do not till very wet soil because it tends to stick to the working tool preventing
the proper rotation, and it could also cause you to slip and fall.
3. Always maintain a firm grip on the product. For better guidance apply light
pressure to the handles (Fig. 10).
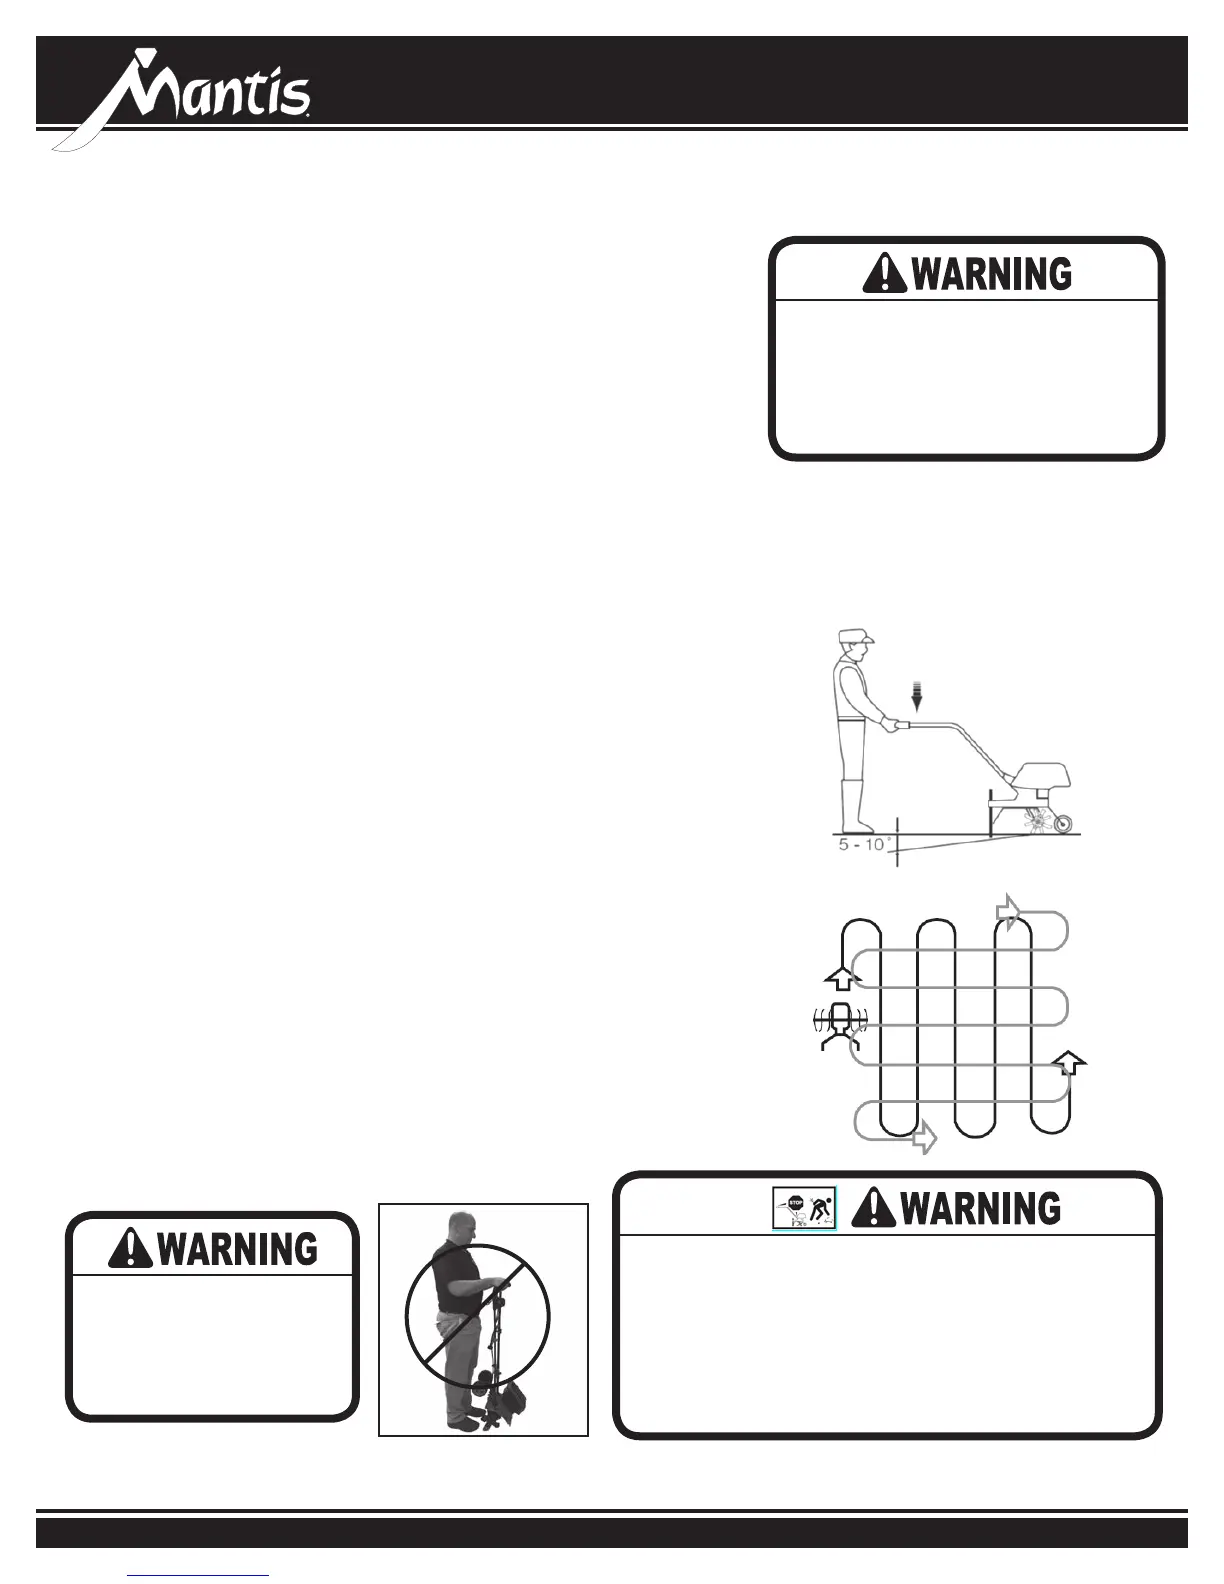
WARNING! Never carry this product as the person in fig. 11 is
doing. If you do, and the tines engage, you could suffer serious
injury.
4. Do not try to till too deeply or force the product into soil that is extremely hard
or resistant.
5. Walk the product through the soil at a normal pace and in as straight a line as
possible.
6. Till in slight overlapping rows. The most effective pattern for tilling soils is
moving the product up and down in verticals lines, then move the product in
horizontal lines from left to right (Fig. 12). This will keep the rows even and
for reference, adjust
to match sample
Never carry this tiller/
cultivator as the person in
gure 4 is doing. If you do,
and the tines engage, you
could suffer serious injury.
Stop the motor, if the tiller/cultivator strikes a foreign object!
Switch the tiller/cultivator off, wait for moving parts to stop,
remove the battery and let it cool down. Inspect the tiller/
cultivator thoroughly for damage! Have any damage repaired
before restarting! Extensive vibration of the tiller/cultivator
during operation is an indication of damage! Stop the motor.
The tiller/cultivator should be promptly inspected and
repaired!
Figure 2
Figure 3
Figure 4
Inspect the area where the product is to be used and remove
all objects which can be thrown by the product. If objects are
hidden while operating stop the engine and remove the object.
Objects thrown by the product could hit the user or other
bystanders. Always ensure that other people and pets remain
at a safe distance from the product when it is in operation. In
general, children must not come near the area where the
product is.
Keep supply flexible cord away from cutting device.
Cutting device continues to rotate after the product is switched
off. Wait until all machine components have completely
stopped before touching the product.
Pay special attention when working on the cutting device!
Remove plug from the mains immediately if the cable is
damaged or cut.
Keep hands and feet away from sharp rotating parts – danger
of injury! When cleaning, repairing, or inspecting, make certain
the working tool and all moving parts have stopped.
Guaranteed sound power level value in 93dB.
This product is of protection class II. That means it is
equipped with enhanced or double insulation.
The product complies with the applicable European directives
and an evaluation method of conformity for these directives
was done.
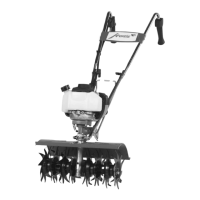
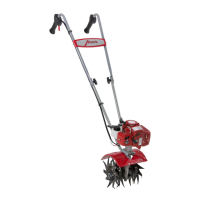
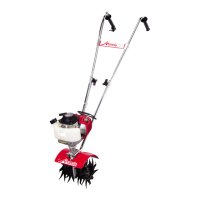
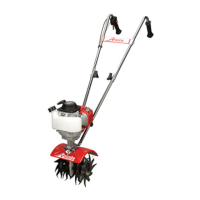
TILLING
1. Make sure that the working area is clear of stones, sticks, wire or other
objects that could damage the tiller/cultivator or its motor. Be aware that the
tiller/cultivator may unexpectedly bounce upward or jump forward if the tines
should strike buried obstacles such as large stones, roots, or stumps.
2. Do not till very wet soil because it tends to accumulate around the tines,
preventing proper rotation. It could also cause you to slip and fall.
3. Always maintain a rm grip on the tiller/cultivator. For better guidance apply
light pressure to the handles (Figure 2). Hold onto the tiller/cultivator with both
hands during operation. Ensure the grips are dry.
4. Do not try to till too deeply or force the product into soil that is extremely hard
or resistant.
5. Walk the tiller/cultivator backwards through the soil at a normal pace and in as
straight a line as possible.
6. Till in slight overlapping rows. The most effective pattern for tilling soils is
moving the tiller/cultivator up and down in vertical lines, then move the tiller/
cultivator in horizontal lines from left to right (Figure 3). This will keep the rows
even and ensures that all the ground is tilled without missing any spots.
7. Pay special attention when changing direction. Apply light pressure onto the
handle so that the tines are lifted to make a turn. Turn the product around
guided by the wheels. Gradually release pressure and move the tines back to
the ground.
 Loading...