


N
Nicole DavisSep 7, 2025
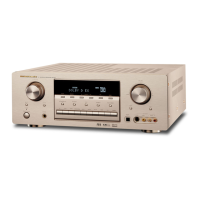
What to do if my Marantz SR7002 Stereo Receiver has noise during FM reception?
- AAlan HillSep 7, 2025
If you are experiencing noise during FM reception, it could be due to weak radio waves from the broadcasting station. Consider installing an FM outdoor antenna.