4 5
To program and operate a personal selection of charts:
1. Depress the LampButton on the remote control to turn the unit off.
2. Select the desired program button, A, B, or C, and hold for five
seconds. The instrument will “beep” and will immediately display
the fixation dot.
3. Select the chart you wish to program immediately followed by the
next chart. The instrument will “beep”, recognizing your selection.
4. After programming is completed, depress the previously selected
program button (A, B, or C) to store your selections into
m
emory. The instrument will “beep”, indicating storage, and will
automatically display the 20/400E. To start your sequence of
charts, depress the START (A) button. To for ward through your
program, depress the NEXT button. The instrument will “beep”
at the end of your program sequence.
CARE AND MAINTENANCE
Changing the Bulb (Figure 8)
1. Turn the main power switch off, and unplug the power cord.
2. Remove the top cover by turning the top cover screw 1/2 turn
counterclockwise.
3. Loosen the small knurled lamp cover screw, lift and pull the
lamp cover back to expose the bulb.
4. Remove the old bulb and replace with an identical bulb.
NOTE: The CP-690E uses a halogen bulb. Please avoid touching
the bulb directly with your fingers. This may shorten its life span.
5. Secure the lamp cover, plug the instrument back in, and turn the
main power switch on.
6. If necessary, adjust the bulb position as needed by turning the
lamp holder adjustment screws.
7. Replace the top cover.
Warning: Replace with Marco 6 volt, 20 watt bulb only.
Replacement with any other type bulb will cause major damage
and void warranty.
Changing the Fuse
The fuse holder for the CP-690E is also a voltage selector. Do not
change the number indicated in the voltage window. The voltage
number must match the supplied voltage. Disconnect the power cord
from the instrument. The fuse holder is located above the 3-prong
power outlet. Pull the fuse holder out while pushing both sides of the
fuse holder with two small straight slot screwdrivers. Replace with
identical fuses and reinstall the fuse holder.
Changing the Batteries
To change the batteries in the remote control, press the tab down
located on the back of the remote and pull the latch open. Replace
with two fresh AA batteries.
NOTE: When not in use for an extended period of time, please
remove the batteries.
SETTING THE REMOTE CONTROL CODE (FIGURE 9)
If more than one Chart Projector is used in the same exam ination
area, the remote control code for each unit should be changed to
avoid mis-operation. Four different codes are available.
1. Remove the top cover of the chart projector.
2. Located directly on top of the PC board is a computer chip with
eight small switches for the remote control code of the main body.
The standard setting from the factory is shown in Figure 9.
NOTE: Do not change positions of switches 3 through 5.
3. The codes for the remote control are set by the two small “tab”
switches located inside the square slot directly above the battery
box. Remove the back cover of the remote control to expose
these switches.
4. The diagram in Figure 9 illustrates the four different setting codes
for the switches of the main body and the code switches for the
remote control unit. Please refer to this diagram when setting
individual codes for the CP-690E.
Lamp Cover
Locking Screw
Knob
Lamp Holder
Adjustment Screws
Figure 8
Figure 9
SPECIFICATIONS
Chart 33 pcs.
Projection
Distance 9.5' to 20' (16.4' is standard)
Projection
Magnification 25X (at 16.4')
Projection Size 9.84" x 8.85" and 10.83" diameter
Tilt angle ±10°
Lamp 6V 20W (Halogen),
2,000 hrs. lifetime
Power Source AC 100, 120, 220 and
240V, 50/60Hz
Power
Consumption 50VA
Dimensions
Main body 11.02"(H) x 8.26"(W) x 13.48"(D)
Control unit 0.70"(H) x 2.51"(W) x 6.88"(D)
Weight
Main body 15.4 lbs.
Control unit .98 lbs
Finish
Main body White grey
Control unit White grey
Accessories 1 each of dust cover, screen, test
scale, wrench, and 2 spare fuses.
Optional
Accessories Wall mount bracket, desk mount,
unit mount.
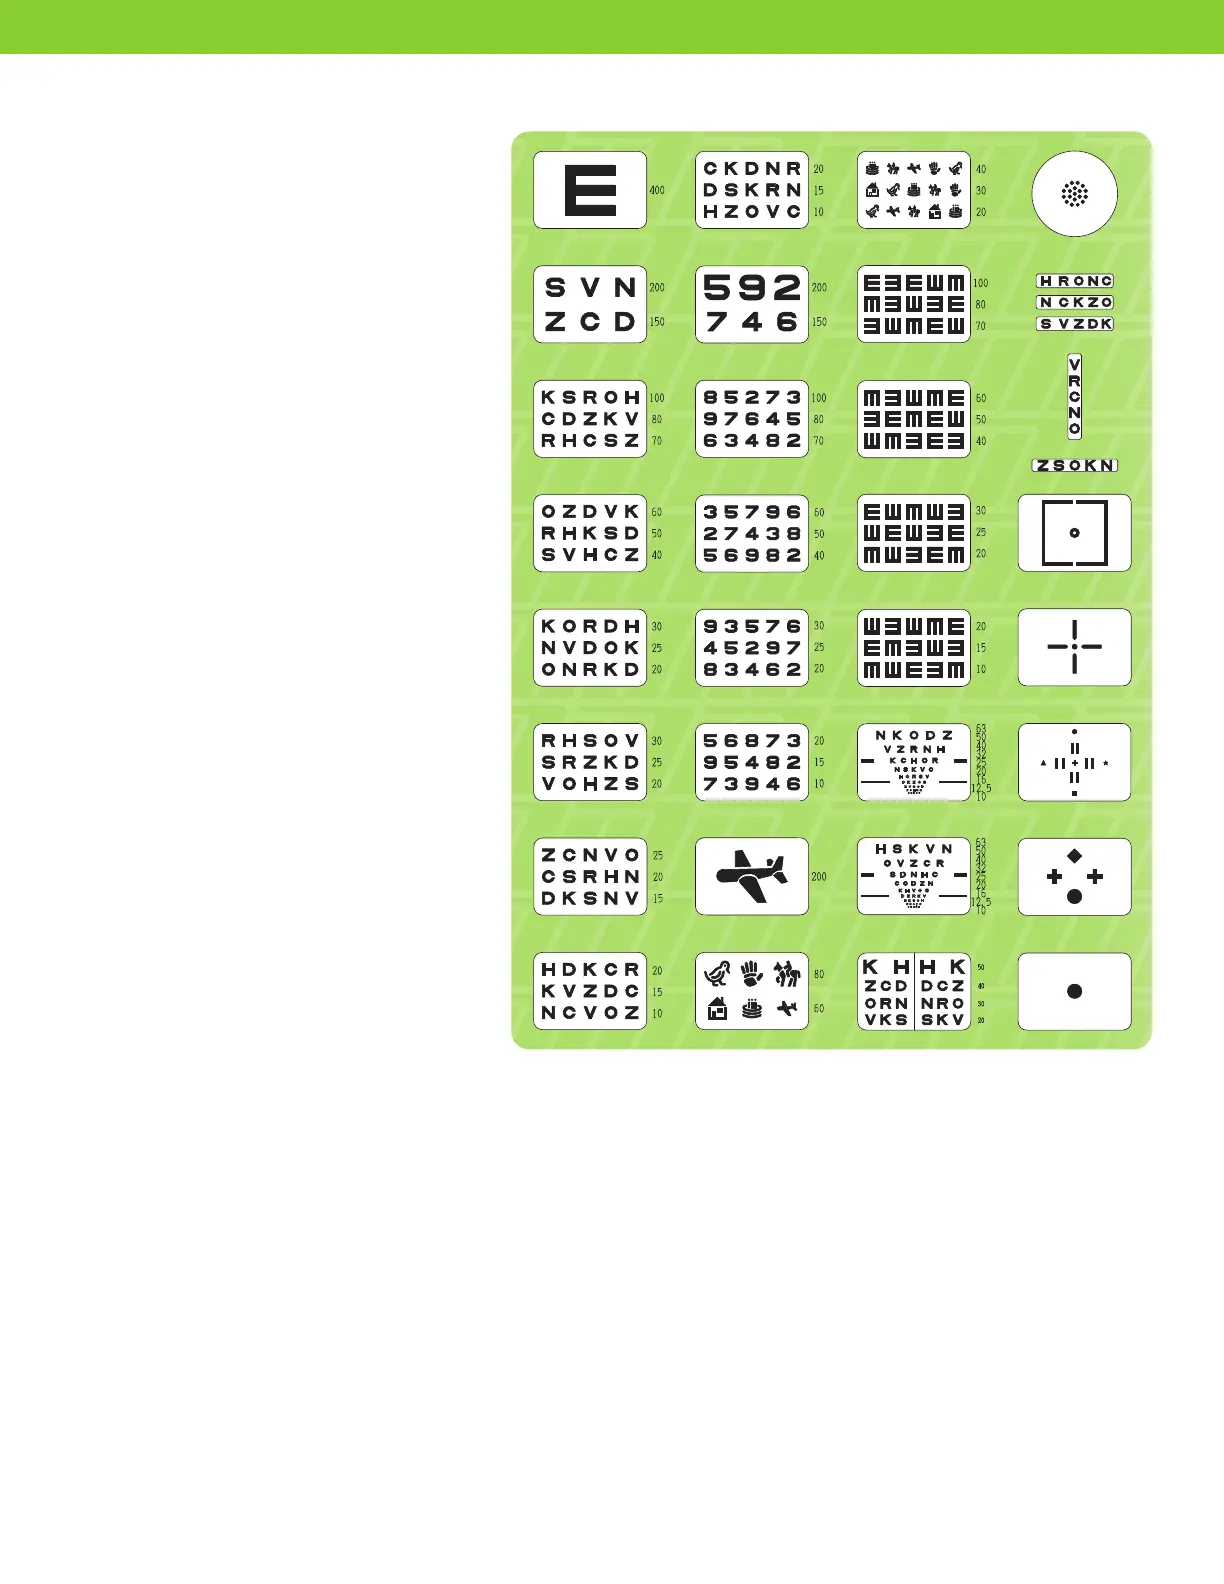
CHART SAMPLES
 Loading...