EasyManua.ls Logo

Marzocchi SHIVER DC User Manual

Marzocchi SHIVER DC
16 pages
To Next Page IconTo Next Page
Page #1 background imageLoading...
Page #1 background image
Shiver
DC
GENERAL RULES
1. Where specified, assemble and disas-
semble the suspension system using the
M
ARZOCCHI
special tools only.
2. On reassembling the suspension system,
always use new seals.
3. Clean all metal parts with a special,
preferably biodegradable, solvent such
as trichloroethane or trichloroethylene.
4. Before reassembling, lubricate all parts
in contact with each other using silicone
fat spray or specific seal oil.
5. Always grease the conic seal rings be-
fore reassembling.
6. Use wrenches with metric size only.
Wrenches with inch size might damage
the fastening devices even when their
size is similar to that of the wrenches in
metric size.
7. If two screws are close one to the other,
always tighten using a 1-2-1 sequence.
In short, screw the first screw just up to the
point it is well tightened, then tighten the
second screw and then go back to the
first one and screw it tighter.
INSTRUCTIONS

Other manuals for Marzocchi SHIVER DC

Question and Answer IconNeed help?

Do you have a question about the Marzocchi SHIVER DC and is the answer not in the manual?

Marzocchi SHIVER DC Specifications

General IconGeneral
BrandMarzocchi
ModelSHIVER DC
Intended UseDownhill
Wheel Size26 inches
Travel190 mm
Spring TypeCoil
Damper TypeOpen Bath
Stanchion Diameter35 mm
Axle Type20 mm Thru Axle
AdjustmentsRebound, Compression
Steerer Tube Diameter1 1/8 inches

Summary

INSTRUCTIONS

GENERAL RULES

Key guidelines for assembling and maintaining the suspension system, including tool usage and cleaning.

FAILURES, CAUSES AND REMEDIES

RECOMMENDATIONS FOR MAINTENANCE

INSTALLATION

FITTING FORK ONTO THE FRAME

Instructions for securely attaching the fork to the bicycle frame, including torque specifications.

DISC BRAKE SYSTEM ASSEMBLY

FITTING WHEEL

ADJUSTMENTS

SPRING PRELOAD

How to adjust the spring preload for compression damping using the adjuster knob.

REBOUND

Procedure for adjusting rebound damping using the top leg adjuster screw.

ASSEMBLY INSTRUCTIONS

REMOVING UPPER CAP AND SPRING

Detailed steps for removing the upper cap and spring assembly from the fork legs.
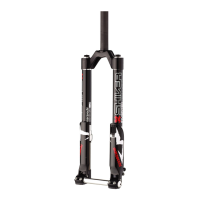
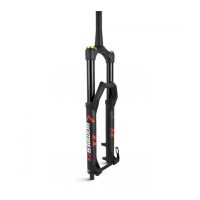
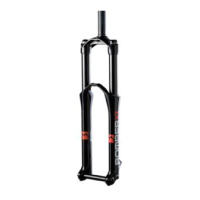
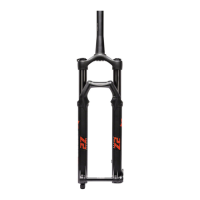
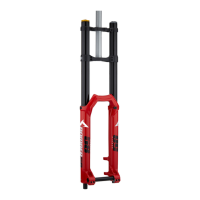
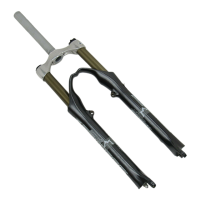
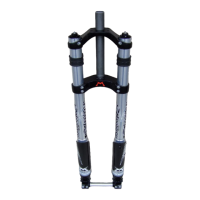
REMOVING HYDRAULIC CARTRIDGE

REMOVING GUIDE BUSHING AND SEAL ASSEMBLY

ASSEMBLING GUIDE BUSHING AND SEAL ASSY

RE-ASSEMBLING HYDRAULIC CARTRIDGE

HOW TO FILL WITH OIL

RE-ASSEMBLING SPRING AND UPPER CAP

Related product manuals