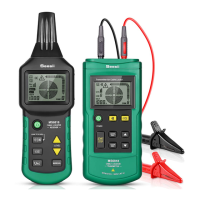
Operating instructions for Cable Detector, article 37270766
Page 14 of 34
4.3 Examples of typical applications
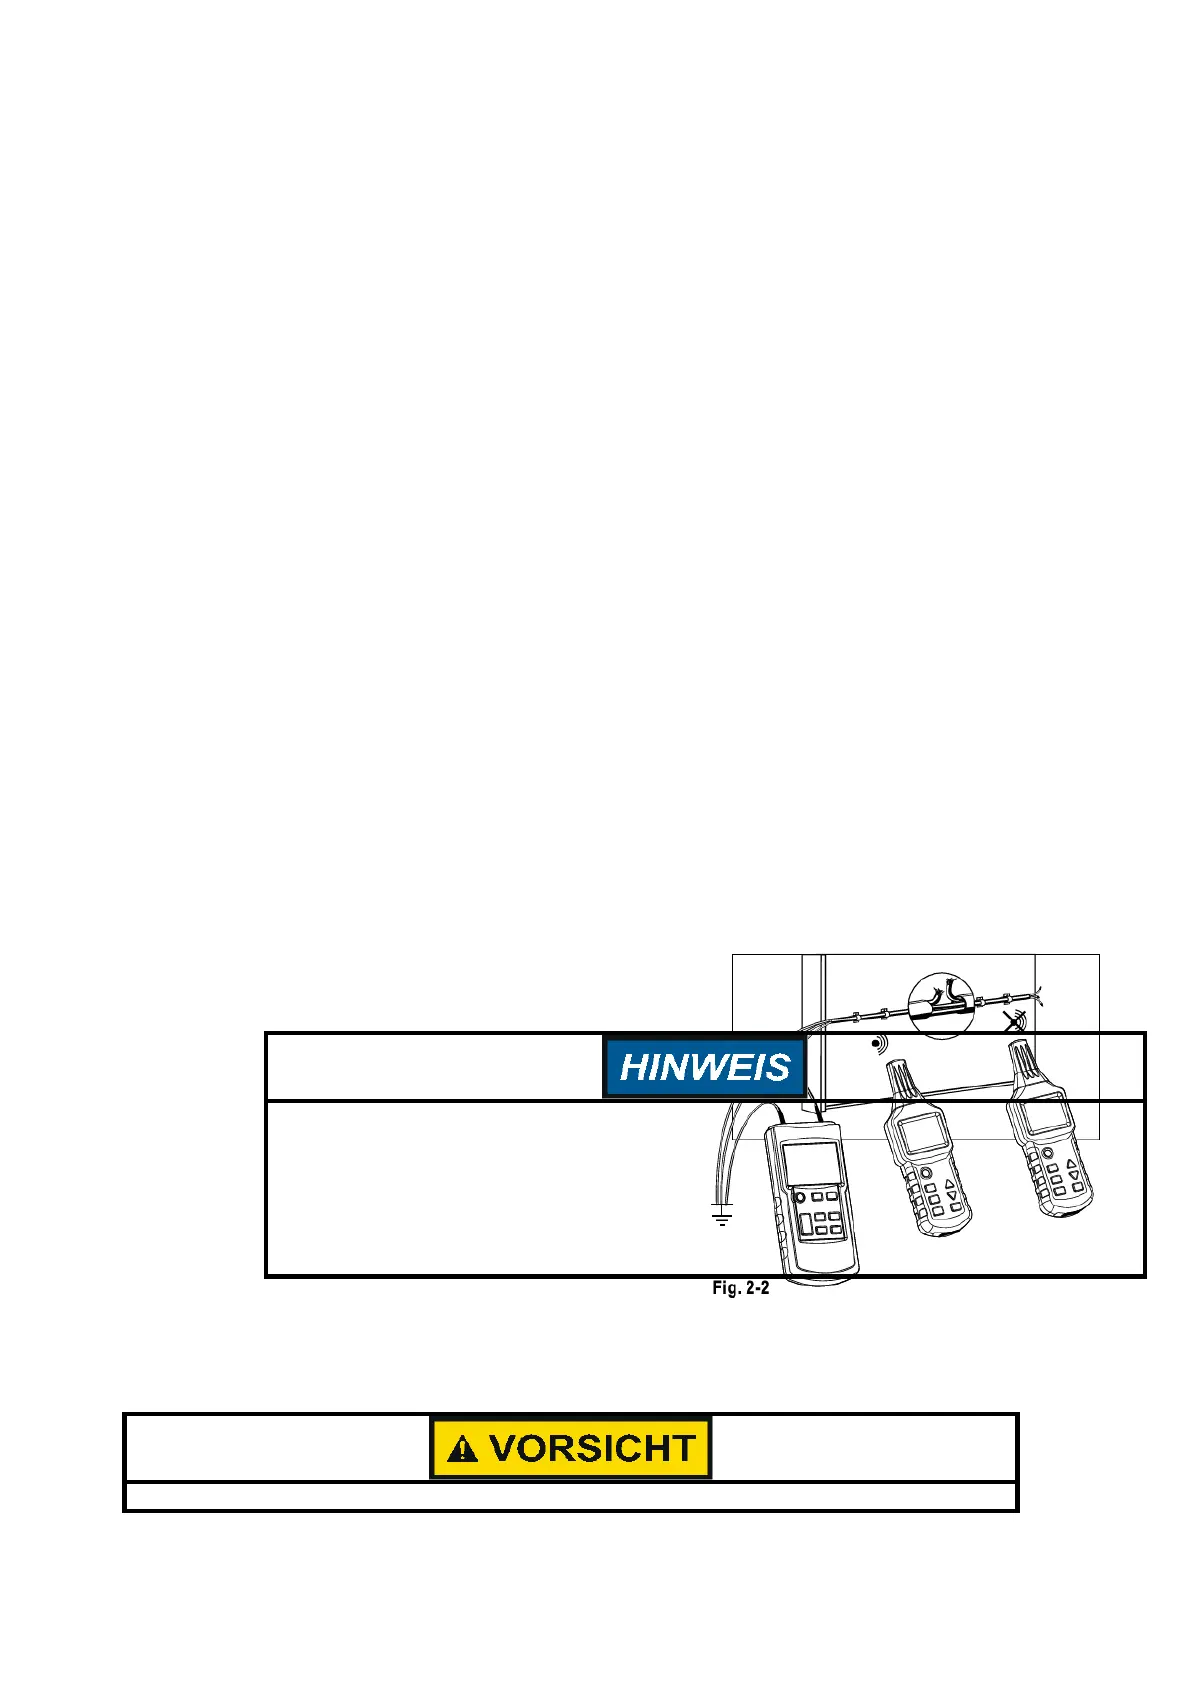
For this example you will need a length of shielded cable with a 1.5 mm
2
cross section. Install 5 m of the cable
temporarily on a wall at eye level using nail clamps. The wall should be accessible from both sides. Make a
break in the line 1.5 m away from the transmitter connection. The wire connections must be open and
accessible. Cover up the interrupted wire strands at the break and connect the cable to the transmitter
terminal (10) using the supplied test leads. Connect the terminal 11 of the transmitter to a suitable ground
connection. All other strands in the cable should also be connected to the transmitter and the same ground.
(see Fig. 2-2).
Turn on the transmitter by pressing the key (2). When the transmitter LCD display shows the starting image the
buzzer will sound. Press key (3) on the transmitter to get to the display for setting transmission power, then
press “up” (7) or “down” (6) to select the power (level I, II or III). Once the power is set, press key (3) to exit the
display. To change the transmission code, press transmitter key (5) and hold it down for about a second, then
press “up” (7) or “down” (6) to select the transmission code (F, E, H. D. L. C. O or A, default F). Press key (5) to
exit. Then press key (4) to send the information. The LCD display will show concentric circles (7) gradually
spreading out. Symbol (8) shows the transmission code received from the transmitter, and (9) shows the signal
strength. Press receiver key (4) to switch it on. When the receiver LCD display shows the starting image the
buzzer will sound, and the receiver will go to automatic mode by default. Slowly move the receiver probe along
the cable until you reach the break. When the symbol (3) of the receiver shows the transmission power, (8) will
show the code sent by the transmitter and (9) the dynamic signal strength. The loudspeaker will change its
pitch to reflect the signal intensity change. When the receiver probe passes the break, the signal intensity
shown in (9) and (6) will show a sudden decline and disappear entirely. When this happens, press the
“MANUAL” key (8) on the receiver to switch to manual mode, then use keys (9) and (10) to reduce the
sensitivity as far as possible while making sure that (8) the code sent by the transmitter is visible on the
receiver display. This the area where the line break was detected.
5. First
use
5.1 Single-
pole use
5.1.1 In open
circuits
Detecting cable breaks in walls and floors;
Locating and tracking cables, sockets and plugs, switches etc. in home installations
Finding bottlenecks, kinks, bends and clogs in installed pipes with the help of a metal wire
For these applications make sure the ground conductor is functional.
1. There must be complete grounding.
2. Adjust the transmitter power
to fit the respective search radius. It is a good idea to mark the break on the other side of the wall. Press
the “MANUAL” key on the receiver to switch to manual mode. Press keys (9) and (10) to reduce the
sensitivity as far as possible so that the signal can barely be received. Follow the signal on the front of the
wall with the receiver until it is no longer displayed. The position of the break can be determined more
precisely with this kind of setting.