J
Jaime SmithAug 4, 2025
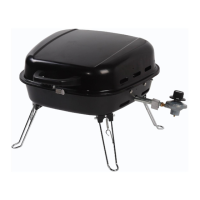
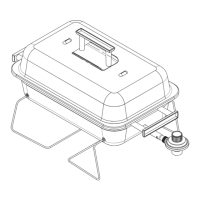
What to do if the Master cook Grill burner won't light with a match?
- KKristin FordAug 4, 2025
If the burner on your Master cook Grill won't light with a match, several factors could be the cause. First, check if the LP gas cylinder is empty and replace or refill it, or refer to 'sudden drop in gas flow or reduced flame height'. Ensure the coupling nut and regulator are fully connected by hand-tightening them. Clear any obstructions in the gas flow, such as burner tubes or bent/kinked hoses. Clean the venturi to remove spider webs or insect nests and clean burner ports if they are clogged or blocked.