EasyManua.ls Logo

Master cook SRGG41126 - User Manual

Master cook SRGG41126
27 pages
Print Icon
To Next Page IconTo Next Page
Loading...
Model No. SRGG41126
SAFETY INSTRUCTIONS TESTED IN ACCORDANCE WITH BS EN498:2012 STANDARD
Manufactured by:
SHINERICH INDUSTRIAL LTD.
8/F, NOBLE CENTER NO.1006, 3
RD
FUZHONG RD.,
FUTIAN DISTRICT, SHENZHEN, CHINA
0359
4 + 2 Burner Gas Grill User Manual
1

Questions and Answers

  • L
    Laura Stuart DDSAug 2, 2025
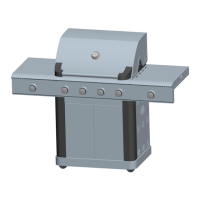
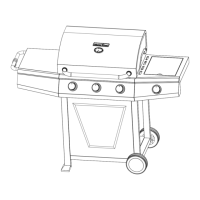
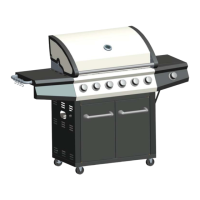
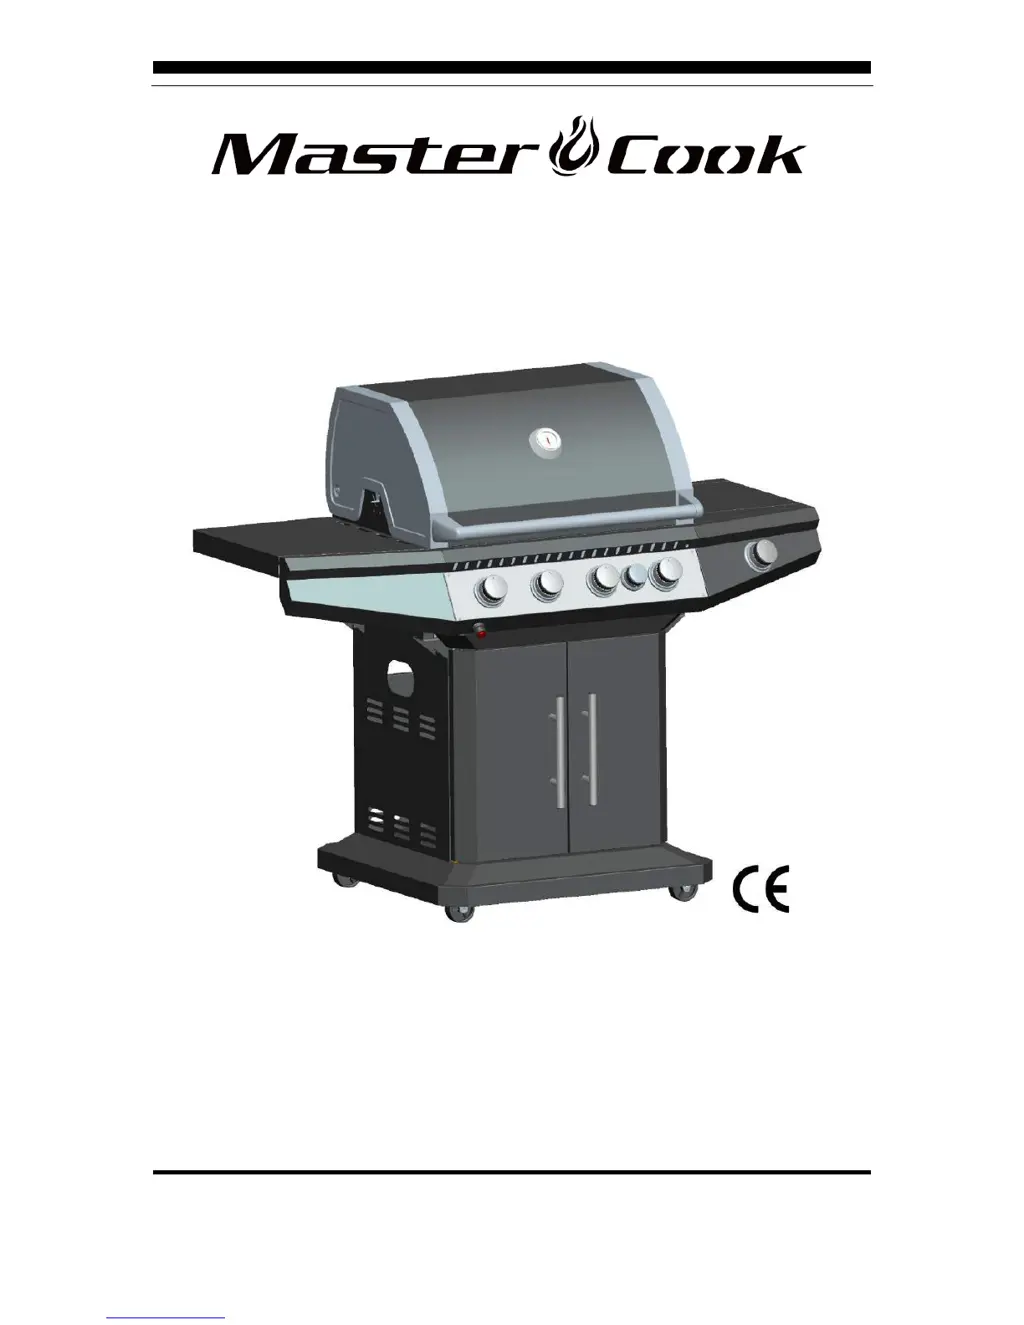
    Why my Master cook SRGG41126 only heats to 200-300 degrees?
    • C
      carolynhudsonAug 2, 2025
      If your Master cook Grill only heats to 200-300 degrees, first ensure the temperature gauge is working correctly by testing it with a flame or comparing it to an oven thermometer inside the grill. Also, make sure you're following the correct start procedure: turn off the gas control knobs and propane bottle before lighting. If this doesn't work, wait 15 minutes, then turn the cylinder all the way on, turn the left burner to ignite, wait 5 seconds, and ignite. Repeat for any additional burners. Finally, check all gas connections for leaks using a bubble test; if you find leaks, either replace the part or tighten the fitting.
  • N
    Nathan GutierrezAug 9, 2025
    What to do if my Master cook SRGG41126 Grill does not flame immediately?
    • R
      Raymond JacksonAug 9, 2025
      If your Master cook Grill does not flame immediately, make sure you have turned on the gas and that there is a spark while you are trying to ignite the burner. Push in the control knob and turn it to ignite/preheat, holding it for about 5 seconds before igniting the grill. Also, ensure that your burner is clean.
  • M
    Mandy MaddenAug 16, 2025
    Why does my Master cook SRGG41126 Grill regulator make noise?
    • E
      Edward HarrisAug 16, 2025
      If the regulator on your Master cook Grill is making noise, the vent hose on the regulator may be plugged, or the regulator itself may be faulty. Ensure the vent hole on the regulator is not blocked. Clear the hole, then close the LP cylinder and gas control valves. Wait 10 minutes before restarting. Also, when turning the LP cylinder valve on, don't cover the vent hole on the regulator. Check your flames for proper performance; if the flames aren't correct, replace the regulator. Purge the lines.
  • M
    Mark WilsonAug 23, 2025
    Why Master cook Grill burner flames are not light blue?
    • K
      Kristine Evans PhDAug 25, 2025
      Burner flames that are not light blue on your Master cook Grill can be caused by too much or not enough air mixture for the flame, elevation, cold weather, or a windy location.

Summary

Information

Safety Instructions

Exploded View and Hardware

Assembly Instructions

Step 1: Base Assembly

Assembling the base of the barbecue unit using hardware.

Step 2: Attaching Wheels

Securing the base frame with specific hardware.

Step 3: Attaching Side Panels

Attaching side panels to the base using specific hardware.

Step 4: Attaching Front Panel

Connecting front panels to the main structure with hardware.

Step 5: Attaching Side Support

Securing side support structures using specific hardware.

Step 6: Attaching Rear Panel

Attaching rear panels to the barbecue frame with hardware.

Step 7: Attaching Lower Shelf

Installing the lower shelf using specific hardware.

Step 8: Attaching Doors

Mounting the cabinet doors onto the barbecue body.

Step 9: Assembling Body Frame

Completing the main body frame assembly.

Step 10: Attaching Top Lid

Installing the main lid onto the barbecue.

Step 11: Attaching Control Panel

Mounting the control panel assembly to the barbecue.

Step 12: Attaching Side Shelves

Installing the side shelves onto the barbecue.

Step 13: Attaching Warming Rack

Installing the warming rack assembly.

Step 14: Attaching Burner Assembly

Connecting the main burner assembly to the barbecue.

Step 15: Connecting Igniter

Connecting igniter wires to the burners.

Step 16: Connecting Gas Hose & Ignition Wire

Connecting the gas hose and ignition wire with safety warning.

Step 17: Installing Cooking Grates

Placing the cooking grates into the barbecue.

Step 18: Installing Battery

Inserting the battery for the ignition system.

Step 19: Connecting Gas Cylinder

Connecting the gas cylinder to the barbecue.

Installing the Gas Supply System

Connecting the LP Gas Cylinder

Procedure for connecting the gas cylinder to the barbecue.

Disconnecting the LP Gas Cylinder

Procedure for safely disconnecting the gas cylinder.

Leak Testing Gas Connections

Method for checking gas connections for leaks using soap solution.

Operating Instructions

Preparation Before Cooking

Applying oil to the cooking grill for better performance.

Electronic Ignition Procedure

Steps for lighting main, rotisserie, and side burners using electronic igniter.

Manual Ignition Procedure

Steps for lighting burners manually using a match.

End of Cooking Session

Procedure for safely shutting down the barbecue after use.

Tips for Better Cookouts

Advice for optimal grilling performance and maintenance.

Cleaning and Maintenance

Cleaning the Cooking Grill

How to clean the cooking grill after use.

Burner Maintenance

Procedures for maintaining and cleaning the burners.

Cleaning the Barbecue Body

Methods for cleaning the exterior of the barbecue.

Checking Fixings

Annual recommendation for checking and tightening metal fixings.

Storage Recommendations

Guidelines for storing the barbecue, including gas cylinder safety.

Troubleshooting

Limited Warranty

Master cook SRGG41126 Specifications

General IconGeneral
BrandMaster cook
ModelSRGG41126
CategoryGrill
LanguageEnglish

Related product manuals