Page 23
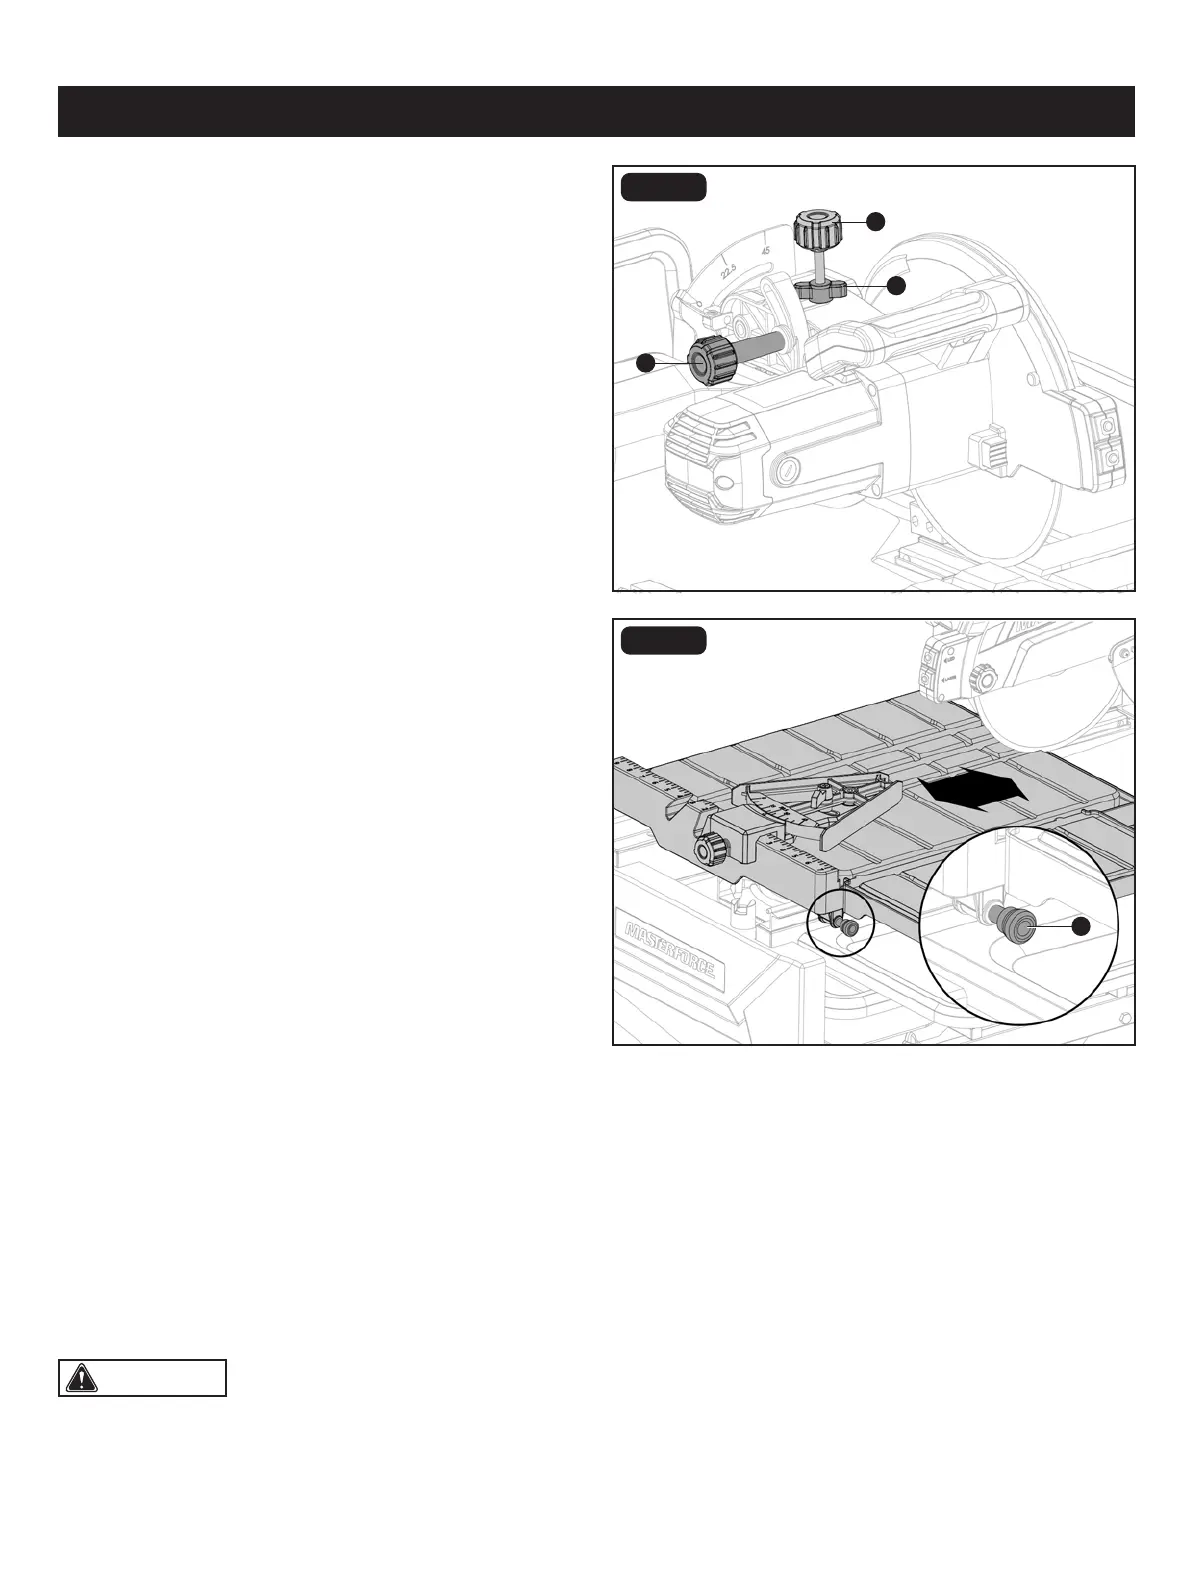
FIG. 14
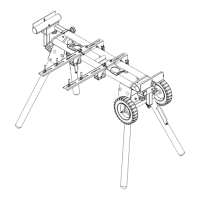
DEPTH ADJUSTMENT (Fig. 14)
• Depth knob: The depth knob (ll) can be used to lock the
motor head at a particular cutting depth; tighten it to lock
the motor head in place, loosen it to allow adjustment.
• Depth stop: This controls the maximum cut depth. If the
blade cuts too deeply or too shallowly; loosen the depth
stop lock (mm), adjust the depth stop (nn), and tighten the
depth stop lock (mm) again.
LOCKING AND UNLOCKING THE TABLE
(Fig. 15)
• Align the table lock lever (MM) and the hole on rail.
• Push the table lock lever (MM) into the hole to lock.
• From the right side of the table, pull the table lock lever
(MM) out.
WORKPIECE AND WORK AREA SET UP
• Designate a work area that is clean and well-lit. The work area must not allow access by children or pets to prevent
distraction and injury.
• Route the power cord along a safe route to reach the work area without creating a tripping hazard or exposing the power
cord to possible damage. The power cord must reach the work area with enough extra length to allow free movement
while working.
• There must not be objects, such as utility lines, nearby that will present a hazard while working.
• Keep workpieces pressed rmly against the table and fence while cutting.
• Mark cut lines using waterproof marker or crayon.
OPERATION
CAUTION: This tile saw is intended for use on man-made masonry and tile products only.
ll
FIG. 15
mm
nn
MM