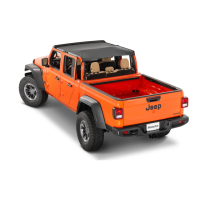
4
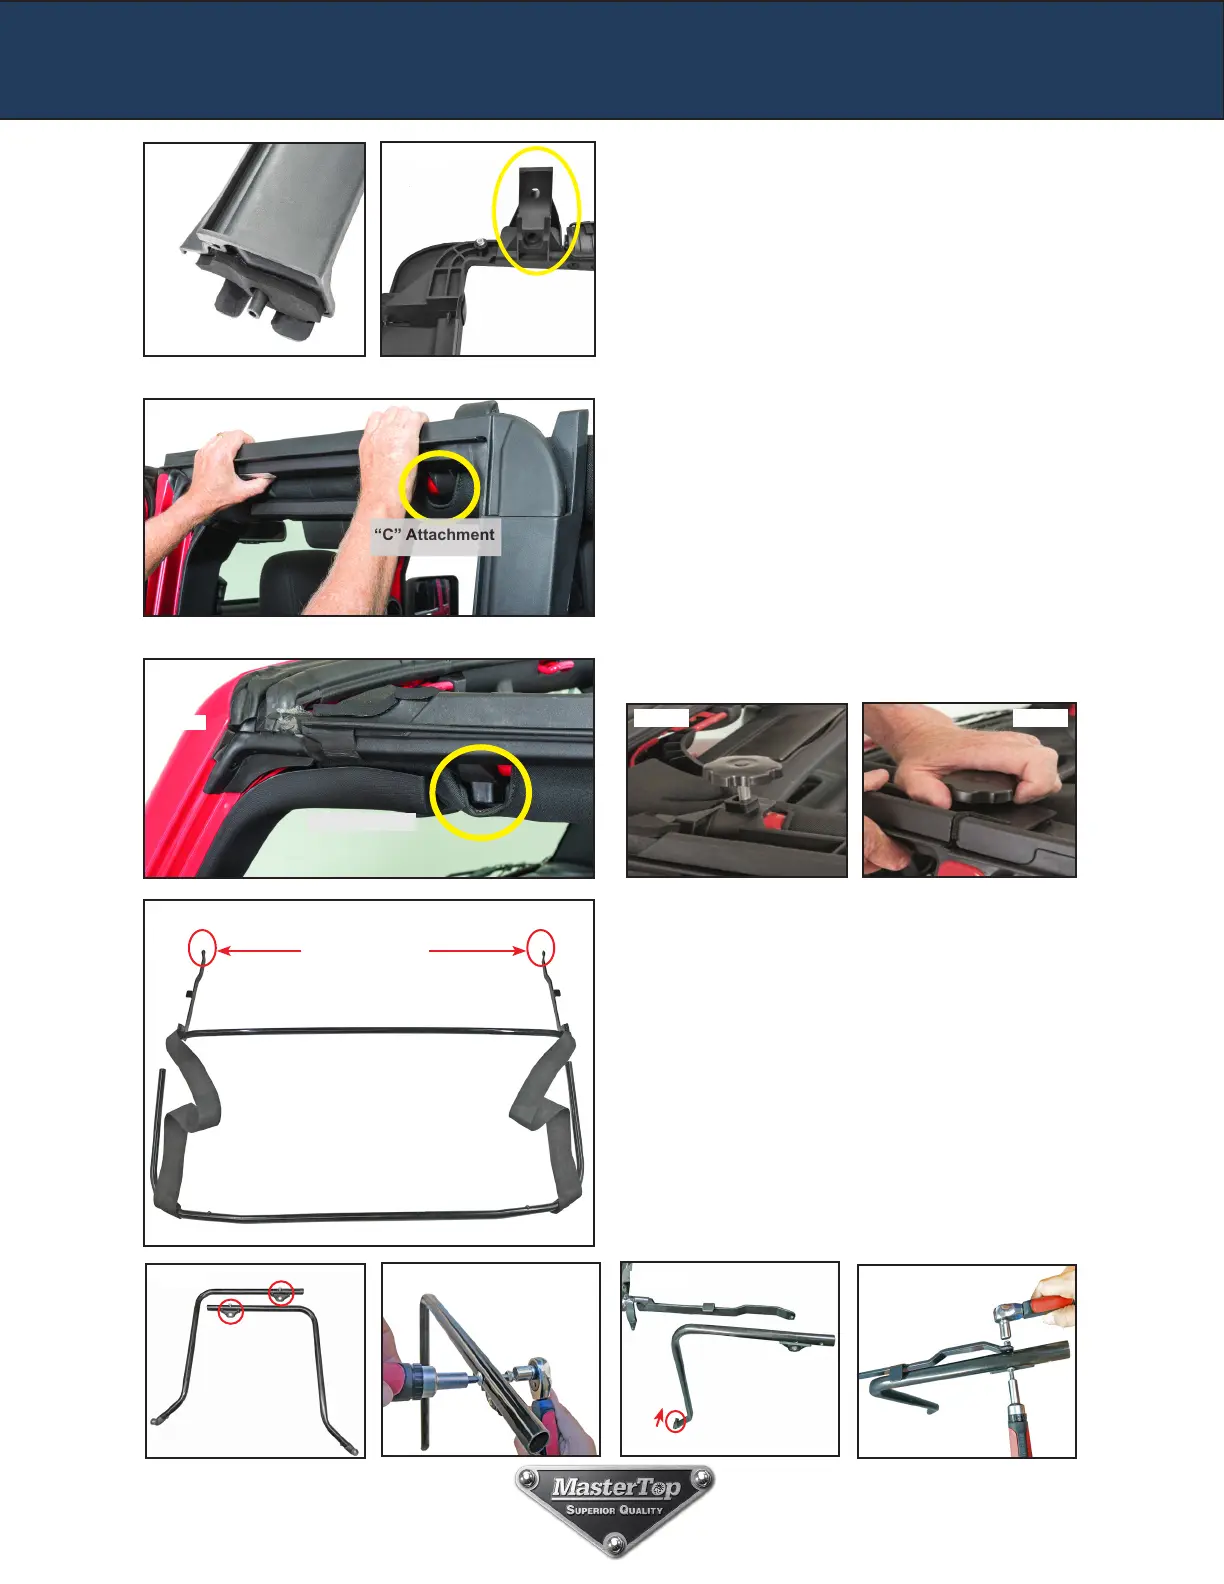
Step 3: Install Door Surrounds to Jeep
Locate the assembled Driver’s side rear door sur-
round On the bottom of the vertical pillar portion
of the assembled door surround is a pin that will
be inserted into the body tub as shown in FIG 21.
Insert the door surround pin into the body tub. After
inserting the pin, locate the upper portion of the
door surround “C” attachment and push onto roll
bar (FIG’s 22 & 23).
Make sure the front seal is snug against the wind-
shield seal as shown in FIG 24. The “C” should
t in the cutout of the roll bar pad. Line up the
t h r e a d s i n t h e “ C ” w i t h t h e t o p h o l e i n t h e r o l l b a r .
Locate the two sets of screw knobs. Line up the door
surround “C” attachment holes with the vertical holes
in the roll bar. Slip the front knob through the hole in
the front door surround (FIG 25). Tighten the knob
securing the front door surround (FIG 26). Repeat
this procedure on the back of the door surround and
on the other side of the vehicle. Finally, tighten all
four knobs. All knobs on both sides of the vehicle
s h o u l d b e s e c u r e d t o t h e r o l l b a r .
Snug against
windshield foam seal!
FIG 21 FIG 22
FIG 23
FIG 24
FIG 25
FIG 26
FIG 27
FIG 29
FIG 28
Step 4: Attach Center/Rear Bow Assembly to
side Bows
Locate the center/rear bow assembly and the over
door bows. (Fig 27 & 28).
You will be attaching the over door bows to the
center/rear bow assembly where circle in red. On
the driver’s side bow you will find a screw and nut
installed for shipping (Fig. 29). Remove this screw
and nut and set aside. Line up the driver’s side over
door bow (with the quick release knob facing
inwards) to the center bow leg (fig. 30). Insert the
screw and nut, tighten using a Phillips head screw
driver and a socket wrench 10mm as shown in FIG
31.
Repeat on Passenger side.
FIG 30
FIG 31
“C” Attachment
Quick release
knob is facing
Center Bow Legs
Center Bow Assembly
Rear Bow Assembly
Over Door Bows
 Loading...