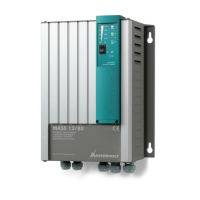
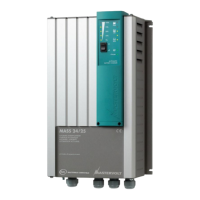
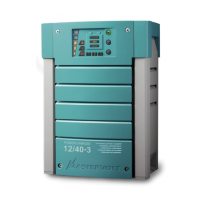
Mass Charger 24/50-2, 24/75, 24/75 (120V), 24/100, 3-24/100, 48/25, 48/50 – User and Installation Manual
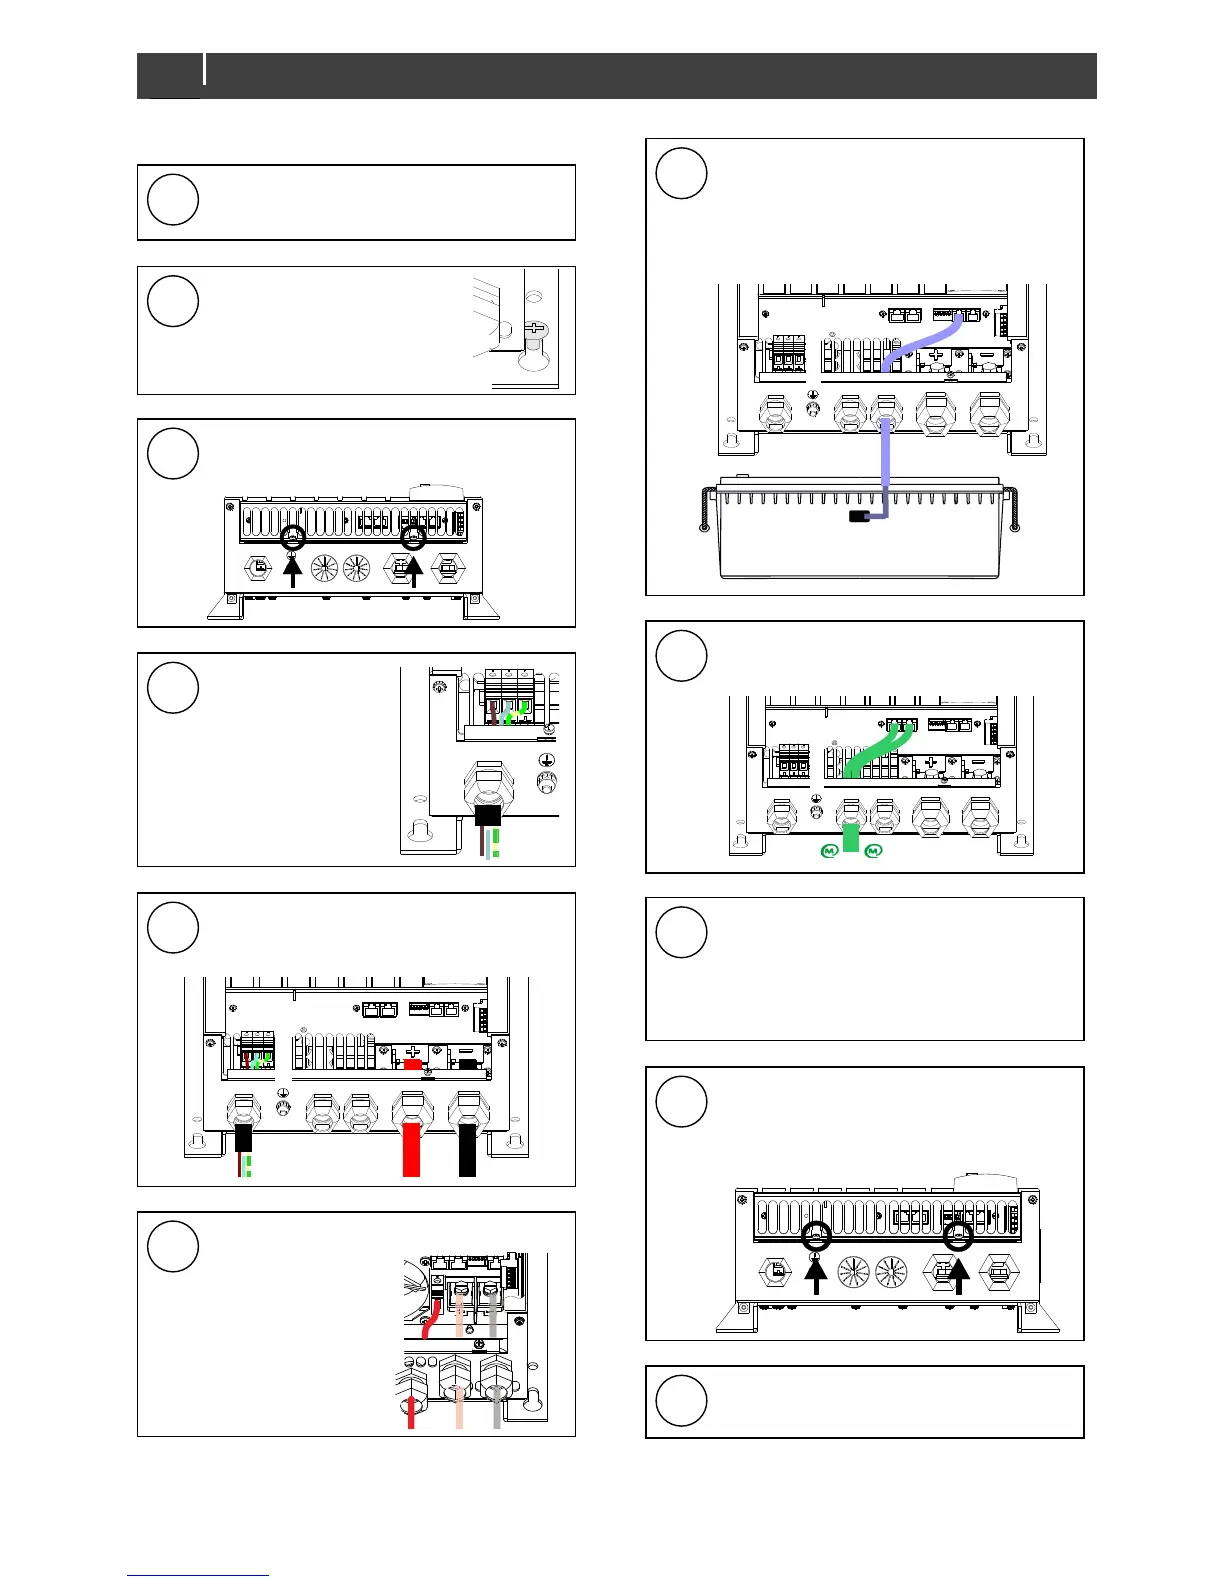
4.14 Installation step-by-step
Mark the position of the mounting spots using
Place the four screws first and
hang the Mass Charger over
them. Then fix the Mass to the
wall by securing the screws.
Open the connection compartment by
loosening the two screws.
Feed the AC wiring through the
cable gland and connect the
wiring to the screw terminals.
Tighten the cable gland firmly.
Connect the DC cabling of the house bank,
positive to +, negative to – .
+ -
the second battery bank
(max. 3A). This bank has a
common negative with the
main battery.
Attach the battery temperature sensor to the
casing of the main battery bank.
Plug the temperature sensor cable into the
“Temp.Sensor” jack. See also Figure 4 on
page 10.
Option: Connect the Mass Charger to the
MasterBus network.
The factory setting of the Mass Charger is
optimal for most installations. Sometimes
however, it is desirable to change these
settings. See chapter 5 (page 14) and
Check all wiring. If everything is all right,
close the connection compartment by fixing
the two screws.
Continue with section 4.15 for
commissioning of the Mass Charger.
 Loading...