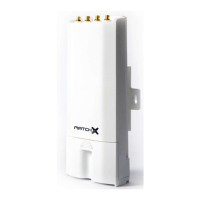
2. Quick Installation Guide
The MX1901/2 Gateway is preconfigured "Plug ’n Play" device, which mean installation is extremely
easy. At first power up the Gateway will connect to MatchX network without any need of setup. This
installation guide will guide through process of configuring the Gateway and it’s LoRa parameters.
Every Gateway comes with a unique serial number and QR code placed under the cover of cable
compartment. Ether of them can be used for setting up the GW on the Cloud server. The list and
links to the Cloud servers can be found on MatchX website under https://www.matchx.io/
2.1 Software requirements
To use the MatchX M2 Pro Gateway no special software is required, as the Gateway is preconfigured
to connect to the MatchX Cloud server. To access the Cloud Server a computer or mobile devices
with a web browser such as Chrome or Firefox is sufficient.
To make the installation easy it is possible to use a mobile device with QR code reader for easy
registration on the chosen Cloud Server.
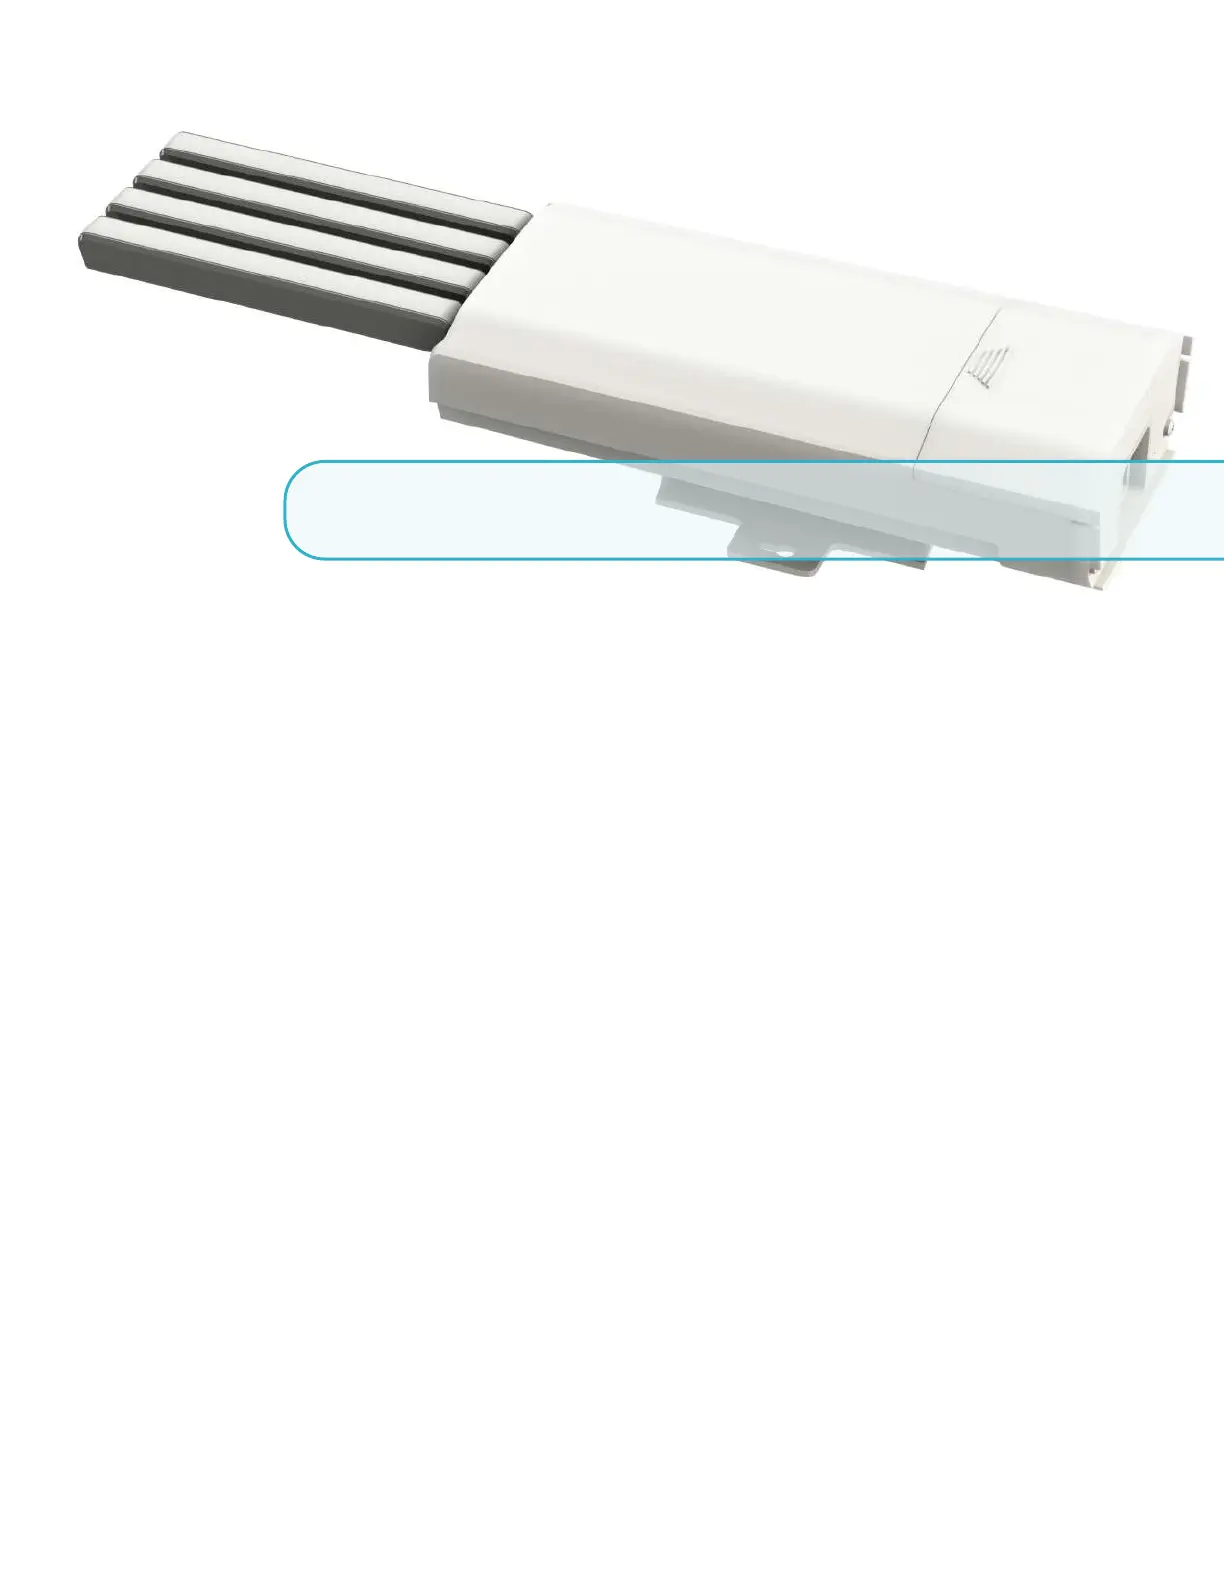
2.2 Hardware requirements
The hardware of the MatchX M2 Pro Gateway is design in such a way that it needs minimum number
of external components to make it functional. The user has few different connection options he/she
can choose from to make the installation easy and convenient.
Depending on the installation option (described in next sections) the following components can
be needed:
• PC computer or Mobile device
• Ethernet cable
• USB-C cable
• Access to AC power outlet
• WiFi router or Ethernet switch
• Screw driver and similar tools