61
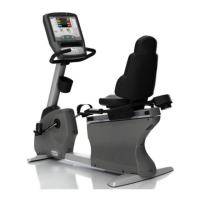
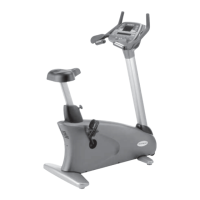
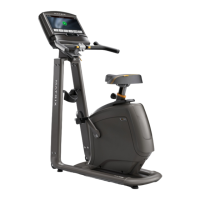
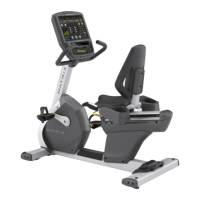
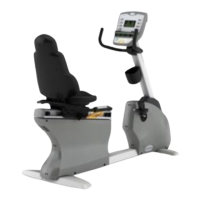
9.23 TESTING THE BIKE
ONCE THE UNIT OR REPLACEMENT PART IS FULLY INSTALLED AND ASSEMBLED AND
PROPERLY PLACED ON THE FLOOR, USE THE FOLLOWING INSTRUCTIONS TO SETUP
AND TEST THE MACHINE:
1) Enter Service Mode (ENTER, 3, 0, 0, 1, ENTER) and input the serial number of the console. Also set the Machine Type and Keypad (See
Section 7.2) and verify that the Date and Time are correct (See Section 7.4). NOTE: If a setting has been changed, the unit and console
power should be reset. Cycle the power switch, and press and hold the CHANNEL UP and CHANNEL DOWN keys for 3-5 seconds to reset the
console power.
2) Enter Manager Mode (ENTER, 1, 0, 0, 1, ENTER) and turn on or off Asset Management or Virtual Active depending on whether the club has
these functions. NOTE: If a setting has been changed, the unit and console power should be reset. Cycle the power switch, and press and
hold the CHANNEL UP and CHANNEL DOWN keys for 3-5 seconds to reset the console power.
3) Without hitting start or entering any program modes, sit on the bike and hold the handlebars while pedaling to simulate exercising. While
moving, listen for any odd noises or squeaks.
4) Move the seat back and forth to check for tightness or wobbling. Adjust the seat as outlined in Section 8.12.
5) After stopping movement, press the green GO key and begin pedaling.
6) Grasp the hand grips to check for proper heart rate response.
7) Press the level up and down buttons on the console and hand grips to make sure resistance is fully functional.
8) If everything functions properly, stop pedaling and the unit will reset to normal operation within 30 seconds.
CHAPTER 9: PART REPLACEMENT GUIDE