4
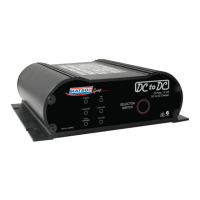
INSTALLATION INSTRUCTIONS
• Install the charger in a suitable location within the vehicle,
although the charger is splash resistant we recommend it to be
placed in a dry area.
• It is recommended that you locate the Charger no closer than
300mm and no further than 3000mm from the auxiliary battery,
but it should always be closer to the auxiliary battery.
• Secure the charger with brackets and screws provided.
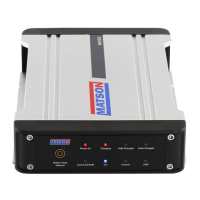
• Output cables:
1. Connect the Red (positive) cable to the Red (positive)
terminal on the auxiliary battery.
2. Connect the Black (negative) cable to the Black (negative)
terminal on the auxiliary battery.
• Input cables:
1. Connect the Blue (Positive) cable to the Red (positive)
terminal on the main cranking battery.
2. Connect the Black (negative) cable to the Black (negative)
terminal on the main cranking battery.
3. SOLAR INPUT (MA20DCS ONLY) - Connect the Yellow
(Solar) cable to the solar panel. (Recommended 120Watt
regulated panel minimum) Once the input voltage from
the solar panel rises to 13.0v, the charger will commence
charging the auxiliary battery. The charging rate will depend
on the output current of the solar panels.
i.e. Watts ÷ Volts=Amps 120÷13=9.2Amps
• Check all electrical connections are secure and tight.