6
OPERATING INSTRUCTIONS
Once correctly installed the Matson MA20DC & MA20DCS chargers are
very simple. Just “set your Chemistry and forget”.
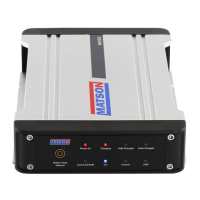
Charger Display:
• Red LED indicates “POWER” is on to the unit
• Green LED indicates the unit is “CHARGING” the auxiliary battery.
• Yellow LED indicates the auxiliary battery is “FULLY CHARGED” and
the charger has moved to a Float Mode.
• The battery chemistry selected is indicated by the Green LED.
First Charger Start Up:
• Start your vehicle and the charger, after a few moments, will
automatically recognise that there is a charge being applied to the
cranking battery. When the cranking battery reaches 13 volts the
charger will turn on and begin charging the auxiliary battery.
• Now it is time to select your battery chemistry. Press the “SELECTOR
SWITCH” until the LED is beside the correct chemistry setting for your
auxiliary battery.
• The charger will now memorise the chemistry setting and automatically
will make it the default setting when turned back on. If you need to
change the chemistry, repeat the instructions above. Remember the
charger will always default to its last setting.
• *NOTE- Once the main cranking battery falls below 12.2volts the
charger will stop operating and switches itself off. Alternatively if the
auxiliary battery has reached its desired charge level the charger will
STOP CHARGING and go to the yellow LED “FULLY CHARGED” and
the charger will move to a Float Mode.
Maintenance:
The charger is maintenance free. Note that if the charger is disassembed
by anyone other than a recommended Matson repairer, your warranty will
be void.