12
MAX Super 1300/2300 Arms V1
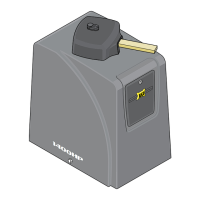
Insert key and turn 90°.
1
step-by-step installation
Read and understand this ENTIRE manual BEFORE installation. Check with the local building department prior to installing
this gate operator to comply with local building code requirements. The gate must be installed in a location so that enough
clearance is supplied between the gate and adjacent structures when opening and closing to reduce the risk of entrapment.
Swinging gates should not open into public access areas.
Start by selecting
your model gate
operator for Step 1.
1a
1b
max super arm 1300
max super arm 2300
Page 12-14
Page 15-17
1a
mount Super arm 1300
Front Bracket
Bolt or weld to gate.
Mounting Hardware
(Not Supplied)
Mounting Hardware
(Not Supplied)
Locknut
Bolt
1300 brackets
Lift cover.
Rotate red handle
to unlock operator.
Drive rod can now
be pulled out.
Bolt or weld to secure.
Locknut
Bolt
Sleeve Anchors
(Not Supplied)
PULL Open Rear Bracket
PUSH Open Rear Bracket
2
See page 14 for bracket
positions and dimensions.
Weld completely
around the bracket
to secure to the plate.
For PUSH open installation, please order MX116.
The bracket MUST be level and
VERY secure to the plate and wall.
Extreme force will be exerted on this
bracket during gate cycling.
MX116 Bracket
Plate
Bolt or weld to secure.
release 1300 drive rod
Lock
UnLock
Drive Rod
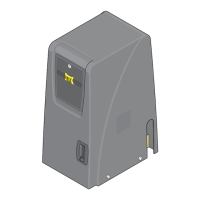
max super arm 1300