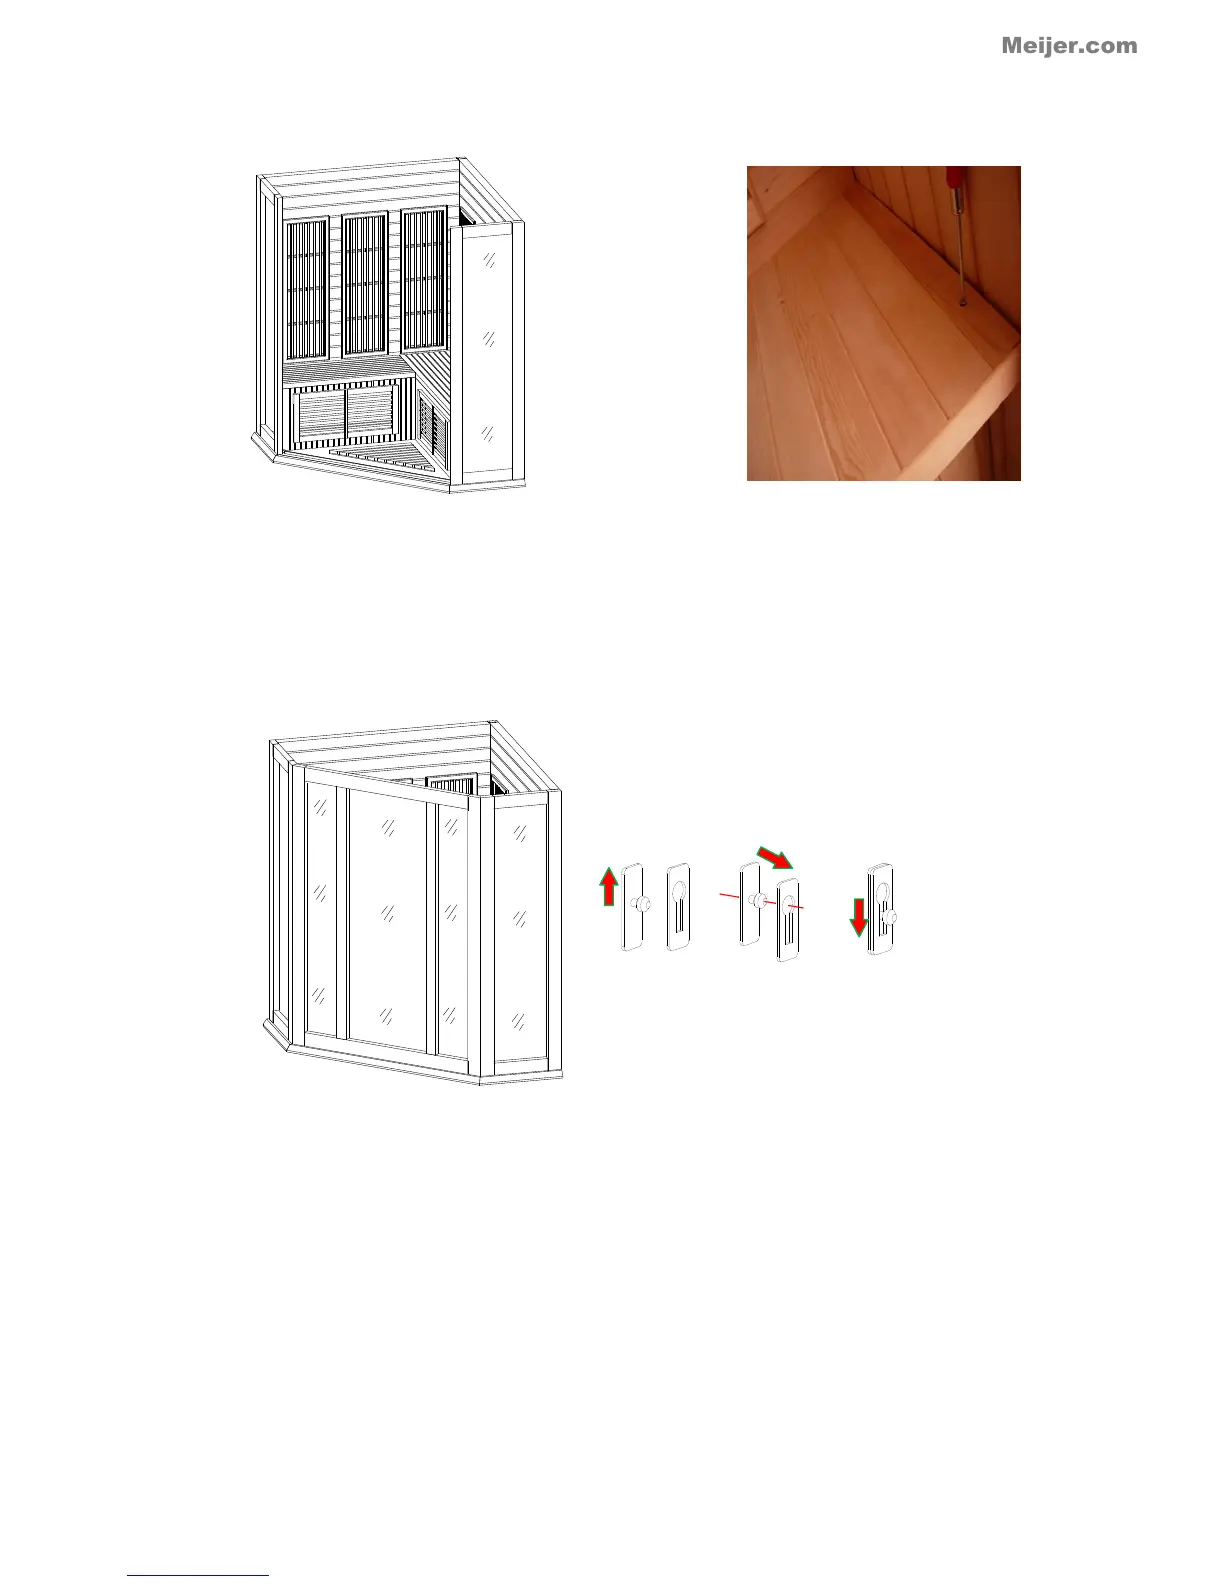
FIG 9 Inserting Benches FIG 10 Securing Benches with screws
12. Align the Front Panel with the Floor Panel, Right Side Panel, and Left Side Panel. Next, latch the Front Panel with
the Left and Right Side Panels respectively. Note: Be cautious with the glass door to avoid breakage. See FIG 11.
FIG 11 Assembling Front Panel
13. Place (flop) cords/wires coming up to through the top of the wall panels to the outside of the wall panels to avoid
damaging the cords/wires during the roof installation. Open the door, lift the Roof Panel up and over the sauna room, and
gently lower it into place resting it on the wall panels. Make sure that all cords/wires are slipped through the
corresponding holes in the Roof Panel. All of the heaters are pre-assembled. Connect the wire connectors and plugs
to their corresponding counterparts on the roof. Make sure the connections are snug and tight. See FIG 12, 13, & 14