4
Assembly
Carefully unpack all delivered parts. Have someone there to help you as some of the training device parts are
bulky and he avy.
Check that all the parts and xing materials (screws, nuts, etc.) have been delivered.
Assemble the parts carefully as any damages or defects occurring due to mist akes made at the time of assem-
bly are not covered by the warranty or guarantee. Therefo re, read throu gh the assem bly instructions carefully
before you start assembling, follow each assembly step exactly as described and keep to the correct se quence
of assembly as instructed.
Assembly of the training device must be carried out thoroughly by an adult person only.
Assemble the training device in a locat ion which is level, clean and clear of obstructions. 2 people ar e required
to carry out the assembly.
Please be aware a possible risk o injury at the time o as sembly and at each time o using this device exists.
For this reas on, always be careful and thorough in your actions when assembling this device.
Make sure that the parts necessary for each stage of assembly are initially only hand tightened together. Only
tighten parts completely when all parts have been tted together perectly.
Training can only start when the training device has been fully and correctly assembled.
Note:
As some of the components may have sharp edges, please wear suitable protective gloves during the en tire
assembly process.
Step 1:
Remove all components from the packaging .
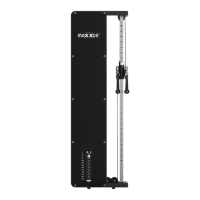
Mark the drill holes on the wall where the HomeGym H1 is to be mounted. Make sure in advance that the wall is
suitable.
Only use wall plugs and screws which are suitable for the pa rticular type of wall you are mounting the Hom-
eGym H1 to. Consult a specialist builder or your DIY store if you are in any doubt.
To mark the drill holes exactly in the right place on the wa ll, we recommend you place the base frame of th e
HomeGym H1 against the wall in the appropriate place. Be sure to ask on e or two other people to help you. Use
a spirit level to check that the HomeGym H1 is level before you mark the holes.
Once it is level, drill the holes in the wall.