Do you have a question about the Maytag MDB4709PAQ and is the answer not in the manual?
Guides on preparing the cabinet based on whether utilities are already present or need new installation.
Steps for placing the unit on its back, removing panels, and installing electrical strain relief.
Instructions for routing the power supply cord into the terminal box and connecting it.
Step-by-step guide for connecting the dishwasher's ground and power wires using twist-on connectors.
Procedures for measuring the cabinet opening and adjusting dishwasher leveling legs for proper height.
Steps for aligning the dishwasher front, checking for plumb, and ensuring it is level.
Instructions for routing the direct wire cable and connecting the ground and power wires.
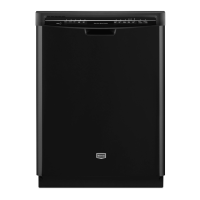
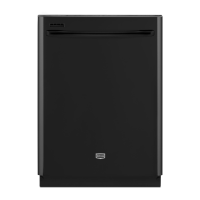
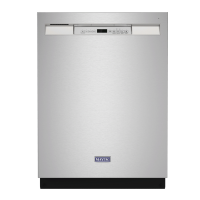
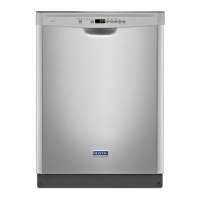
| Type | Built-In |
|---|---|
| Color | White |
| Capacity | 14 Place Settings |
| Wash Cycles | 4 |
| Energy Star Certified | Yes |
| Control Type | Electronic |
| Number of Options | 5 |
| Soil Sensor | Yes |
| Third Rack | No |
| Stainless Steel Interior | Yes |
| Heated Dry | Yes |
| Delay Start | Yes |
| Width | 24 inches |