Plug the DB9 Console cable(s) into the Console port (labeled Console):
a
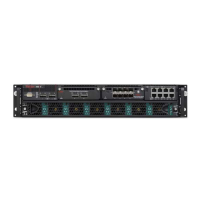
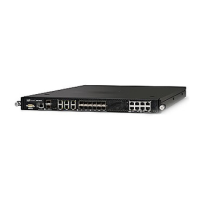
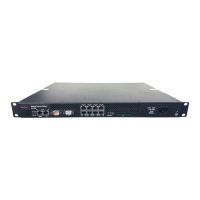
on the front panel of the NS9100 and NS9200 Sensors.
b
on the front panel of the NS9300P and NS9300S Sensors.
4
Connect the other end of the Console port cable directly to a COM port of the PC or terminal server you will
be using to congure the Sensor (for example, a PC running correctly congured Windows Hyperterminal
software). You must connect directly to the console for initial conguration; you cannot congure the Sensor
remotely.
Terminal servers are provided for console access.
The required settings for Hyperterminal are:
• Baud rate: 115200 • Stop Bits: 1
• Number of Bits: 8 • Control Flow: None
• Parity: None
5
Plug one end of the power cable into the power inlet and plug the other end into a power source. The
Sensor ships with standard US power and international cables.
The NS-series Sensor does not have a power switch; you need to only plug the power cable into a power
source.
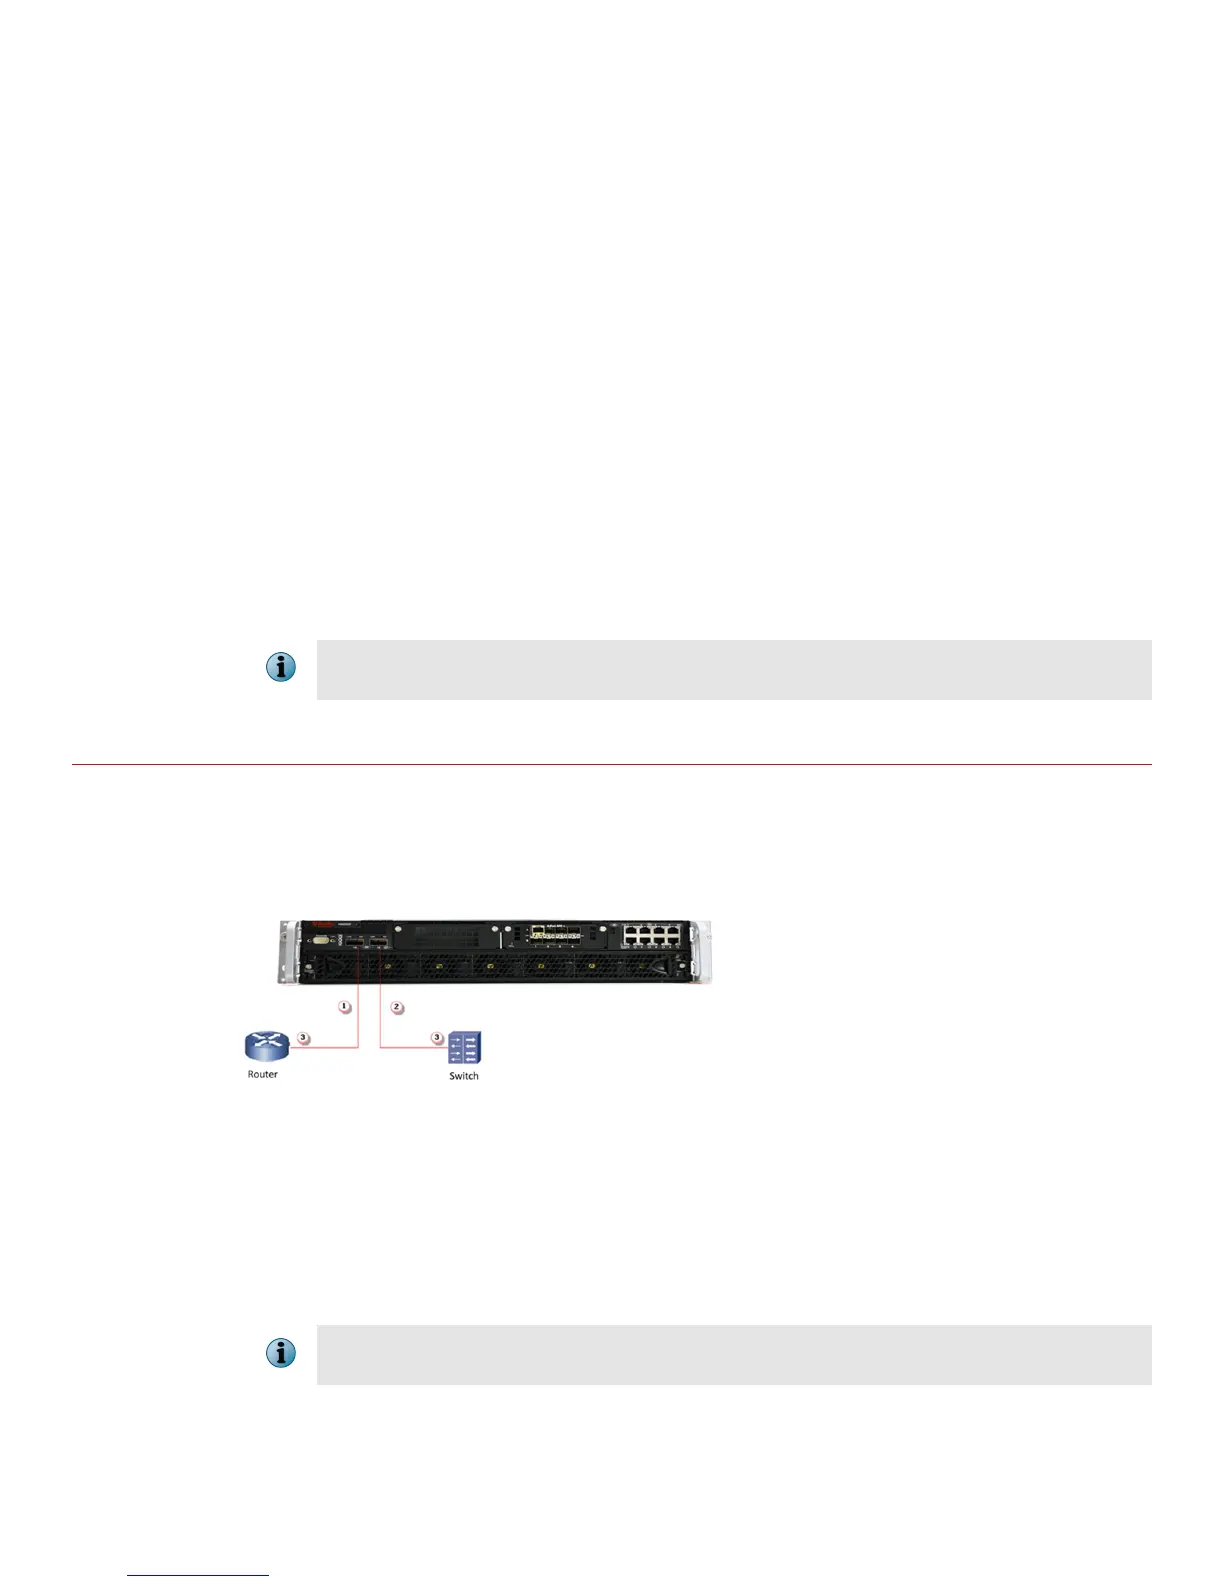
Cable the Monitoring ports
This procedure describes how to cable a Sensor to run in In-line mode.
Task
1
Plug the cable appropriate for use with your transceiver module into one of the Monitoring ports labeled x
(for example, 1).
2
Plug the cable appropriate for use with your transceiver module into one of the Monitoring ports labeled y
(for example, 2).
3
Connect the other end of each cable to the network devices that you want to monitor. (For example, if you
plan to monitor trac between a switch and a router, connect the cable connected to 1 to the router and
the one connected to 2 to the switch.)
On the NS9300P Sensor, do not use ports G0/1 and G0/2 and on the NS9300S Sensor, do not use ports G4/1
and G4/2. These ports are reserved for interconnection between the NS9300P and NS9300S Sensors.
10
 Loading...