USING THE
LARYNGOSCOPE -
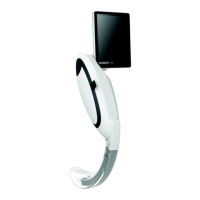
McGRATH® X blade™
Doc no: PT00098114 Revision A Aircraft Medical Ltd © 2019 w www.medtronic.com/mac-first
21
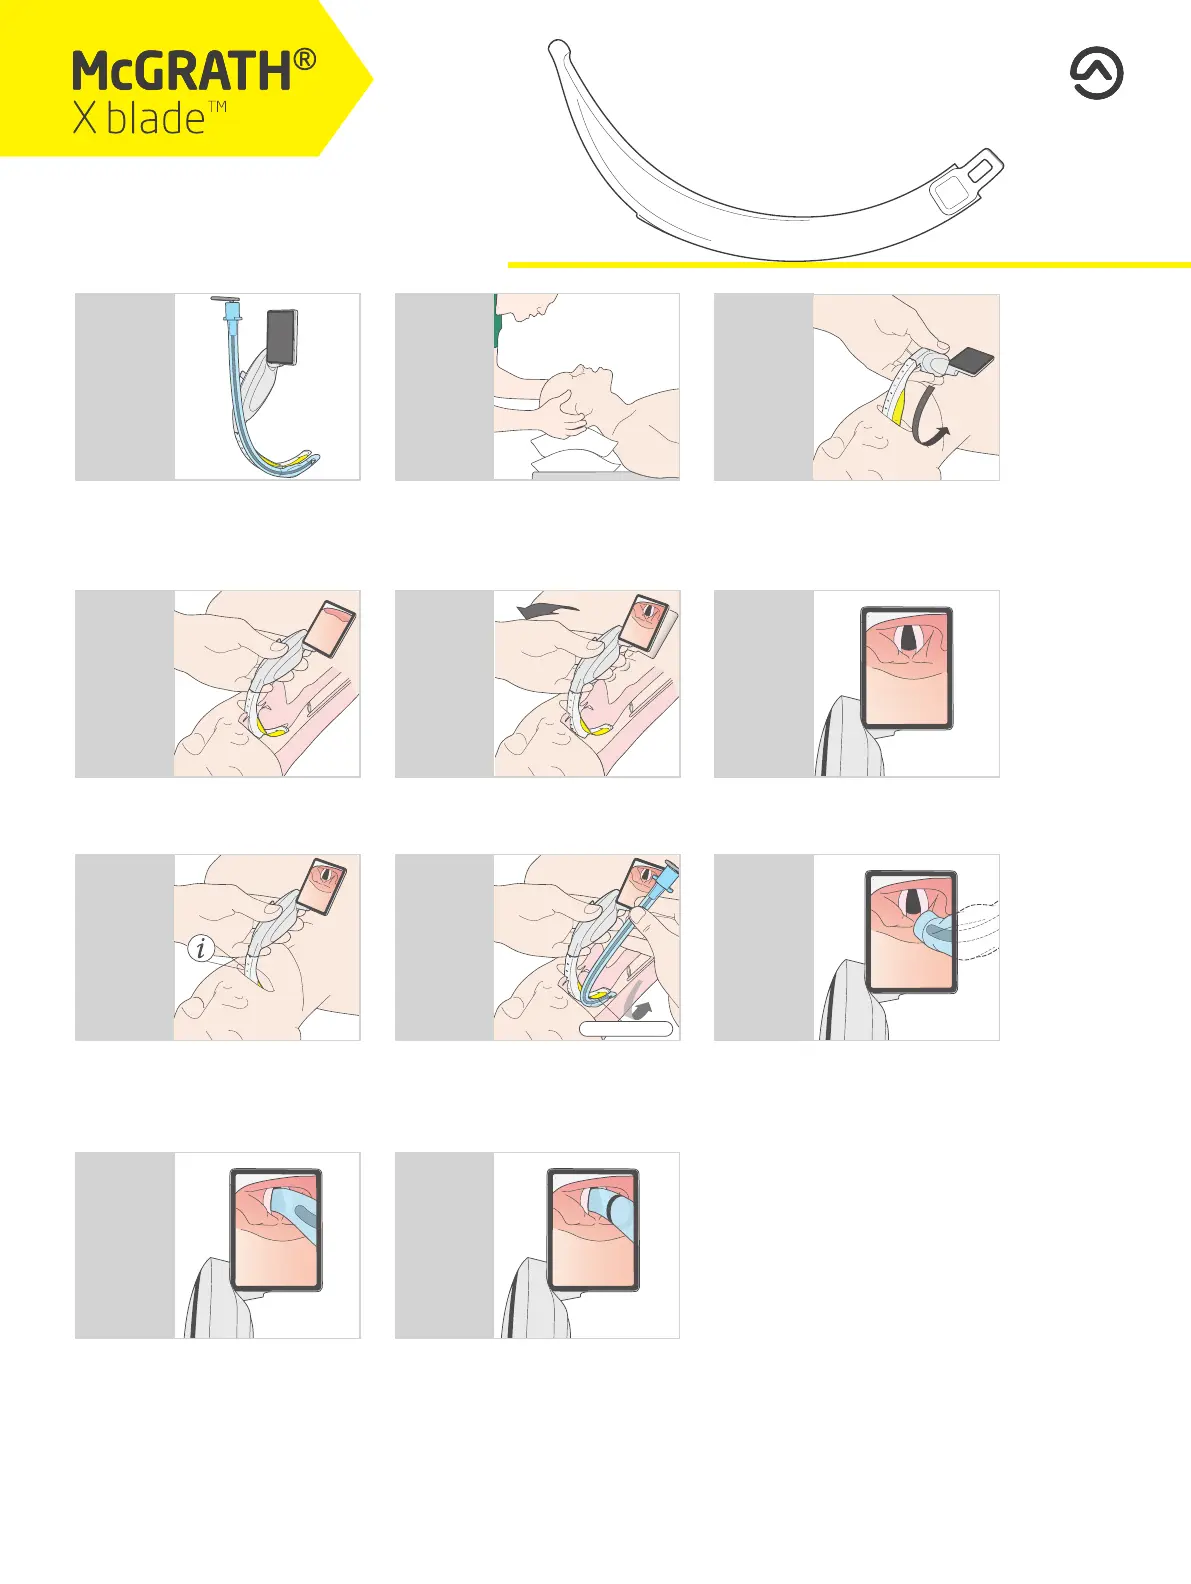
Load the E.T. tube onto a stylet(1) and form
to the curvature of the X blade™.
Where possible, elevate the patient’s head
into the “snifng” position for optimal access.
Using a mid-line approach roll the blade into
the mouth. Ensuring the anterior side of the
blade maintains contact with the tongue,
advance the blade until the epiglottis is seen
on the top of the screen.
Place the tip of the X blade™ into the
vallecula.
Using minimal force, rock the device back
towards the user to lift the epiglottis and obtain
an indirect view of the glottis.
When the device is in the optimal position
the glottis will be viewed in the central upper
section of the screen(2).
The DepthGuide™ numeric markings on the
posterior side of the blade may be used as an
indication of the depth of blade insertion(3).
Insert the E.T. tube at the right side corner
of the mouth. Advance in a rolling movement
following the curvature of the blade, ensuring
it maintains contact with the section of the
blade labelled E.T. CONTACT ZONE™.
When using optimal technique, the E.T. tube
should enter the screen on the right hand
side; advance the tube until the tip is in front
of the vocal cords.
Holding the stylet secure, slide the tube off
the stylet and through the cords, ensuring
the stylet does not pass through the cords.
Once the tube has passed through the
cords remove the stylet completely.
The screen view can be used to conrm the
correct insertion depth of the endotracheal
tube.
(1) Clinical experience has shown that intubation without any introducer, or with a bougie, will not facilitate optimal tube placement.
(2) It is important not to advance the blade too deep in order to maintain maximum space to facilitate the E.T. tube placement.
(3) Reference to these numbers can be useful during training to avoid inserting the blade too far.
1 2 3
4 5 6
7 8 9
10 11
E.T. CONTACT ZONE
TM