PowerBook G3 (2000) 15
Note: When replacing the processor card, be sure to securely re-
connect it to the logic board by carefully but rmly pressing down
on its lower-right corner (if present, remove any memory card in
the top memory slot before pressing, and re-attach it after processor
card is seated securly).
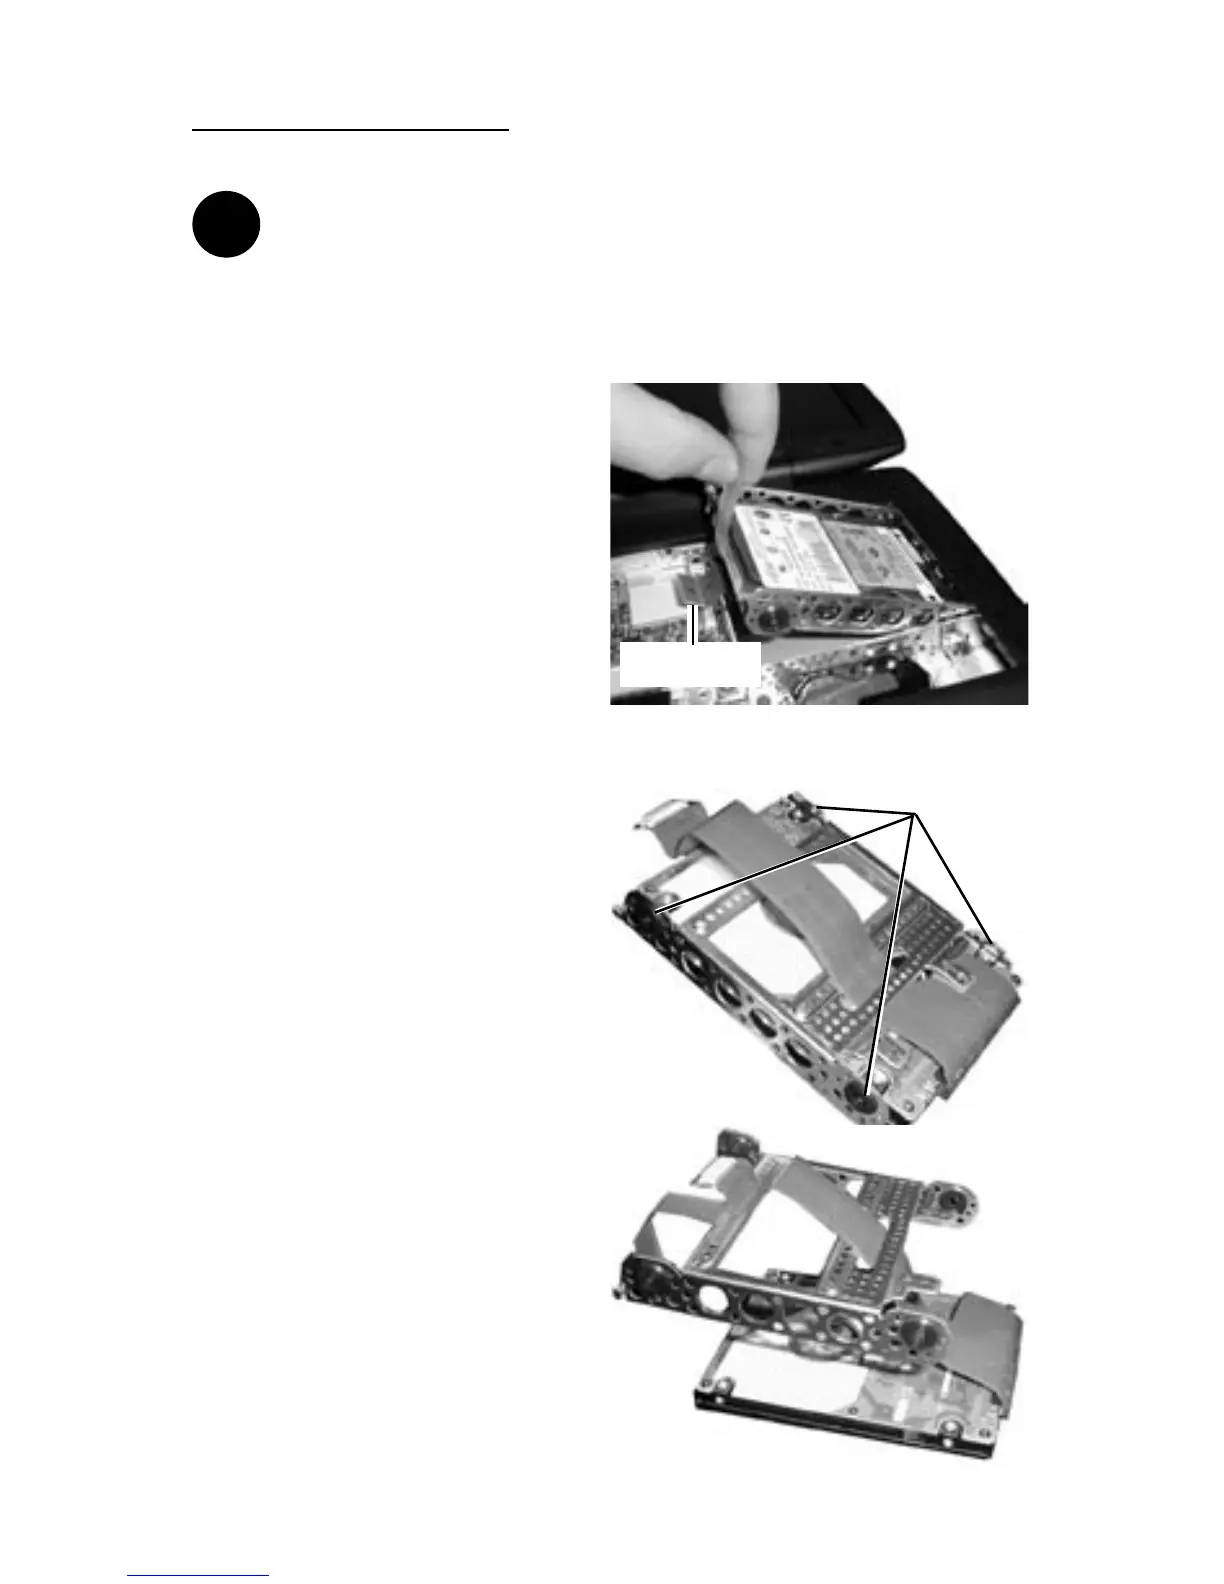
Step 11: Disconnect the hard
drive ribbon connector from the
logic board.
Step 12: Lift up the hard drive
pull tab to bring the end of the
hard drive out of its compartment.
Step 13: Grasp the hard drive
bracket by its sides and carefully
pull the drive out of its compart-
ment. You may have to gently
but rmly jostle the drive from
side to side to loosen it from its
fasteners within the compartment.
Step 14: Remove the four screws
from out of the black grommets
at the side corners of the hard
drive bracket using the Torx T8
driver.
Step 15: Carefully lift the hard
drive bracket away from the hard
drive, routing the orange ribbon
cable through the opening in the
bracket.
!
 Loading...