EasyManua.ls Logo

Medela PersonalFit PLUS User Manual

Medela PersonalFit PLUS
2 pages
To Next Page IconTo Next Page
Page #1 background imageLoading...
Page #1 background image
PersonalFit
PLUS
EN Pump Set | ES Set de extracción | PT Kit de extração | EL Σετ άντλησης | HE הביאש תכרע
Before using for the first time | Antes del primer uso | Antes da primeira utilizão | Πριν από την πρώτη χρήση |
ןושארה שומישה ינפל
Please refer to instructions for use for more detailed information | Si desea obtener informacn más detallada, consulte las instrucciones de uso |
Consulte as instrões de utilizão para obter informações mais detalhadas | Για περισσότερες λεπτομέρειες, ανατρέξτε στο εγχειρίδιο χρήσης |
רתוי טרופמ עדימ תלבקל שומישה תוארוהב ינייע
Check all parts for damage
Compruebe todas las piezas
para detectar desperfectos
Verifique todas as pas
quanto a danos
Ελέγξτε όλα τα εξαρτήματα
για τυχόν φθορές
וקוזינ אל םיקלחהש יקדב
1
Wash parts thoroughly
Lave exhaustivamente los componentes
Lave muito bem as pas
Πλύντε τα εξαρτήματα σχολαστικά
בטיה םיקלחה תא יפטש
2
Boil at least for 5 minutes
Deje hervir durante un
mínimo de 5 minutos
Ferva durante pelo menos 5 minutos
Αφήστε τα σε νερό που βράζει
για 5 λεπτά τουλάχιστον
תוחפל תוקד 5 ךשמל יחיתרה
3
Question and Answer IconNeed help?

Do you have a question about the Medela PersonalFit PLUS and is the answer not in the manual?

Medela PersonalFit PLUS Specifications

General IconGeneral
TypeElectric breast pump
CompatibilityCompatible with Medela breast pump models
MaterialBPA-free plastic
Breastshield sizes24 mm, 27 mm, 30 mm
PortabilityPortable

Summary

First-Time Use Preparation

Check Parts for Damage

Inspect all components for any signs of damage before use.

Wash Parts Thoroughly

Clean all components meticulously to ensure hygiene before initial use.

Boil Parts for Sterilization

Sterilize components by boiling for at least 5 minutes for proper hygiene.

Assembling the Connector

Place Membrane in Connector

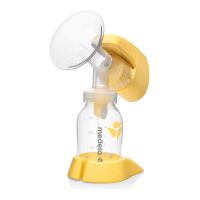
Insert the membrane loosely into the connector with the flap aligned to the opening.

Close Connector Lid

Securely close the connector lid until it clicks, ensuring correct membrane placement.

Expression Guidance

Positioning and Grip

Center your nipple in the tunnel and hold the breast shield with thumb and index finger.
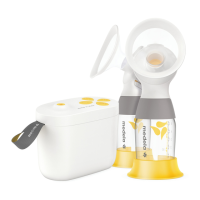
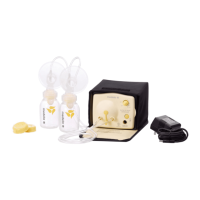
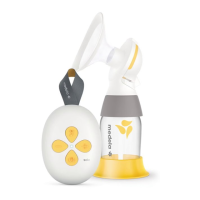
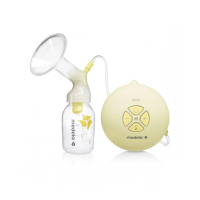
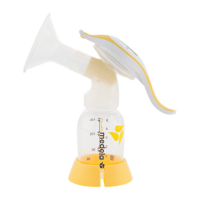
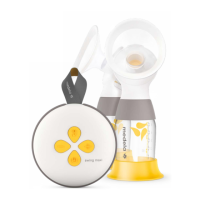
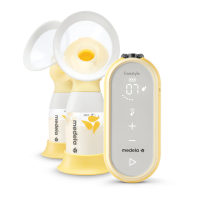
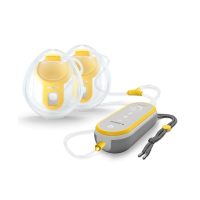
Related product manuals