DC 00573 TSA 2 Quick Set Up and Installation Overview Rev.1 Date of issue: 10.06. 2019 Page 6 of 9
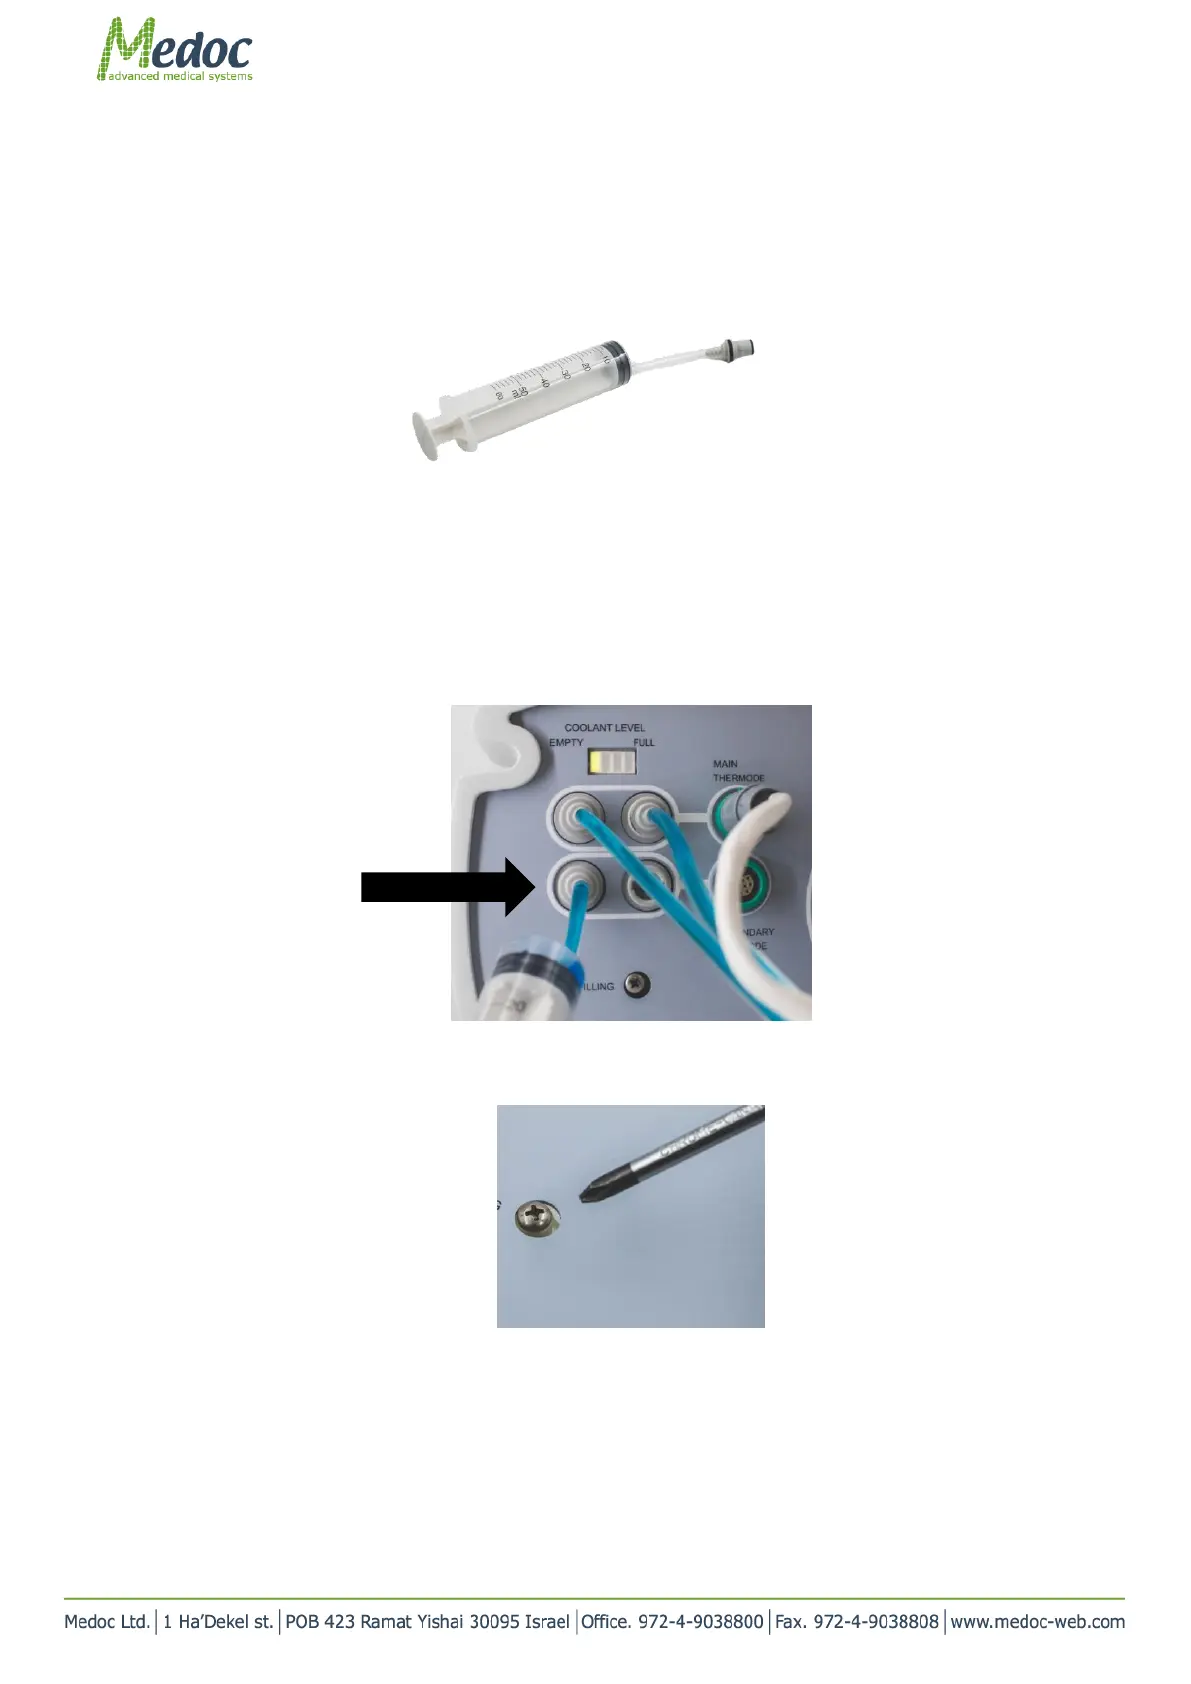
2. Switch the transparent tube to the one with the connector at the end (see below)
Figure 10
3. Attach the connector to the lower left coolant port in the system.
Main thermode should be connected and the system should be turned ON.
4. In case secondary thermode is to be used, complete the next steps with secondary thermode disconnected. Then
connect it and check that coolant level is still sufficient
Figure 2: Connecting syringe to system
5. Using a Philips head screw driver, open the vent screw, located below the coolant ports. Screw it out 3 turns
counter-clockwise
Figure 3: Air vent screw
6. Fill the system slowly with cooling liquid (ONLY) and check the Coolant Level LED lights indicator (located above
the thermode ports).
7. As soon as the fourth LED (full) lights up, stop filling the system.