Maintenance / Repair Policy
!!!! WARNING !!!!
To avoid a possible shock hazard, use care when
performing any procedure that involves installing the
Control Board/Backplate Assembly. Route the Main
Harness and Dispenser Harness wires in such a way
that they cannot be pinched between the Backplate
and Housing.
Note: Check changer acceptance whenever the
Acceptor/Gate Assembly is replaced. If acceptance is
satisfactory, calibrate the unit by inserting 15 coins of
each denomination. If acceptance is poor, tune and
calibrate the unit following the instructions on page 13.
OWNER'S RESPONSIBILITY
Upon request, owner must show proof of purchase
when submitting equipment for service during the
warranty period. Owner will assume all freight charges
for shipment of equipment to an authorized service
center while under warranty, and to and from the service
center when outside the warranty period. Owner is
responsible for out-of-warranty repair expenses,
chargeable at prevailing rates set by authorized service
centers or in effect at service facilities. Complete written
information must be supplied to the authorized service
center for all items returned, including serial and model
number, and a description of the malfunction.
MEI RESPONSIBILITY
During the warranty period, MEI will repair or replace
any parts which fail to function properly because of
defects in material or workmanship. MEI shall not be
liable for any consequential damages as a result of
defects in material or workmanship. Damage due to
electrical overload, negligence, accidents, misuse,
abuse, vandalism, or an act of God is not covered by
MEI warranty. Any alteration of the product after
manufacture voids the warranty in its entirety.
The product to be repaired under warranty must be
delivered to an authorized service center. Repairs or
installation at the owner's location are not included in
the warranty.
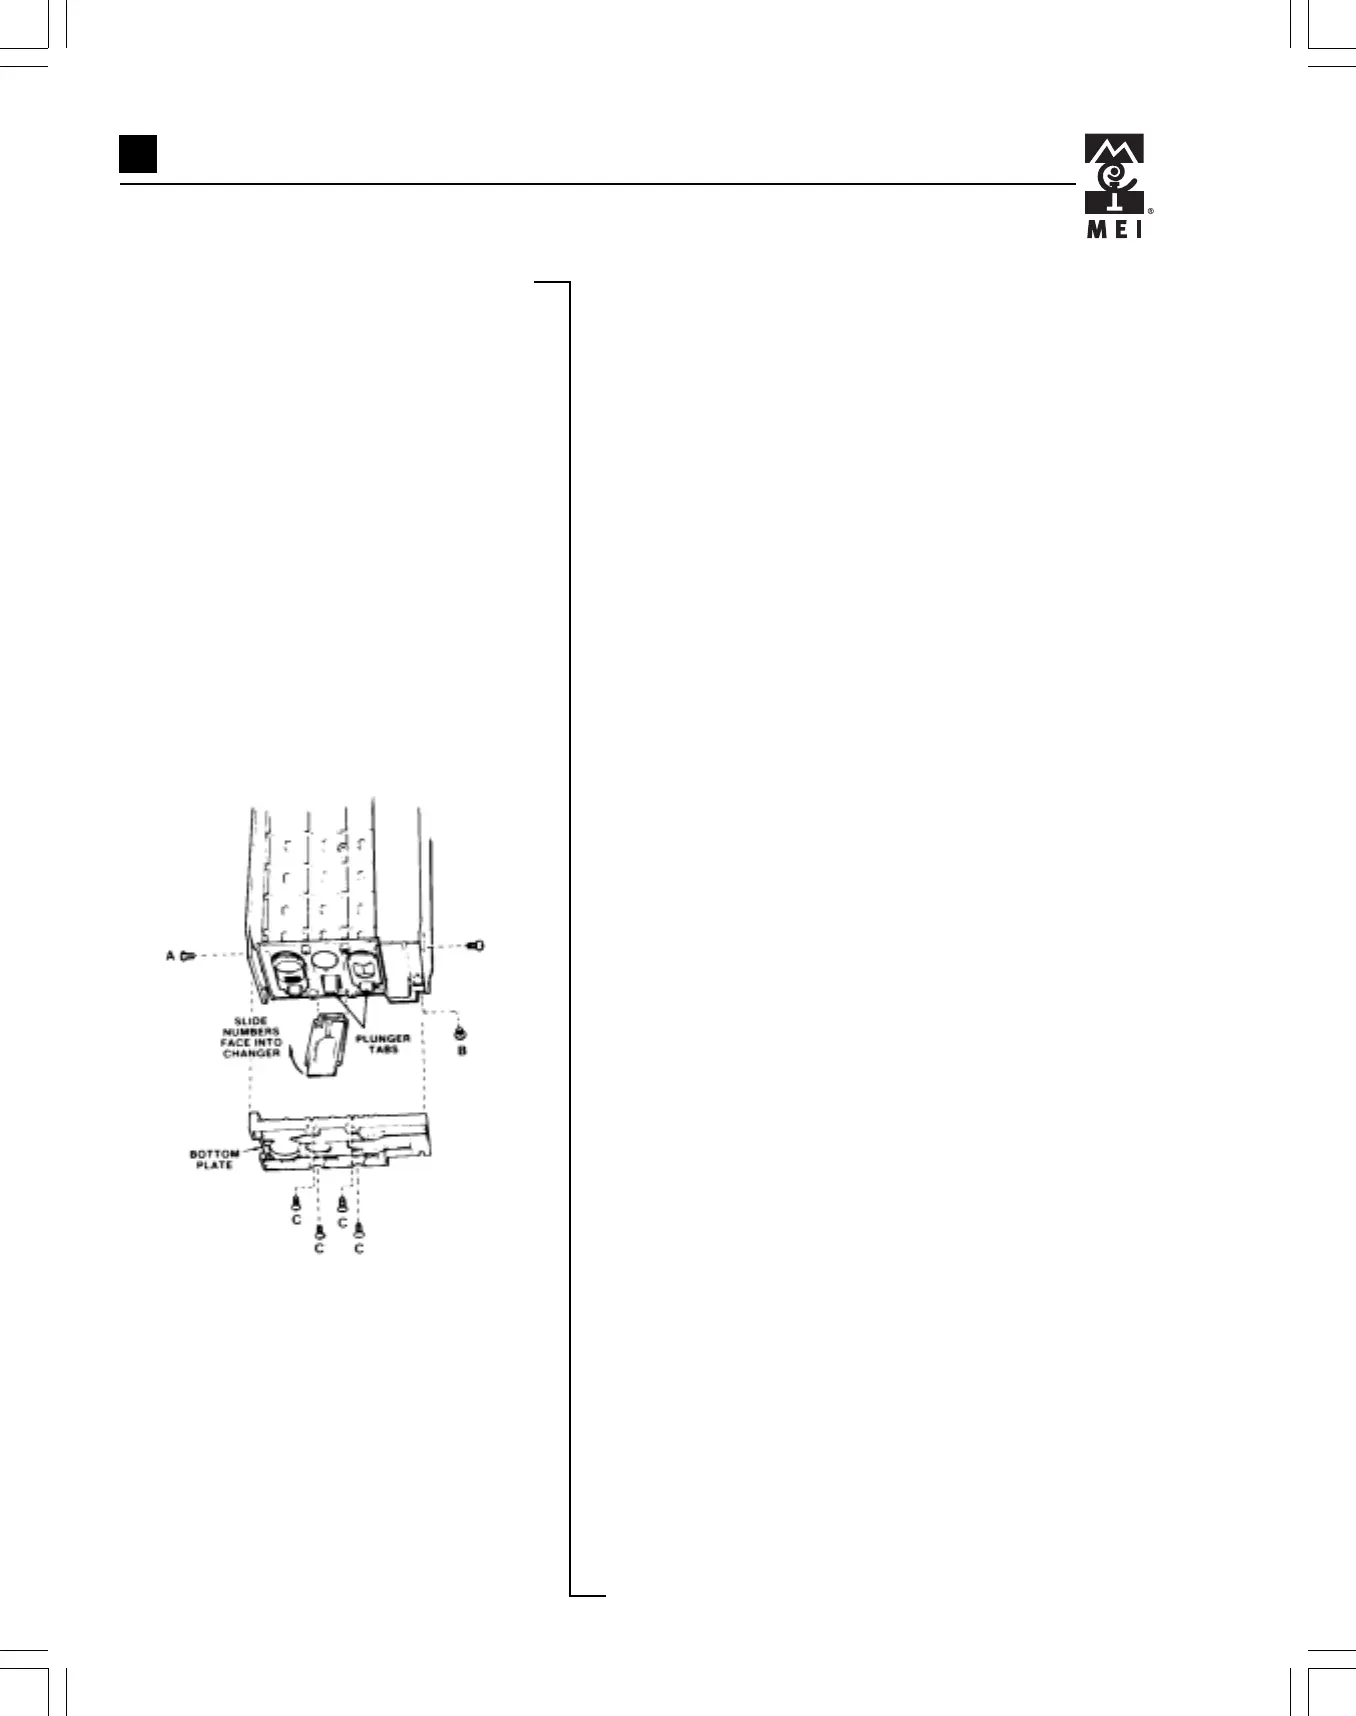
Once the slides are clean...
1) Set them on the Bottom Plate with the
numbered sides facing up into the coin
changer.
2) Align the plunger tabs with the bolts in
each side and seat the Bottom Plate.
3) Insert opposite screws (C of Figure 15)
first to hold the slides in place.
4) Install the remaining screws.
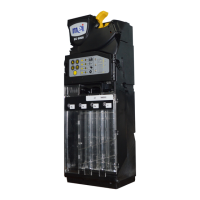
Clearing Coin Jams
If coins jam in the cash box chute, dislodge
them via the access holes at the rear of the
Dispenser Assembly.
Figure 15: Clearing the Dispenser Slides
16
 Loading...