Changing settings
16
GB
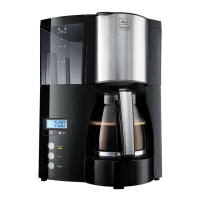
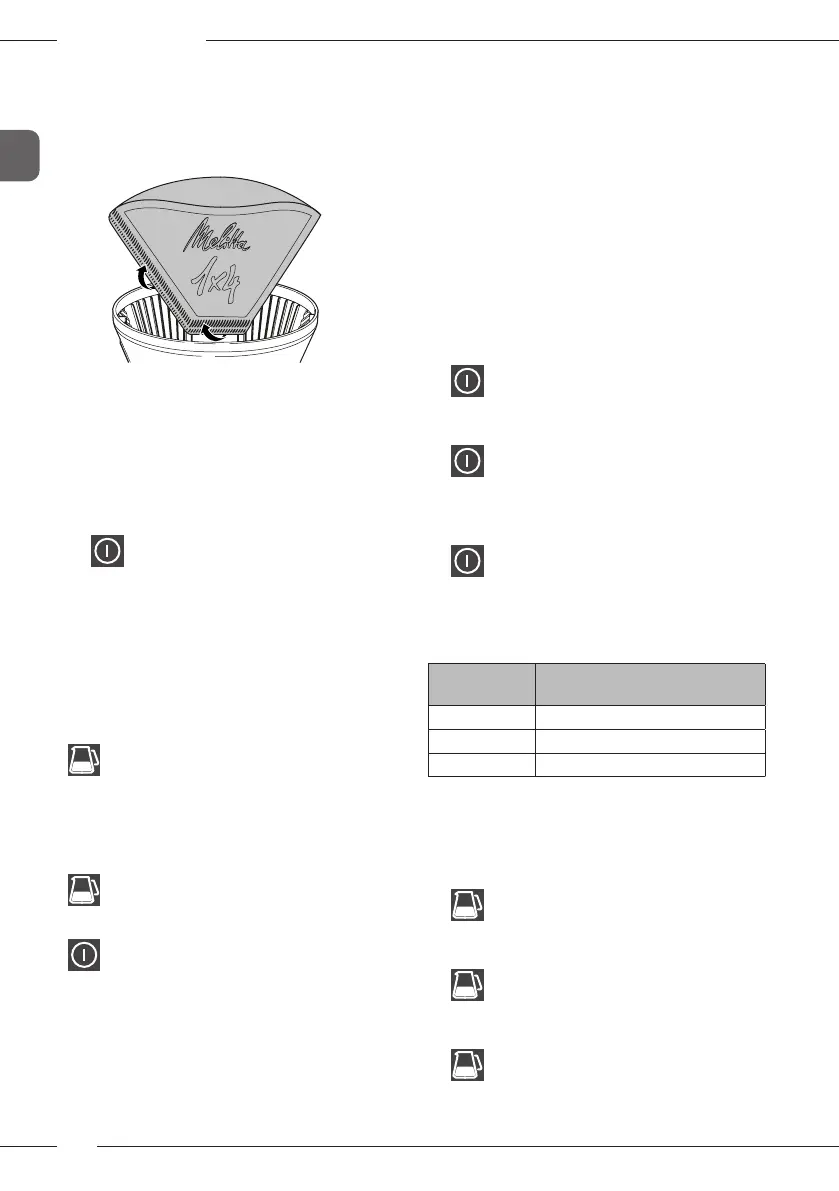
4. Take the lter lid off the lter.
5. Fold a lter along the stamped seam.
6. Fit the lter paper in the lter. Press it
down lightly and into the edges of the
lter.
7. Fill the lter paper with coffee powder
according to the lled quantity of water
and your taste.
8. Close the lter with the lter lid.
9. Push the lter into the appliance. The lter
must click in audibly.
10. Place the jug with tted jug lid under the
lter.
11. Start preparation with the “Start/
Stop” button.
» The “Start/stop” button will ash.
» The preparation ends automatically. The
“Start/Stop” lamp lights up and a signal
tone sounds depending on the setting.
» The water tank illumination goes out.
4.3 Preparing small coffee
quantities
The “Small Quantity” button extends the
brewing time. As a result, you will get an
aromatic, full coffee avour even when you
prepare small coffee quantities (2 to 5 cups).
Proceed in the way described rst of all, see
chapter 4.2 Preparing coffee.
Press the “Small Quantity” button before
starting preparation. Activation is
conrmed by the illuminated lamp.
Then, press the “Start/Stop” button. The
“Small Quantity” lamp ashes during
preparation.
5 Changing settings
5.1 Setting warm-keeping
time
The taste of coffee changes when it is kept on
the hotplate for longer periods. It becomes
bitter. To prevent this, you should enjoy your
coffee as fresh as possible immediately after
preparation. Also, unnecessarily keeping the
coffee warm costs valuable energy.
The appliance is factory-set for a warm-keep-
ing time of 30 minutes. This time can be
changed.
1. Press the “Start/Stop” button for
longer than 2 seconds.
» The “Start/stop” button will ash.
» The water tank is illuminated.
2. Press the “Start/Stop” button
repeatedly until the desired
warm-keeping time is set. The ashing
rhythm indicates the set warm-keeping
time, see the following table.
3. Press the “Start/Stop” button for
longer than 2 seconds to save the
setting.
The setting is retained even when you discon-
nect the appliance from the electricity mains.
Warm-keep-
ing time
Flashing rhythm
“Start/stop” lamp
0 minutes
nn
30 minutes
nnnn
60 minutes
nnnnnn
5.2 Setting the signal tone
The end of brewing is indicated by a signal
tone. The signal tone can be set.
1. Press the “Small Quantity” button for
longer than 2 seconds.
» The “Small Quantity” lamp ashes.
» The water tank is illuminated.
2. Press the “Small Quantity” button
repeatedly until the desired signal
tone is set. The ashing rhythm indicates
the set signal tone, see the following table.
3. Press the “Small Quantity” button for
longer than 2 seconds to save the
setting.
 Loading...